
These Vertical Shelves are Perfect for a Small Bedroom
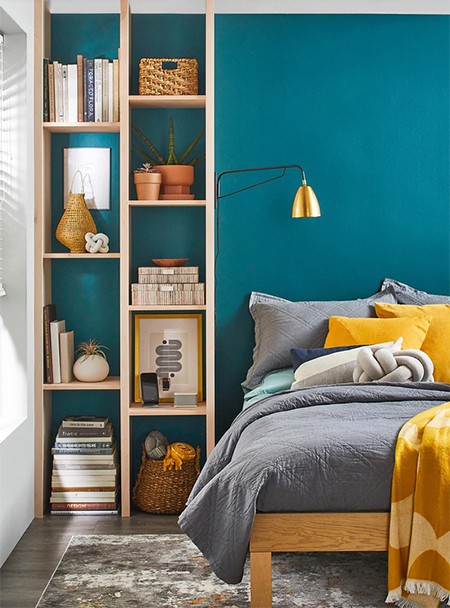
Small or medium, most bedrooms need as much space as possible to comfortably move around, and these vertical shelves will provide storage without sacrificing floor space.
22/01/2022
blaine moats / better homes and gardens
Small or medium-sized, bedrooms should have plenty of space to move around the room and this can limit the number of storage options for the bedroom. These vertical shelves use otherwise unused space and provide plenty of storage as well.
Making custom vertical shelves is an easy DIY solution, especially if you purchase Melawood or laminated chipboard, veneered plywood, or supawood. These options already have a double-sided face that is decorative or plain and that you can purchase in a variety of colours or patterns. Alternatively, you can make the vertical shelves using supawood that is painted in your choice of colour. A last, slightly more expensive option is to make the vertical shelves using pine, meranti, saligna or your choice of hardwood. Pop into your nearest Builders store or check online for available options in your region or check at your nearest timber supplier for stock.
YOU WILL NEED:
Choice of material to make the shelves, as mentioned above
Edging strips if not using timber
Wood glue
Wood filler
TOOLS:
Drill plus assorted bits
OPTIONAL: Kreg Pockethole jig to mount shelves
OPTIONAL: Biscuit joiner to attach front faces
OR Hammer and thin nails/pins
OPTIONAL: Sander and assorted sanding pads if using wood for this project
Tape measure and pencil
Safety gear
HERE'S HOW:

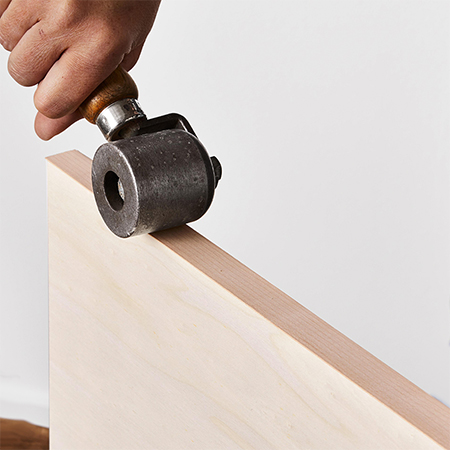
If you are using a faced board such as melawood, laminated chipboard or supawood, you can have everything cut to size and edging done at certain Builders stores but check with your nearest store to confirm that they do offer this service. If not, you can purchase edging strips that have adhesive on the back and that is mounted onto the edges using a warm iron. See images above and below on applying edging strips. If the strips are too wide for the thickness of the board, you can purchase an edge trimmer or use a sharp utility or craft knife to trim.
Having all the pieces cut to the exact size make it easier and far quicker to complete this project. If using wood for this project, take the time to sand all the pieces before assembly.
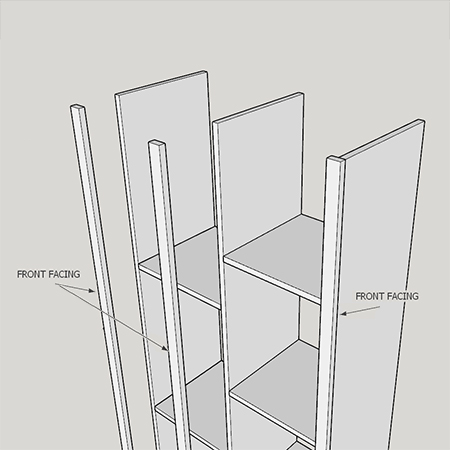
Working with one upright, measure and mark for the position of the shelves - on both the inside and outside if you are using screws, but only on one side if you are using a pocket-hole jig or biscuit joiner.
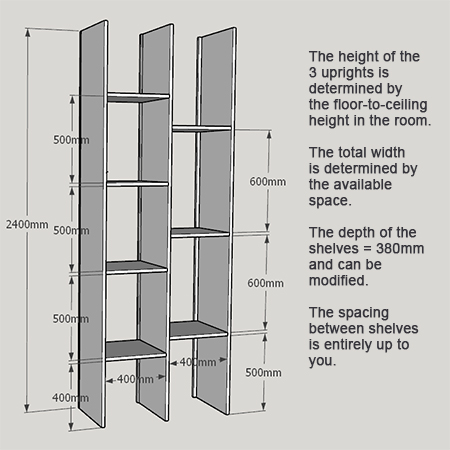
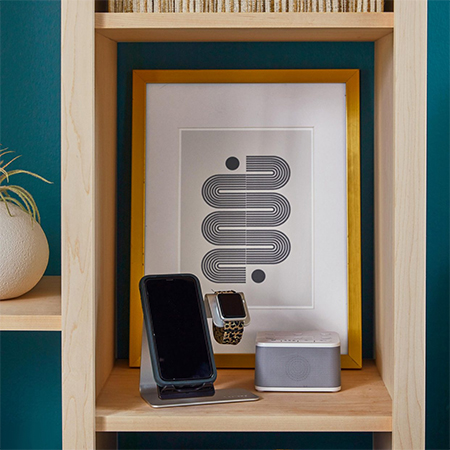
The shelves can be positioned exactly how you want them to be, which allows you to display or store items of a particular size on the shelves.
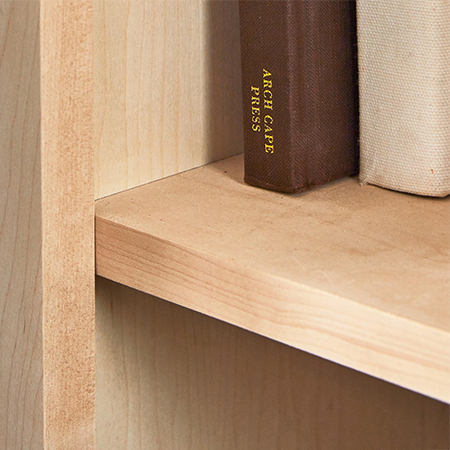
The front facings are 40mm wide and are mounted on the front edge of the uprights. This gives the look of a chunkier shelf and also hides raw edges where an edging strip has not been applied. The Front Facings are glued and nailed onto the uprights, and you can use a small amount of wood filler to cover up the holes. Sand smooth with 300-grit sandpaper once dry and you won't be able to see the nail holes.
Applying edging strips give the vertical shelf unit a finishing touch that gives a more professional feel to this project.
blaine moats
Because you get to choose the heights for mounting the shelves, you can store items that are taller than the usual shelf height, such as books, vases and even lamps for next to the bedside.
blaine moats