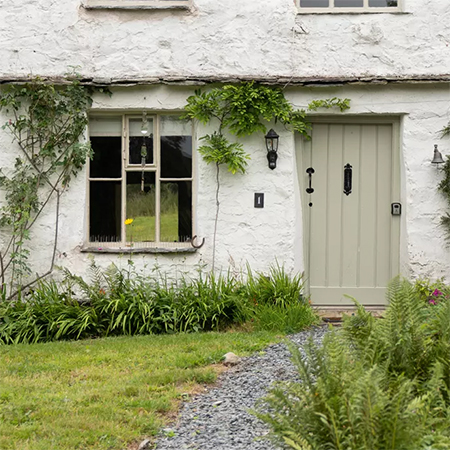
Restore and Revive Wooden Window Frames and Doors
If wooden window frames and wooden doors haven't been given regular maintenance, chances are they need work to restore and revive them.
30/04/2023
realhomes.com
As Keyrenter Buxmont Management Team warns, the longer you leave exterior wooden fittings, the more attention they will eventually need, possibly even replacement if they are left uncared for too long. The true fact is that not everyone has enough spare time on their hands to do essential maintenance every six months or so and there are plenty of single homeowners who have neither the inclination nor the no-how to attend to home maintenance issues. Caring for wooden fixtures is one such issue.
Wood needs regular care and attention to prevent it from going brittle or being attacked by wood rot. Exterior wood maintenance products such as sealers and oil, etc., are specifically designed to plumb up the cells inside the wood thereby bringing out the natural beauty and offering protection from UV rays and fungi. Without this protection, the wood dries out and becomes grey and dull - almost lifeless, but luckily there are methods to restore the wood before you have to go to the expense of replacing wood fixtures and fittings.
Below is an easy method to restore wooden window frames and doors, a method that requires no previous experience and just a few hours of your time.
YOU WILL NEED
Sanding sponges, medium and coarse grit
Sugar soap
Scouring pad or wire wool (steel wool)
Putty or window sealer
Wood primer, exterior paint or sealer
TOOLS:
Paint scraper or putty knife
Hammer and small nails or medium panel pins
Paintbrushes, small and medium-sized
Rubber gloves
HERE'S HOW:
Step 1
Wash down the window frames or door with warm water and sugar soap, using a scouring pad of steel wool to rub over the surface to remove dirt and grime that has built up over the year/s. Rinse with clean water.
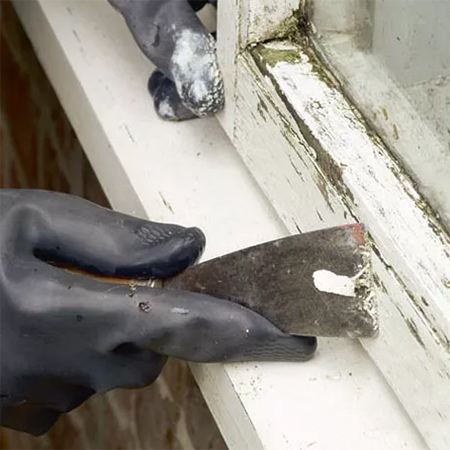
Step 2
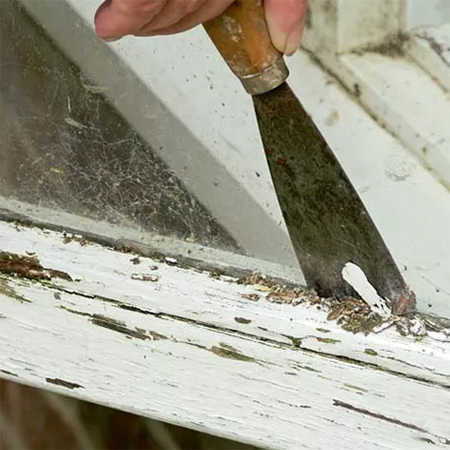
Using a paint scraper or putty knife, scrape over the wooden frame or surface to remove as much old paint or varnish as possible. If the paint is badly cracked and peeling, you will need to remove this entirely with a chemical paint stripper.
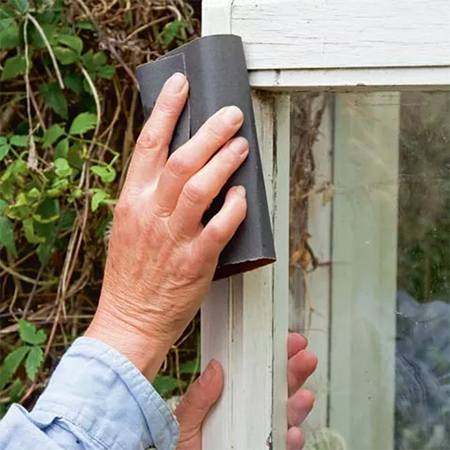
Step 3
Rub over the frames or surface with a coarse grit sanding sponge to remove the top layer of old paint and follow this up with the medium grit sanding sponge. Keep in mind that older frames dating back to the 1960s may have paint that contained lead. If you suspect that this is the case, wear a dust mask and safety glasses for protection.
Take care if the windows are old as the paint coats underneath may contain lead.
Step 4
Use the paint scraper or putty knife to remove any crumbling putty around the glass. You will be replacing this with new putty or sealer, so make sure that any remaining putty will not hamper the new and then firmly press the new putty in the gap to seal this off.
Step 5
Most wooden window frames have a thin beading around the inside edge that firmly holds the glass in place. Over time this will rot and need to be replaced. You will find replacements at Builders or your local hardware store. Use a thin-profile tool to lift the beading to remove it.

Step 6
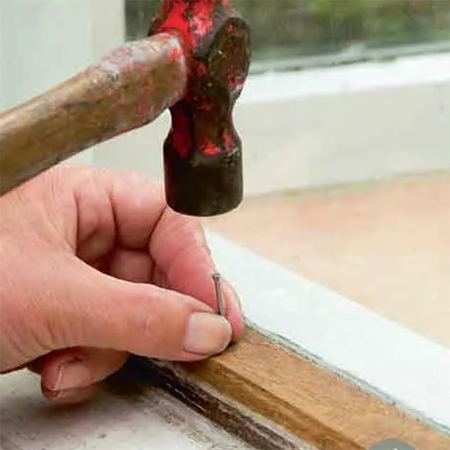
To replace the beading, use a hammer and small nails or panel pins to secure the beading in place. Slightly angle the nails or pins towards you to make it easier to tap them firmly in position as close to the glass as possible.
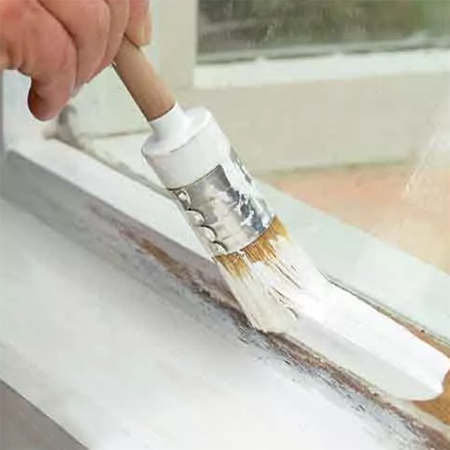
Step 7
Allow the specified time for the putty to dry before using a wood primer or applying sealer to the window frames or surfaces. Using a wood primer before painting adds another level of protection for the wooden fittings, so don't miss out on this step. Apply two coats of exterior paint, allowing each coat to dry in-between, or apply an exterior sealer according to the manufacturer's guidelines.