
Recycle an Old Bookcase or Make this Project New
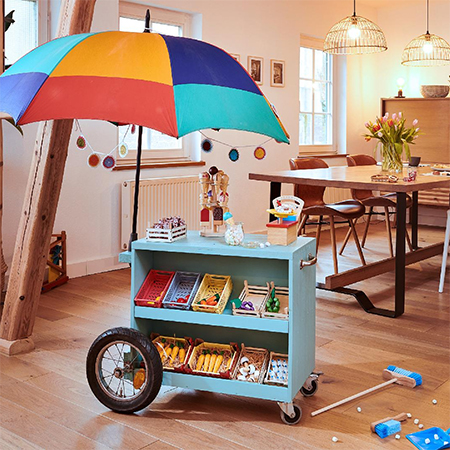
Repurposing old furniture is good for the environment and this no longer used bookcase turns into a fun produce cart for a little girl.
09/11/2022
allaboutdiy.com
Taking old furniture and giving it a new purpose is a great way to make use of items that would normally be tossed out. Today, it is all about recycling and repurposing and you only need to browse the Web to gather some great ideas for your next project. For this quick and easy DIY project, an old wooden bookcase is transformed into a produce trolley - complete with wheels and umbrella - for a little girl to play with. This fun trolley can have a variety of uses, all of which will provide educational learning and inspire entrepreneurial skills in young children.
All you need to complete this project is an old bookcase - doesn't matter what type of material it is made from, or you can purchase wood or board product at your local Builders to build from scratch. If you are struggling to find a gift idea for family or friends, this DIY project will not take long and is not a hard project, in fact, it is a great project for a beginner DIY enthusiast.
YOU WILL NEED:
Old bookcase - or make brand new with timber or board
2 of bicycle wheels
2 of castor wheels
10mm threaded rod and nuts, 100 cm
Umbrella - the bigger the better
Handle and screws
Scrap pieces of pine or other wood
Wood glue
4 x 35mm cut screws (chipboard screws)
TOOLS:
Drill plus assorted bits
MAD or Forstner bit, size to be determined below
OPTIONAL: Biscuit Joiner or Kreg Pocket Hole Jig
Orbital sander plus assorted sandpaper
Angle grinder or Dremel multitool and steel cutting blade
Steel rule
Tape measure and pencil
Clamps
Safety gear
HERE'S HOW:
Step 1
If you are making this trolley from scratch, you are going to need timber or board to make it. Pine is reasonably affordable, and Builders have a huge selection of PAR pine, as well as 16mm SupaWood (MDF), BisonBord (chipboard), or plywood - all of which would be great to make the trolley. Decide on what material you are going to use and then have everything cut to size at Builders using the measurements below.
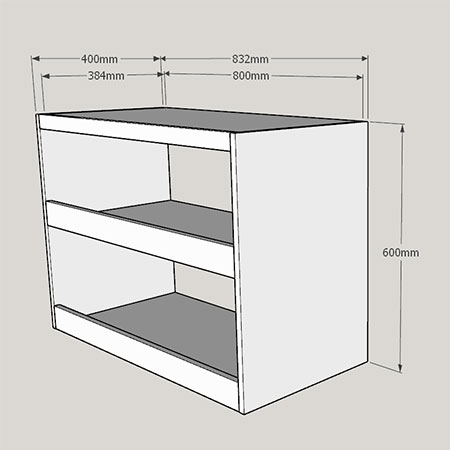
If you are repurposing an old bookcase, the measurements will not be the same as those in the above image, but that doesn't matter. You can still use the ideas in this feature to turn the bookcase into a fun trolley.
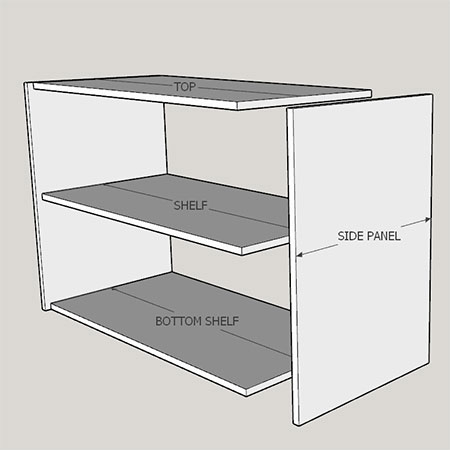
Step 2
Assemble the pieces as shown in these diagrams. To do this, you can use basic butt joints by drilling through the sides/ends to secure the pieces or you can use a biscuit joiner or Kreg pocket hole jig, it all depends on the tools that you have at your disposal. DO use wood glue as well to ensure strong joints.

Step 3
After assembly, sand the entire piece to remove any rough or uneven edges, particularly if you plan to paint the trolley once finished.
Step 4
Using an angle grinder or Dremel multitool - rotary tool, clamp the threaded rod securely and then cut to length. The length will be that of the bookcase width plus extra to mount the wheels.

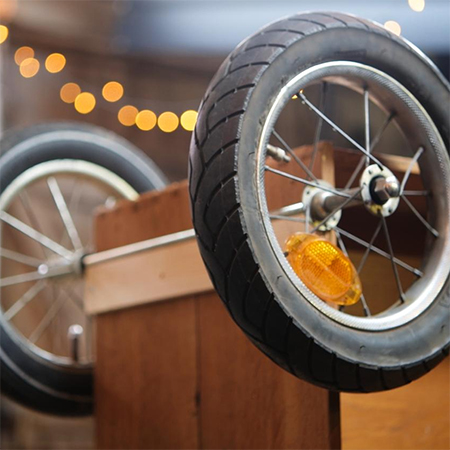
Step 5
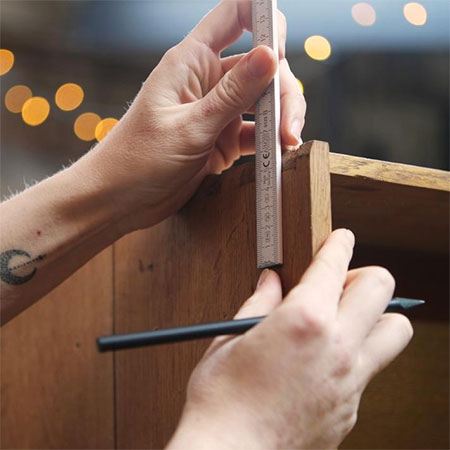
In this step, you will mount the wheels, taking into consideration the total height of the castor wheels so that everything will be level once assembled. Mark down the height of the castors and measure the radius of the wheel. From this, take half the wheel diameter and deduct the castor height for the correct mounting position.
To make a base for the axle (threaded rod), have two pieces of scrap wood 400mm in length and approximately 50mm in width. These pieces should be slightly wider than the thickness of the threaded rod (10mm), so around 12mm thick is ideal.
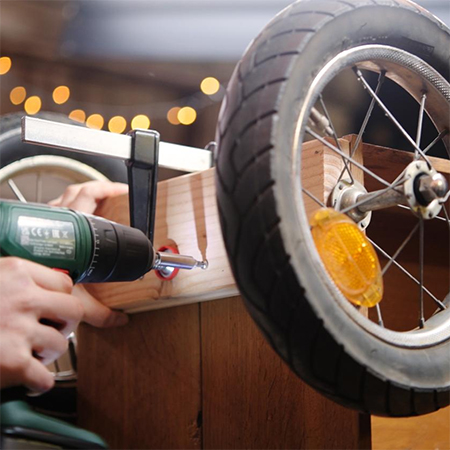
Step 6
Secure one piece above the axle (threaded rod) and one below. These will hold the axle in place. Now take another piece of scrap wood 400mm in length and wide enough to cover both pieces above and below the axle and secure this on top. This will hold everything firmly in place but still allow the wheels to turn freely.
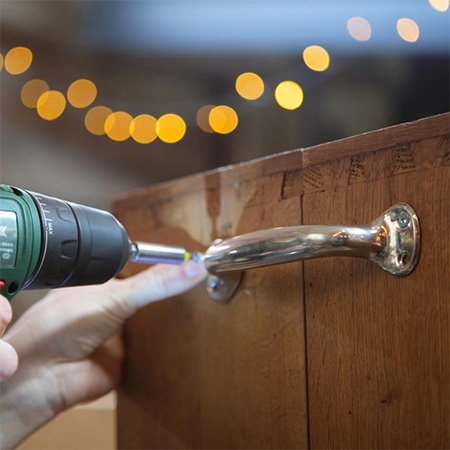
Step 7
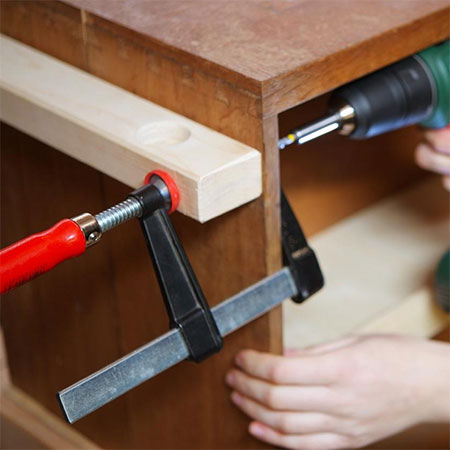
Secure the handle onto the top side of the trolley facing the front as shown below.
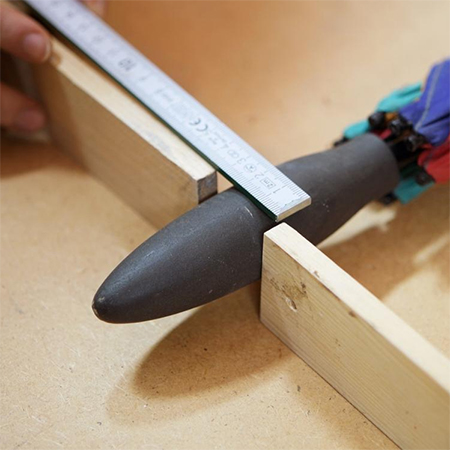
Step 8
Determine the diameter of the umbrella handle so that you can drill an appropriately sized hole to mount this onto the back of the trolley.
Step 9
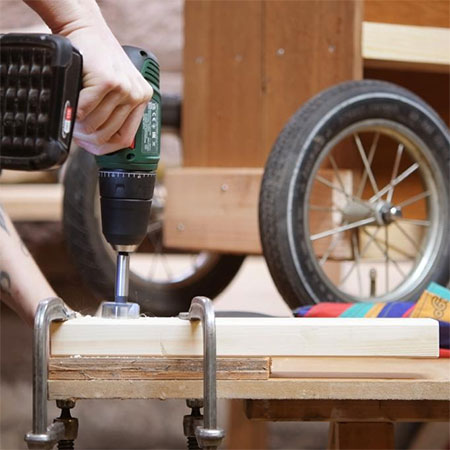
Use a MAD or Forstner bit to drill holes in the block of wood that will be used for the umbrella and any other accessories you want to add to the trolley. Place another piece of scrap wood underneath each hole you drill to prevent chipping around the drilled hole. Clamp everything firmly in place before you drill.
Step 10
Secure the block to the back of the trolley as shown below.
Finishing
This step is up to you and depends on the materials used to construct the trolley. You can stain and seal or paint the trolley in any colour. A spray gun makes any painting project quick and easy.
