
Make a Media Console with a Single Sheet of Plywood
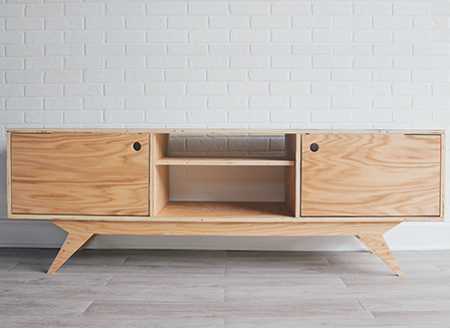
Furniture isn't cheap these days and you can expect to pay a fortune for a media console similar to the one shown below, so why not make your own.
19/02/2023
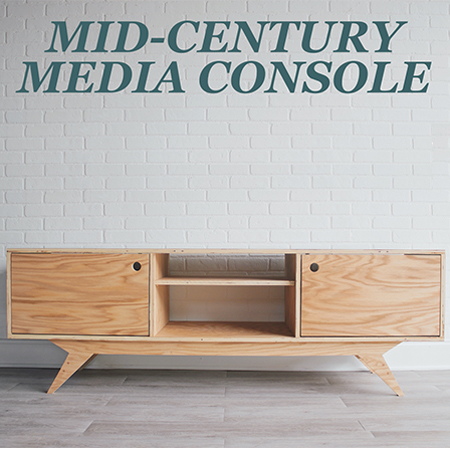
Making furniture for a home always seems so difficult and yet it isn't. If you acquaint yourself with a few basic power tools such as a drill, jigsaw or circular saw, and a sander, you will already have the savvy to tackle most basic DIY furniture projects. Take this media console for example. it is nothing more than a simple frame mounted onto a base with fitted doors. Doesn't look too hard now does it? That is the problem with many furniture projects - you see the whole rather than break it down into simpler pieces.
In this project, modernbuilds.com shows you step-by-step how to make a mid-century design console using a single sheet of affordable plywood. There are plenty more great projects on the modernbuilds website, so pop on over when you want to make something new.
While this media console is made using a single sheet of plywood, keep in mind that commercial or pine plywood doesn't have a very attractive finish. It's OK in a pinch but if you want a desk that looks as good as the one shown in this project, do yourself a favour and buy a sheet of veneered plywood. Veneered plywood has a thin veneer or covering in birch, maple, or other wood species that can look as authentic as the real thing - just at a fraction of the cost! Google "veneered plywood sheet" to find your nearest supplier.
A sheet of 15mm birch plywood that measures 1220 x 2400mm will cost around R2000, and that is basically all you need apart from a few other supplies to make this media console.
YOU WILL NEED:
Single sheet of 15mm veneered plywood
Wood glue
30mm wood screws or pocket hole screws
4 butt hinges and 16mm screws
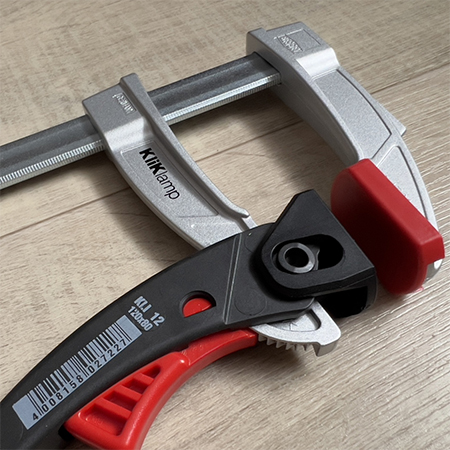
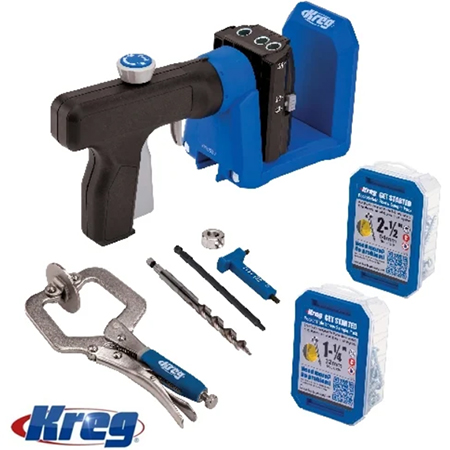
I have learned over the years that the tools you use to assist in not only making a project easier but also faster and simpler. Two tools that I use constantly are my Bessey Kliklamps and Kreg 520 PRO Pocket Hole Jig System. You can read my review here as to why I believe that Bessey Kliklamp clamps are the best value for money and what makes the Kreg 520 PRO pocket hole jig an invaluable addition to your tool collection.
TOOLS:
Drill plus assorted bits
35mm spade bit, MAD bit, or Forstner bit
Jigsaw plus clean-cut jigsaw blades
Orbital sander plus assorted grit sanding pads
Clamps
Tape measure and pencil
Safety gear
HERE'S HOW:
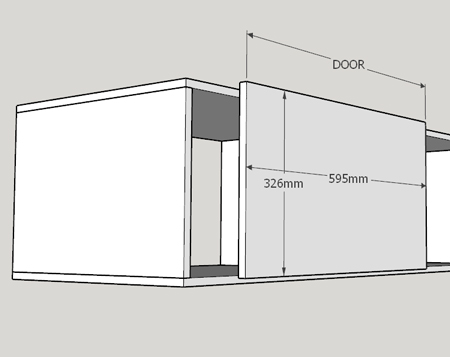
Step 1 - Measuring and Cutting
If you are going to make this media console the same size, you can use the measurements below to have everything cut to size when you purchase the plywood sheet. If the supplier does not offer a cutting service, you will need to do this at home using a circular saw or table saw. You can also use a jigsaw to cut the plywood sheet to size but DO have a straightedge or steel rule that you can use as a cutting guide to ensure all cut lines are perfectly straight.

Step 2 - Assembly
For the assembly, it depends on the method that you want to use. Using a pocket hole jig is the fastest and most professional method for assembling the console, especially since there will be no visible screws but not everyone has a pocket hole jig. With conventional methods, you can assemble this project using butt joints and disguise countersunk screw heads with wood filler.
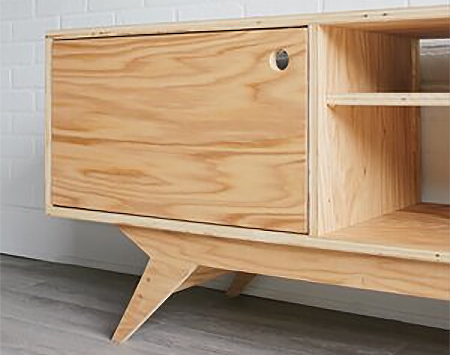
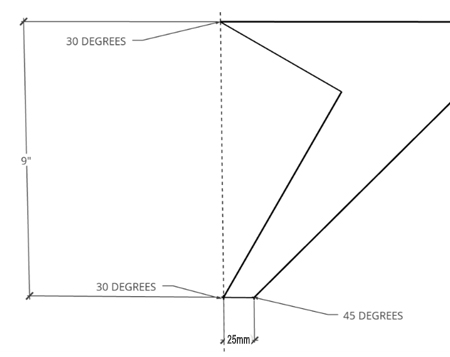
The base for the media console is cut and assembled separately. The design shown here is that for a mid-century console, but you can easily modify the shape for a modern or contemporary style, or leave off the base if you prefer to add legs to the console.
Step 3 - Hardware
The only hardware needed for this project is the butt hinges for the doors. A 3mm gap is allowed on one side of the doors to allow for fitting the butt hinges. If you want to fit any other type of hinge such as a Euro or concealed hinge, make sure to allow for this at the measuring and cutting stage.
Step 4 - Finishing
The media console in the project above has not been given a finish. That is okay but you need to keep in mind that keeping it clean will not be easy. Many different types of finishes can be applied, from matt to gloss, wax to polyurethane, and you need to decide what you prefer.