
How To Fix A Hole In Ceiling Board
When you do any renovations that involve lighting, you may end up with a few holes in the ceiling and we show you how to fix these up.
19/03/2021
When you do any home renovations or alterations, you may end up with holes in the ceiling where you have removed or re-positioned light fittings. Any type of hole in a ceiling is not something you want to look at every day, and you don't need to replace the entire ceiling just to patch up a small hole. In this article, we show you how to patch up a hole in the ceiling so that it is invisible and won't be a problem in the future.
First off, don't be tempted to plug the hole with a cut-off piece of drywall or gypsum ceiling board. When you try to repair a hole in this way there is nothing holding the plug in place other than a bit of dry walling plaster and there have been many occasions where the plaster has cracked and the plug has fallen out only to have to do the job again.
The best - and most permanent - way of fixing a hole in a ceiling without having to consider replacing a ceiling panel or the entire sealing is shown below. Buy all the supplies you need for this project at your nearest Builders store.
HOW TO FIX OR PATCH A HOLE IN THE CEILING
The instructions shown below are applicable to a gypsum board ceiling only. If your ceiling is of any other material, you won't be able to use this method to repair the hole.
HERE'S HOW:
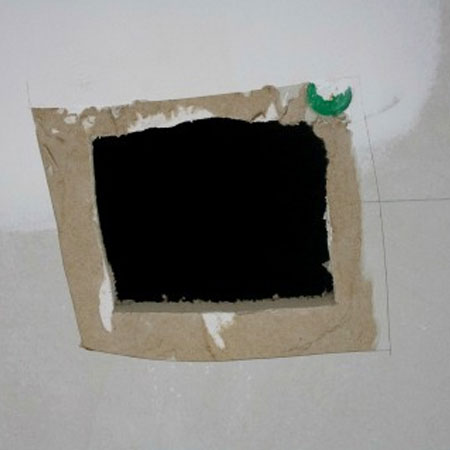
Step 1
Use a serrated knife to cut out a square-shaped opening. This will make it easier to work in and around the hole to make the necessary repairs. Use 120-grit sandpaper to remove paint around the outside of the opening, as this will interfere with the patching process.
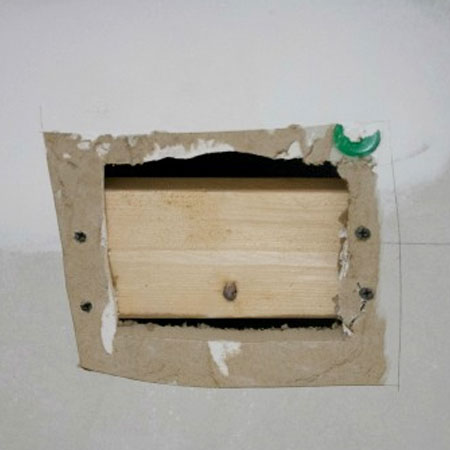
Step 2
Place an offcut or piece of pine in the hole. It must be long enough to rest at least 20cm on both sides of the opening, as shown in the image below.
Step 3
Use cut screws to secure the scrap piece of pine in place. You will need to hold the pine with one hand as the drive in the screw with the other hand or have someone there to help you.
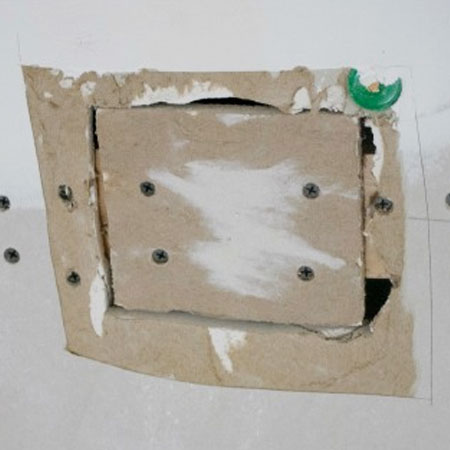
Step 4
Now you can cut a piece of gypsum board to fit into the opening. Don't worry about being too particular as long as the gypsum board plugs as much of the hole as possible. I suppose you could try and could neater lines than I did :)
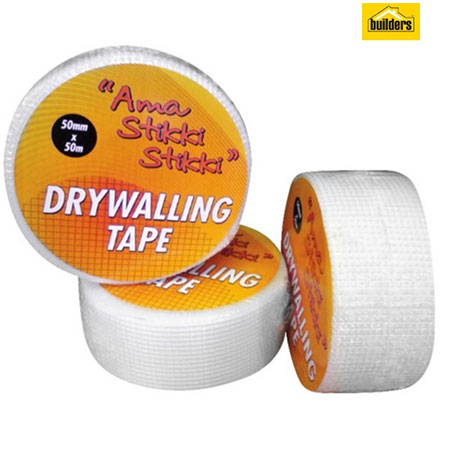
Step 5
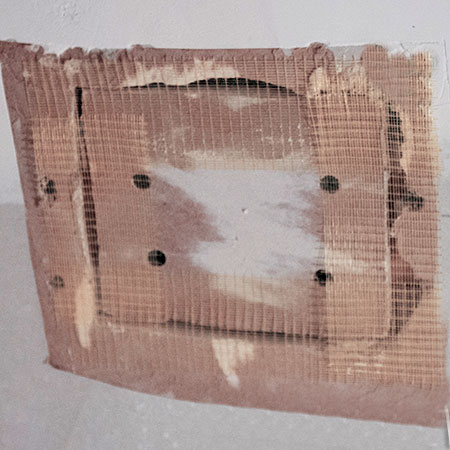
Now it's time to apply drywall tape over the entire surface of the hole. Apply as smoothly as possible, you don't want any bits to stick up and remove any pieces that wrinkle or fold. The tape MUST lie flat and adhere to the ceiling.
Step 6
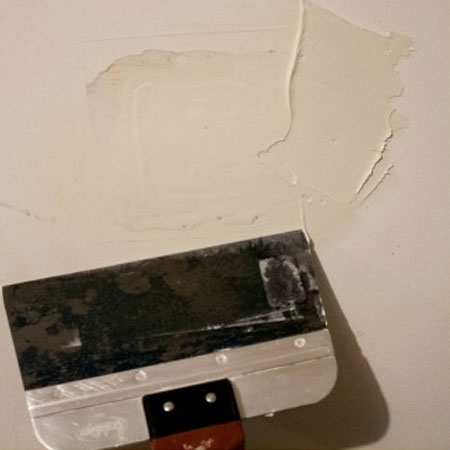
Finish off the repair with patching plaster. Spread this over the entire area, covering the drywall tape. Spread the plaster over the surrounding area to make it easier to level out when sanding. Let the plaster dry completely, preferable for 2 to 3 days, and then go over with 120-grit sandpaper.
If any repairs are visible, perhaps do to wrinkled or tape not flat, you can repeat this step until you are satisfied with the repair.
www.viewalongtheway.com