Quick Project: How To Make Stackable Storage Crates
Great for storage in any room, these stackable storage crates are also easy to make and ideal for a child's bedroom or playroom to corral toys.
11/08/2021
This quick DIY project shows how easy it is to make stackable storage crates that can be put to good use in a child's bedroom or playroom. The stackable storage crates offer plenty of storage space for toys or games and the caster wheels allow them to be easily moved from place to place.
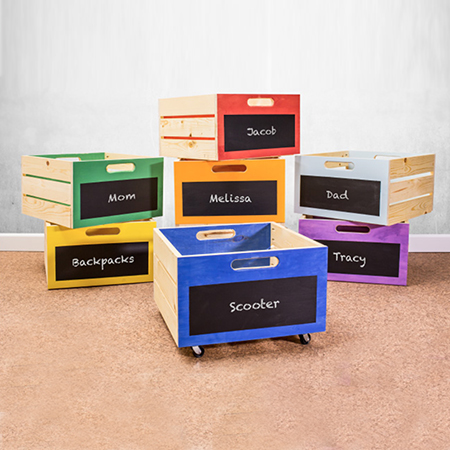
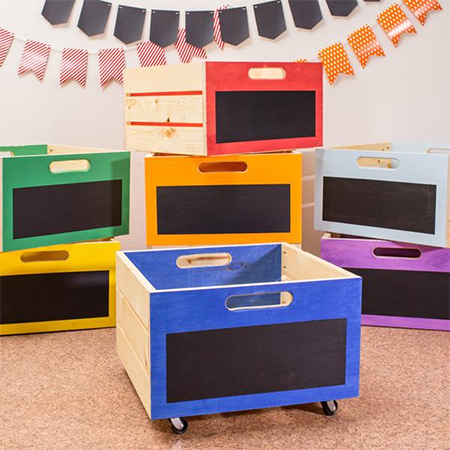
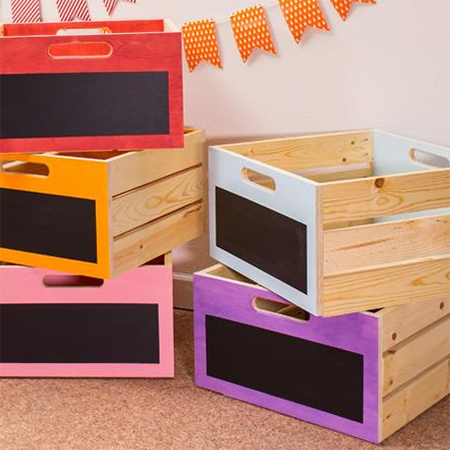
To dress up the crates, you can apply chalk paint or acrylic paint in your choice of colours and then paint a chalkboard panel on the front of the crates if you want to label them.
The stackable storage crates are made with PAR pine and pine or plywood that you will find at any Builders store and are assembled using a Kreg Pocket-Hole Jig. Have all your pieces cut to size at Builders so that you can take home and immediately get stuck into the project.
YOU WILL NEED:
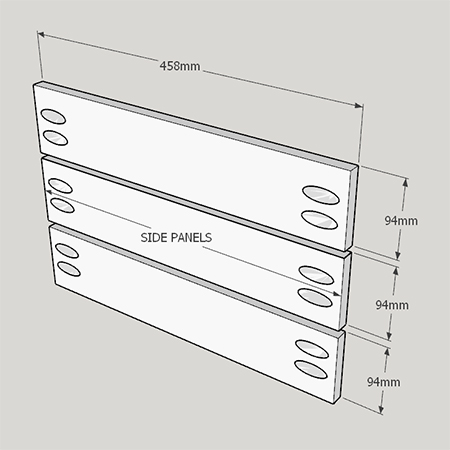
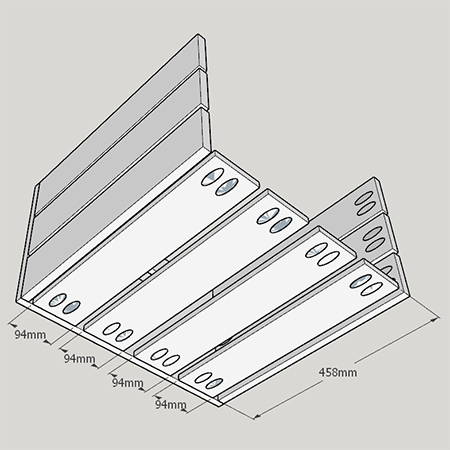
10 of 94 x 458mm pine - slats
2 of 300 x 500mm - front/back
25mm pocket-hole screws
120-grit sandpaper or sanding sponge
4 casters and 16mm screws
TOOLS:
Drill/Driver plus assorted bits
25mm spade bit
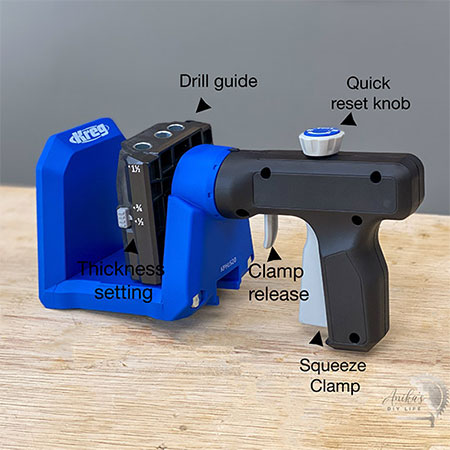
Kreg Pocket-Hole Jig
Jigsaw
Tape measure and pencil
Safety gear
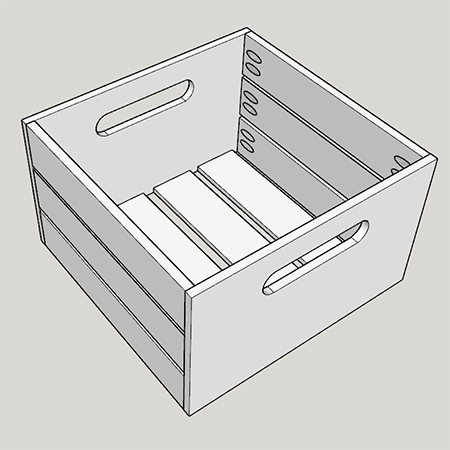
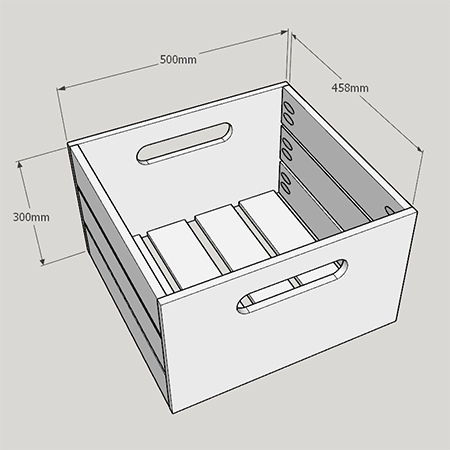
These stackable storage crates measure 500mm wide x 500mm long x 300mm high. They offer plenty of storage for toys and games, etc., making them perfect for a child's bedroom or playroom.
HERE'S HOW:
Preparation
Before assembly, cut out openings for handles in the front and back panels. You can use a 25mm spade bit and jigsaw to cut out these openings.
Sand all the pieces with 120-grit sandpaper prior to assembly to remove splinters and smooth the finish.
Step 1
Drill [2] pocket-holes at both ends of the side slats, as shown below.
Step 2
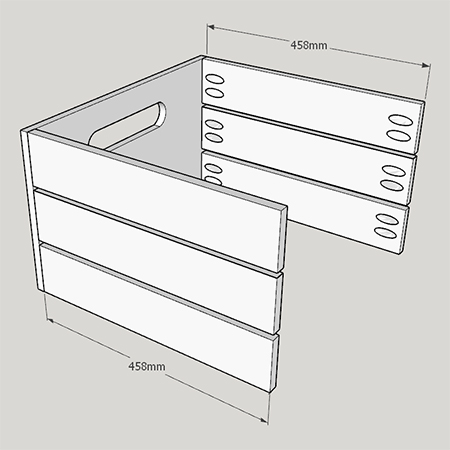
Secure the side panels onto the back panel using screws. Allow equal spacing between the side panels with the bottom and top panels being flush with the back panel.
Step 4
Drill [2] pocket-holes at both ends of all the bottom slats, as shown below. Space the slats to have equal gaps.
Step 5
Finish the installation by securing the side slats to the front panel.
Finishing
You can paint the storage crates on the front and back panels with your choice of paint and colour options. We finished our stackable crates with a chalkboard panel at the front to be able to write names or articles.
After painting, secure the caster wheels to the base of the storage unit.