
How to Apply Wood Stain for a Professional Finish
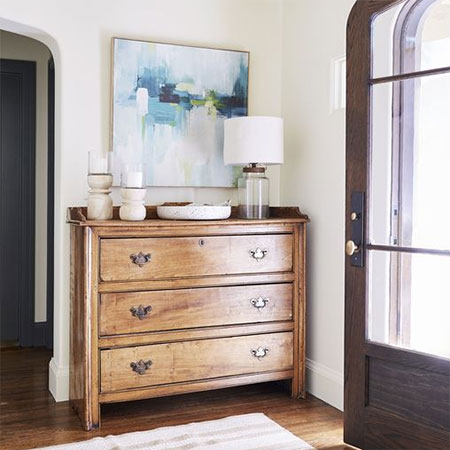
Using wood stain lets you select a particular wood colour so that your made pieces have a professional finish.
19/05/2020
https://pinterest.com - 351140102197253442/?nic_v1=1a%2B%2FWeRjAJVe91Ps2QWDb27ERWIP0m6CXfWmiC%2F%2BvHsyQ02vn7%2Fs4thUCe%2BPTpdWtw
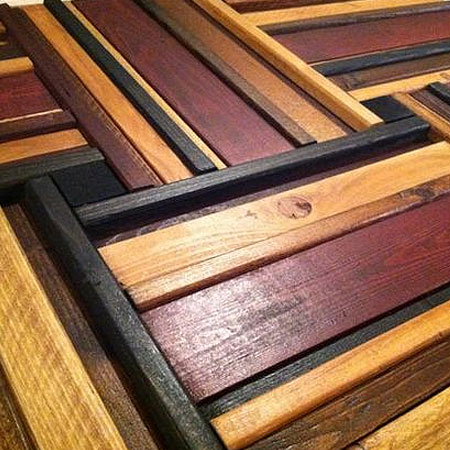
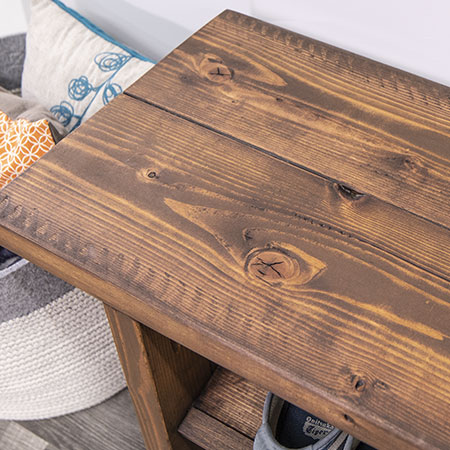
When making projects using pine, the best way to finish these off is by using a wood stain. A wood stain lets you select a particular colour - if you want the finished project to look like a specific wood species, such as Oak or Imbuia, and it also lets you choose wood tints that complement your decor and style.
So stain is great for finishing off your wood projects, but there is a wrong way and a right way to prep for staining a piece, as well as applying a stain finish, so we've included a video from the guys at Kreg that take you step-by-step through the process of preparing a piece for staining and applying the wood stain.
https://pinterest.com - 66780006960758216/?nic_v1=1a%2FY%2BKS2VcJAuMRSXNkccwJHUObQfDHKnEKJDwYpEvzOqNYJ7kYmC7KUvujhmxdxXN
Tips for Staining Wood
Here are some tips to keep in mind when staining your wood projects, and we have more tips after the video that relate to products shown and the local substitutes you need to shop for.
1. Take your Project Apart
Staining is usually done at the end of the assembly process, once you have finished the project. But there are times when it can be easier to prep and stain at various times during the assembly process, especially if it will be difficult to stain once the project is assembled. Keep this in mind and do what works best for you.
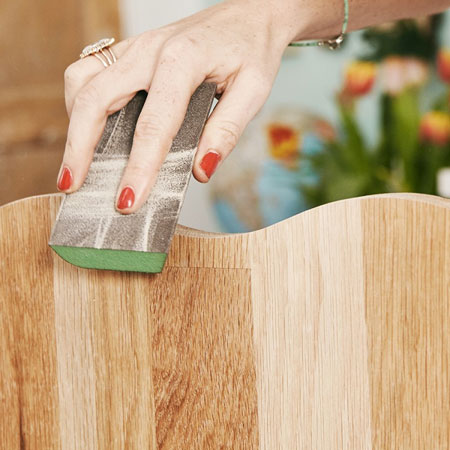
2. Proper Sanding is Essential
It is important to take the time to sand work pieces and the finished assembly properly. Not only does the sanding process affect the stain it's also important to give any project a professional finish. We have plenty of sanding tips in our DIY section, so be sure to go through these to understand why sanding is important. After sanding, always wipe the project clean to remove all traces of dust.
https://pinterest.com - 235453886757275377/?nic_v1=1a27KYfxjY%2BaGxd47Ez0cRbr5yetXtRQ6Y8pxVqVdgDK7HBJBFXgojlMPwnA6%2FVGEL
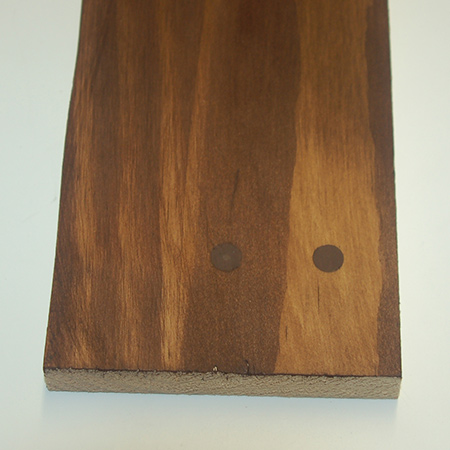
3. Fill Holes, Gaps and Blemishes
All wood projects will require the use of a wood filler to fill any screw holes, joining inconsistencies or blemishes. The wood filler is applied before the stain, so it is important to ensure that you choose a tinted wood stain that matches the finished stain colour. Failing to do this will leave screw holes or wood filler repair visible since the wood filler doesn't take the stain.
4. Do a Test Before Applying Stain
There are all types of different stain products on the market: from water-based, solvent-based, gel stains and so on. Every one of these stain products is applied in a similar method - but gives different results. That's why it is important to have some scrap wood on hand so that you can do a test before applying the stain to your project.
5. Take your Time to Apply Stain
If you want to avoid drips and runs or overlapping (lap marks) that causes darker streaks, you need to be consistent with the application of wood stain. Always work with the grain and from one end to the other, so that consistent staining is achieved. You will find more details on this in the video below.
Now take a look at the video to see how the professionals achieve that perfect finish on wood projects.
Products To Buy
Pop into your nearest Builders store and you will find a selection of various brand name products for prepping, finishing, staining and sealing or varnishing your wood projects. If you're unsure about the right product for your project, spend a little time online researching before you buy. It's important to know the difference between a solvent-based stain and a gel stain.
Sandpaper - Always have a selection of sandpapers in your workshop or tool kit, ranging from 40/60/80-grit for removal, 120-grit for removing uneven areas, to 180/240-grit for smoothing and finishing. If you are using a sander, you will obviously select a sanding pad that fits your particular model and type of sander.
Wood Filler - When staining a wood project, be sure to select a pre-tinted wood filler that will match the finished stain colour.
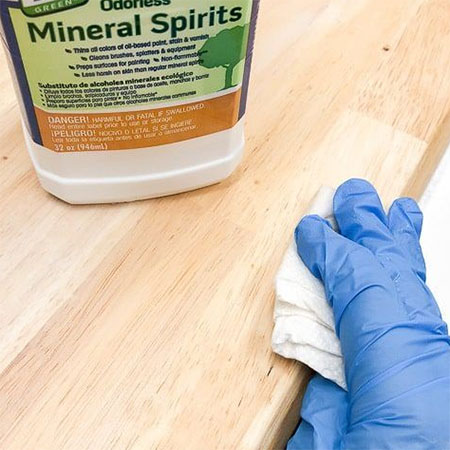
Tack Cloth - We don't have this product available locally, but use a lint-free cloth and mineral turpentine to wipe down the surfaces. And have a small paintbrush handy for those hard-to-reach corners. Any dust left behind on the surface will spoil the finish.
Gel Stain - The video above uses a brand of gel stain not available locally. Woodoc has a gel stain - but do not apply this as shown in the video. Read the instructions on the bottle for the correct application.
Wipe On Varnish - This is another product not available locally unless you substitute with a wipe-on finishing wax. There are several paint-on sealers or varnish that can be used for finishing off your projects.