
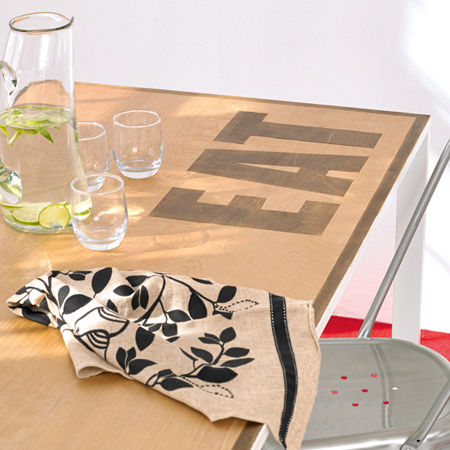
Using wood veneers to update furniture
As we become increasingly aware of our dwindling resources, now, more than ever our forests are a precious resource. Wood furniture should be cherished, and we can look at quality wood veneers as an alternative to solid wood furniture.
Wood veneers are thin, usually 3mm, compressed layer of varied timber species that can be applied to affordable substrates such as chipboard, commercial plywood or SupaWood (MDF). The method of applying veneers is a technique dating back thousands of years, and today, when we need to look at more sustainable alternatives to cutting down forests, veneers offer the DIY enthusiast a way to achieve the look of real wood without cost to the environment.
You can buy sheets of wood veneer at select hardware stores, or do an online search for a local supplier. The price varies according to the wood species - the rarer being more experiensive.
For more information of how to apply veneer to chipboard, plywood or SupaWood (MDF) I have included some videos that shed more light on the process. This video shows how to apply self-adhesive veneer, or see this video for advice on applying veneer using contact cement. I also found this excellent video that not only explains in detail as to what veneer actually is, but offers practical tips and shows how to correctly apply veneer.
YOU WILL NEED:
Sheet of wood veneer (source online)
Paper and supplies to make a template
Contact adhesive and brush or applicator
Woodoc interior sealer and brush
Sharp scissors or craft knife
Rubber roller or rolling pin
240-grit sandpaper
HERE'S HOW:
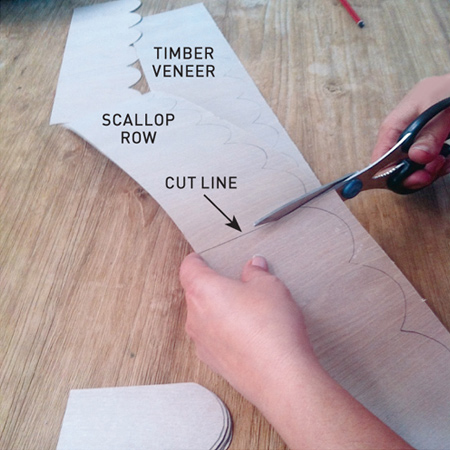
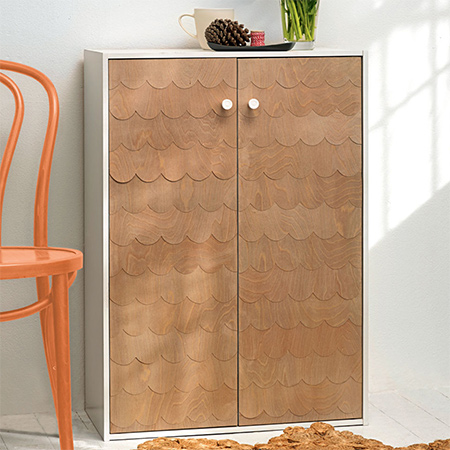
1. You ideally want to make a template that is the full width of each door, so that you can transfer the design onto your wood veneer. This project features a scallop design that is repeated from bottom to top, each layer overlapping the other. Trim the shapes with a craft or utility knife.
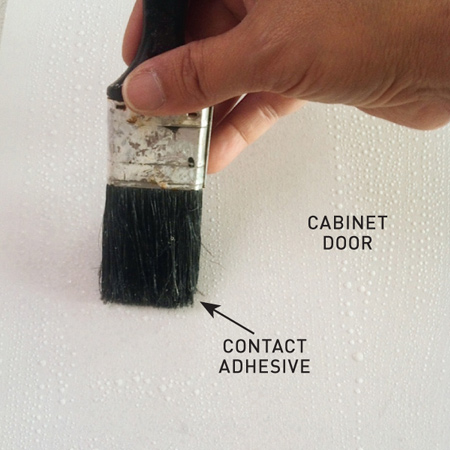
2. Apply a layer of contact adhesive to both the doors and the back of each piece of veneer. Allow to dry until slightly tacking before sticking the veneer onto the doors. Work from the bottom up, carefully ensuring that each layer is perfectly straight. Note that the very bottom piece is solid and does not have any cut out shapes.
3. You can use a rubber roller or rolling pin to press down over the veneer and remove any trapped air bubbles. Once dry, after about an hour, use a sharp craft blade to trim away any rough edges and lightly sand with 240-grit sandpaper.
4. Finish off with a couple of coats of sealer to protect.
