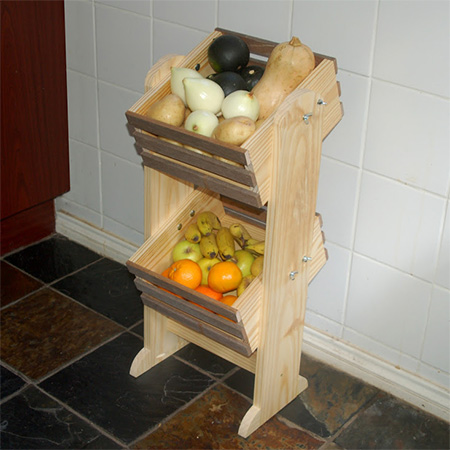
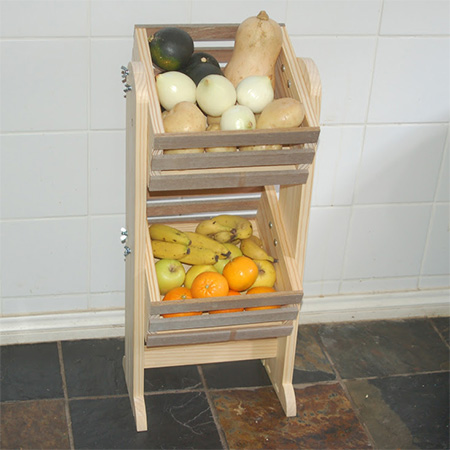
DIY adjustable Veggie Rack
I have seen quite a few designs for DIY veggie racks around, but this one differs in that the design allows you to tilt the racks for easy access.
03/10/2018
Note: You will see that we have used a pocket hole jig to assemble certain sections of the veggie rack, but you can substitute this with wood glue and screws.
YOU WILL NEED:
4 of 140mm x 262mm PAR pine - cubby base
4 of 140 x 300mm PAR pine - cubby sides
12 of 12 x 10 x 300mm pine or meranti – slats
2 of 140 x 760mm PAR pine - sides
4 of 50 x 50mm PAR pine - feet
1 of 44 x 300mm PAR pine - base support
Wood glue
32mm coarse-thread pocket hole screws
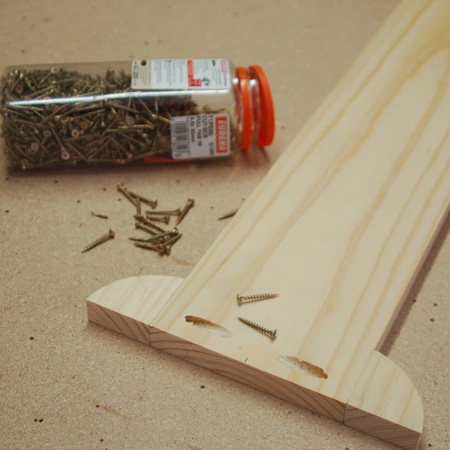
Eureka 4 x 45mm screws
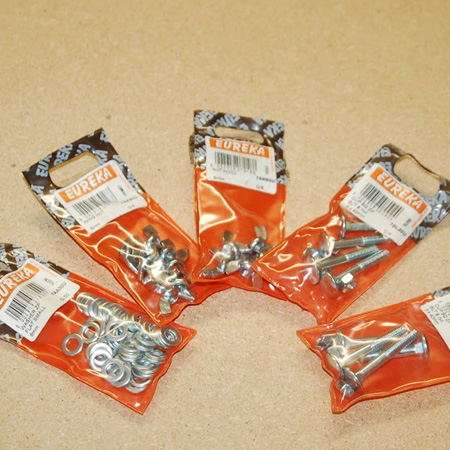
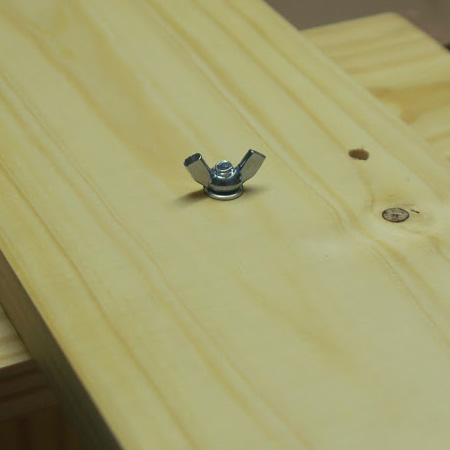
Eureka 6mm cup square bolts [8]
Eureka 6mm washers [8]
Eureka 6mm wing nuts [8]
TOOLS:
Drill / Driver plus assorted bits
Jigsaw plus clean-cut blade
Hammer and 20mm panel pins
Orbital sander plus 120- and 180-grit sanding pads
Clamps
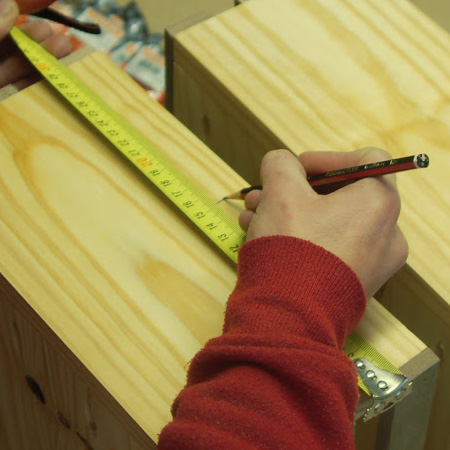
Tape measure and pencil
HERE’S HOW:
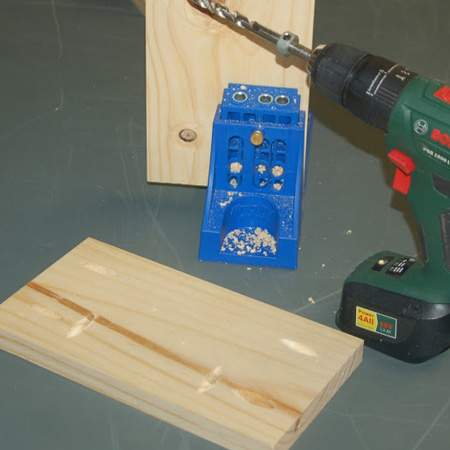
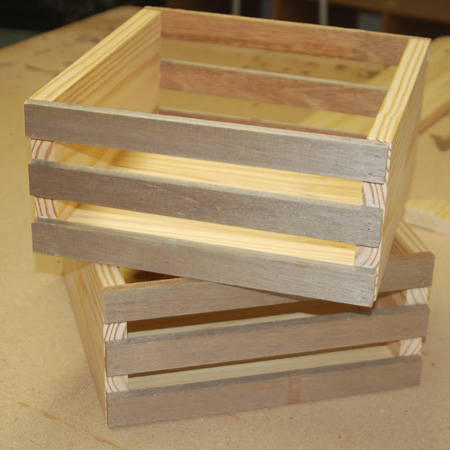
1. Drill [2] pocket holes in both base sections. We used 140mm wide pine for the base, but wasn't big enough to make the cubbies, so two 140mm pieces were joined together.
GOOD TO KNOW: If you don't have a pocket hole jig, glue and clamp these sections together.
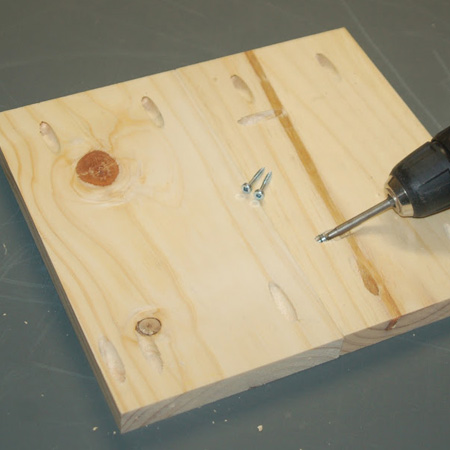
2. Drill [2] pocket holes on the short edge for attaching the sides of the cubby and [2] pocket holes along one long edge to join the other base. Join the base sections together with glue and 32mm pocket hole screws or clamp and leave overnight.
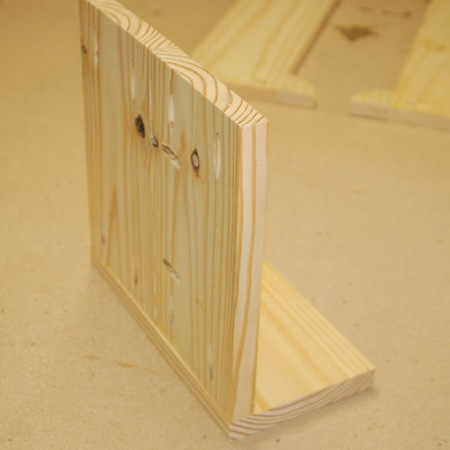
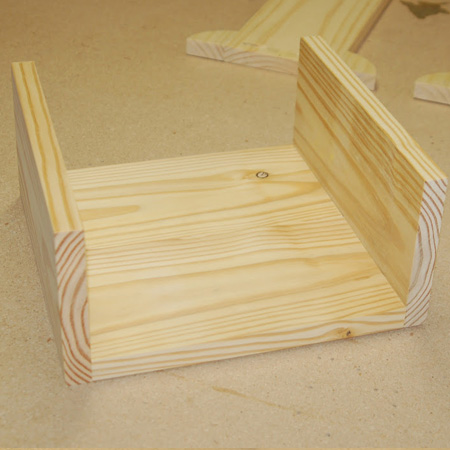
3. Secure the cubby sides to the base with wood glue and pocket hole screws, or drive screws through the sides into the base if you don’t have a pocket hole jig.
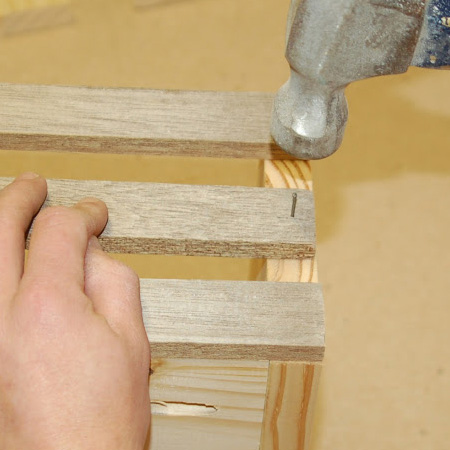
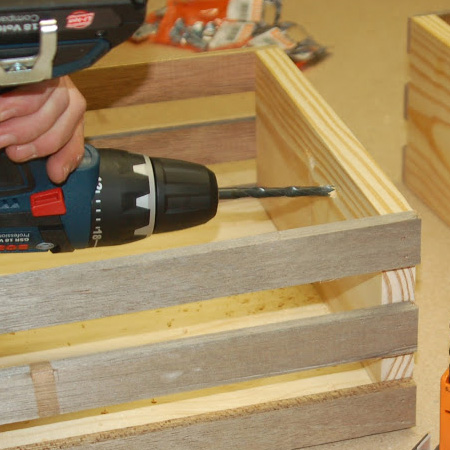
4. Cut the front and back slats to fit and then use a hammer and panel pins to attach to the front and back of your assembled cubbies.
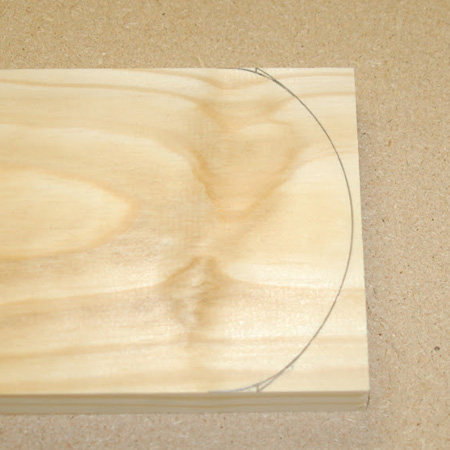
5. Use a circular template to round off the top of each leg and cut out with a jigsaw.
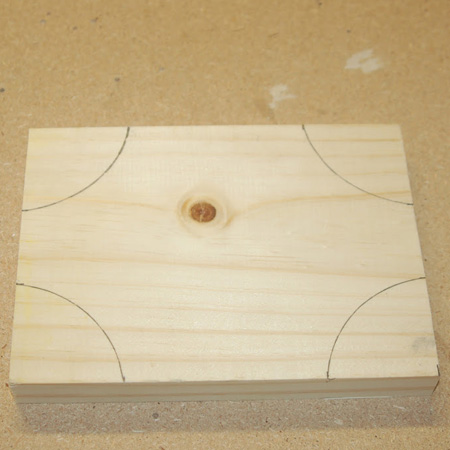
6. To make the leg supports you also need to add [2] 50 x 50mm supports to the bottom of the leg. Use a template to draw a quarter-circle on an offcut and then cut out with your jigsaw.
7. Secure the quarter-circles to the base of each leg with wood glue and screws.
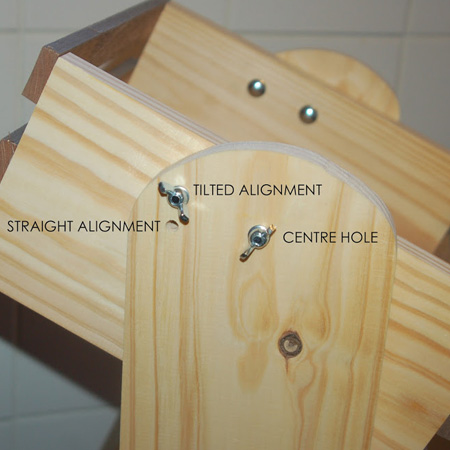
8. Measure up 350mm and 700mm from the bottom of each leg and mark the centre with a pencil. Also make a second mark 50mm at the same measurements, but out towards the back of the leg for the cubby adjustment. Drill 6mm holes where marked on each leg.

GOOD TO KNOW: To secure the cubbies to the frame we are using 6mm Eureka cup square bolts, washers and wing nuts. The arrangement allows for safe and secure fitting of the cubbies and also an adjustment option if you want to tilt the cubbies.
9. Mark the centre of each drawer at 20mm from the top edge. Also mark at 50mm out from this for the cubby alignment. Drill holes with a 5.5mm drill bit. Although this is .5mm smaller than the 6mm cup square bolt, it provides a tight fit when joining the sections together.
10. Drill 6mm holes in the sides of each cubby for mounting. Drill a hole in the centre of the cubby at 30mm down from the top edge, and a hole 50mm towards the back of the cubby.
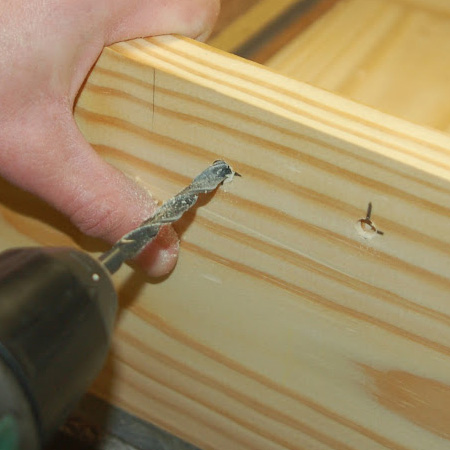
11. Use an 8mm bit to drill a larger hole on the inside of each cubby to a depth of about 5mm to accommodate the square rib around the top of the cup square bolt and to enable the head of the bolt to be flat on the inside of the cubby.
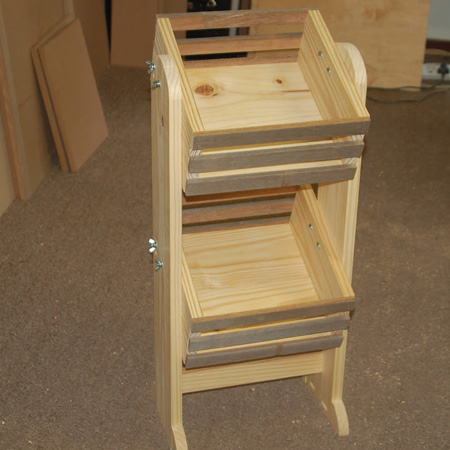
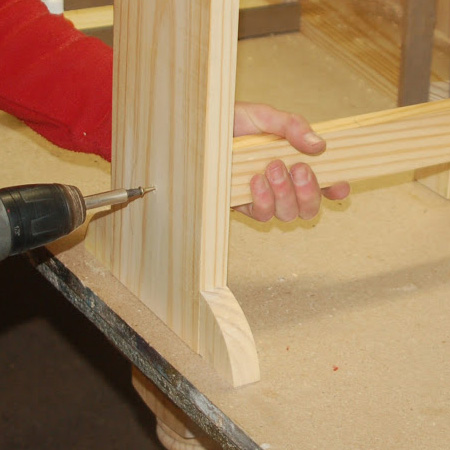
12. Mount the cross-support at the bottom of the leg/side sections using wood glue and 45mm screws.
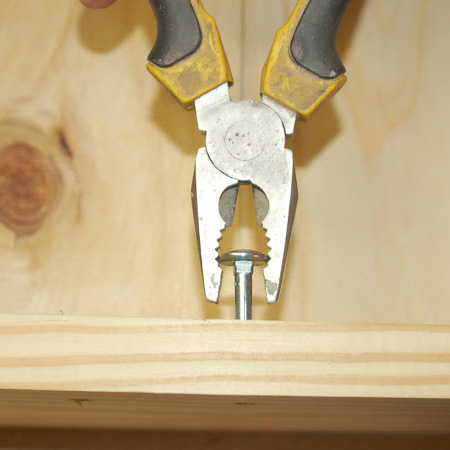
13. To secure the cubbies onto the sides, insert a cup square bolt through the centre drilled hole. You may need to use a pair of pliers to help you turn the screw through the tight hole.
14. Place the cubby inside the sides and align the hole to continue pushing the cup square bolt through to the outside.

15. Secure with a washer and wing nut. Repeat for remaining sides on the cubbies until both the cubbies are secured to the sides.
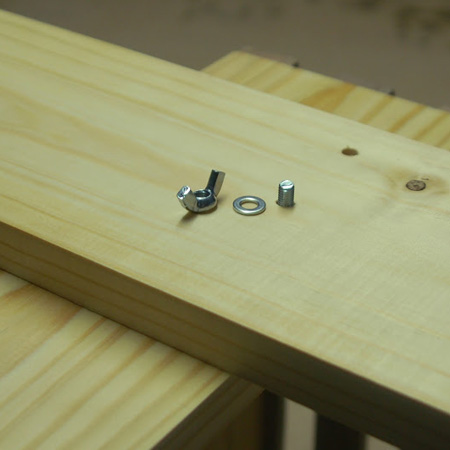
GOOD TO KNOW: Tighten the wing nuts as much as possible.
16. Push a pencil through the second drilled hole in the cubby (Step 8.) and tilt the drawer to mark on both legs.
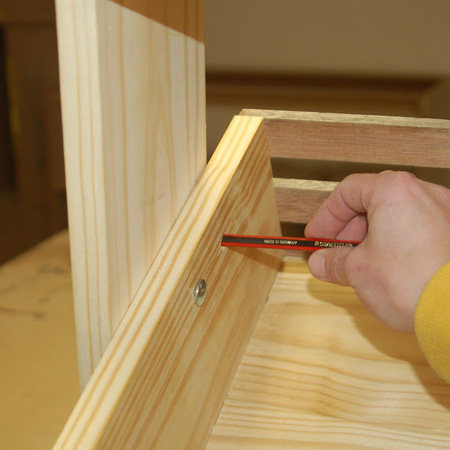
17. When you are happy with the angle, place your drill bit through the drilled hole in the sides and drill a 6mm hole through the sides of the cubby. This allows you to lock the cubbies in a tilted position. Push a cup screw through the cubby and secure on the side with a washer and wing nut.