TV Unit with Wood Slice Finish
In this project, we show you how to make a basic TV unit, but what makes this TV unit so different is the unique wood veneer detailing using wood slices.
05/09/2018
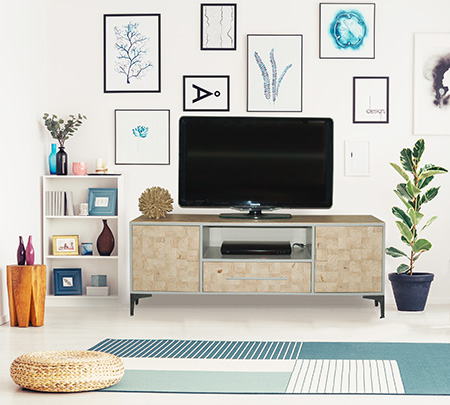
It's easy to make a basic TV unit and then finish it off with a wood slice veneer. Using 4mm thick wood slices you can create a one-of-a-kind piece for your home at a fraction of what it would cost to buy.
YOU WILL NEED:
2 of 400 x 1500mm 16mm SupaWood - top / bottom
4 of 400 x 400mm 16mm SupaWood - sides / dividers
1 of 400 x 636mm 16mm SupaWood - shelf
1 of 50 x 636mm 16mm SupaWood - support
2 of 396 x 396mm 16mm SupaWood - doors
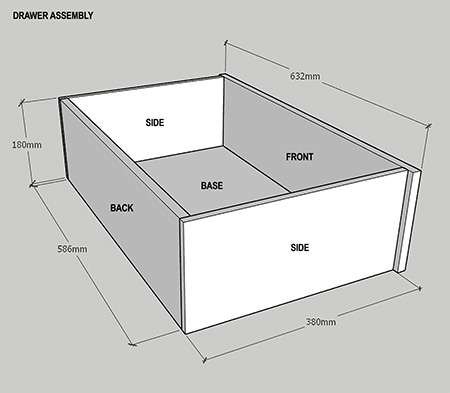
1 of 180 x 632mm 16mm SupaWood - drawer front
2 of 180 x 380mm 12mm SupaWood - drawer sides
1 of 180 x 586mm 12mm SupaWood - drawer back
1 of 364 x 586mm 12mm SupaWood - drawer base
1 of 67 x 67mm x 1800mm PAR pine for wood slices, 4mm thick
Wood glue
Wood filler (pine)
300mm drawer runners plus 16mm screws
4 Concealed hinges, inset, plus 16mm screws
4 x 45mm screws
No More Nails cartridge and caulking gun
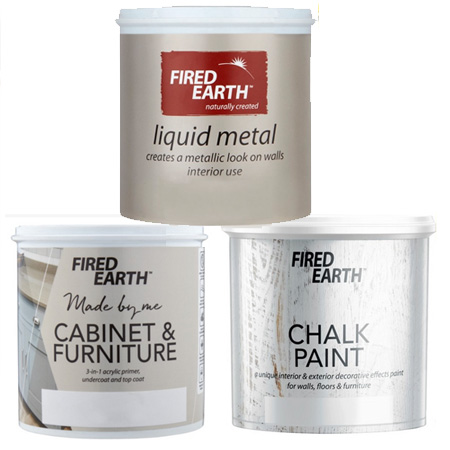
Rust-Oleum Ultimate Polyurethane, natural matte
Fired Earth 'Made By Me' Cabinet & Furniture Paint, mocca chocca
6 matching legs and 16mm screws or make a support using scrap board (see below)
TOOLS:
Drill / Driver plus assorted bits
Countersink bit
35mm Forstner bit
Mitre saw (to cut wood slices)
Orbital sander plus 120- and 240-grit sanding pads
Clamps or something heavy to weigh down
Tape measure and pencil
HERE'S HOW:
GOOD TO KNOW: For all sections, pre-drill countersunk pilot holes.
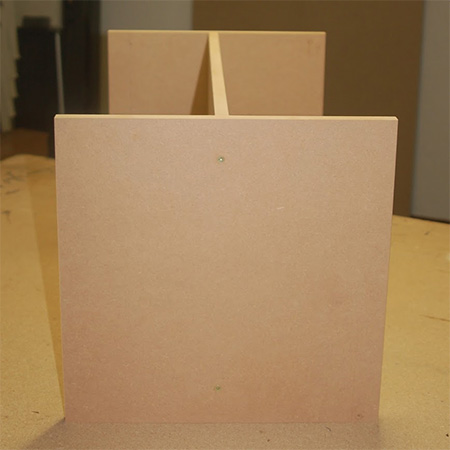
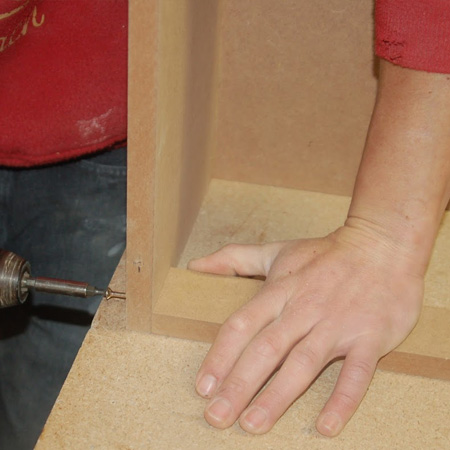
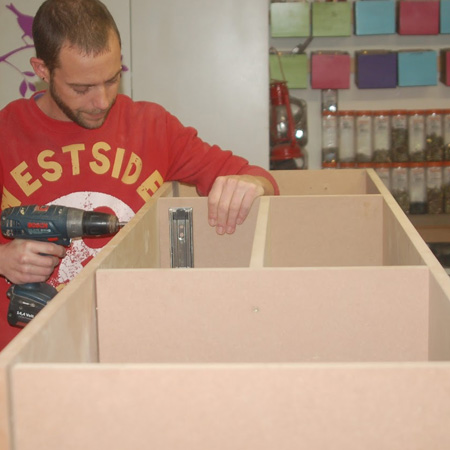
1. On both dividers, measure up and draw a line at 40mm (for mounting the drawer runners) and 184mm + 200mm (for the shelf). Use the 184mm for mounting the shelf. Secure the shelf in place with wood glue and 50mm screws through the sides.

2. Using the 40mm line as a guide, position the (separated) drawer runner centrally on the line and secure to the dividers with 16mm screws. The drawer runner should be mounted 20mm in from the front edge. This allows for the 16mm drawer face and the 4mm thickness of the wood slices on the drawer face.
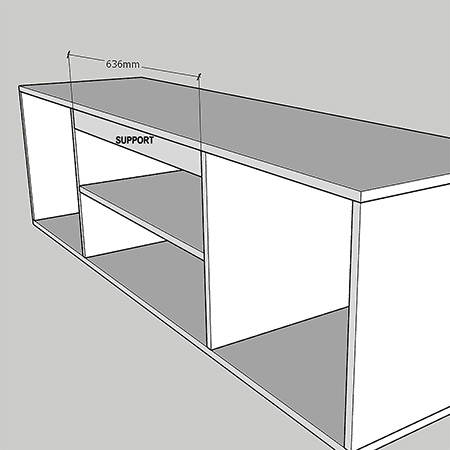
3. Position the support piece flush with the top edge of the dividers and secure with wood glue and [2] 50mm screws in each side, through the dividers.
4. Add the top section, drilling through the top into the dividers. Secure with wood glue and 50mm screws.
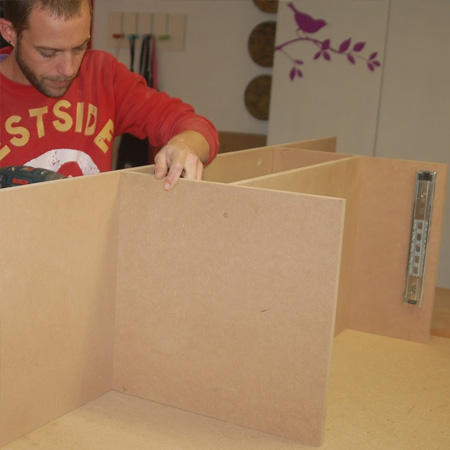
5. Add the side sections, drilling through the top and securing with 50mm screws.
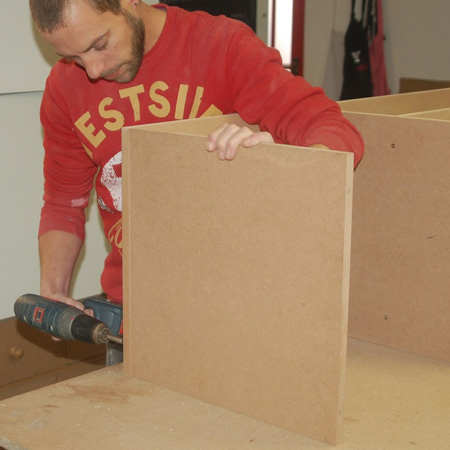
6. Now you can add the bottom piece, again using wood glue and 50mm screws to secure in place.
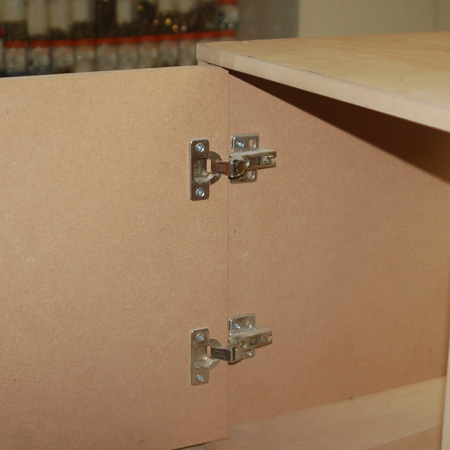
7. Drill 35mm diameter holes for the concealed hinges using a Forstner Bit. We are using inset hinges, as the door is mounted inside the frame. Secure the hinges to the door with 16mm screws.

8. Secure the hinged doors to the frame using 16mm screws. Allow a 2mm gap all round. When setting the flush level, bear in mind that you will still be adding the 4mm thick wood slices to the door. Remove the doors for now so that you can glue on the wood slices and paint around the edge.
9. Assemble the drawer by securing the sides and back to the base and then securing the sides to the back. Add the front of the drawer, allowing an 11mm gap at either side of the drawer face. Drill through the drawer face to secure to the sides and base. Sand the completed drawer.
10. Draw a line 38mm up from the base of the drawer and use this as a guide for mounting the drawer runner. Place the runner centrally on the line and secure in position with 16mm screws. The runner attached to the frame is mounted 40mm up from the base and this allows a 2mm clearance gap at the bottom of the drawer.

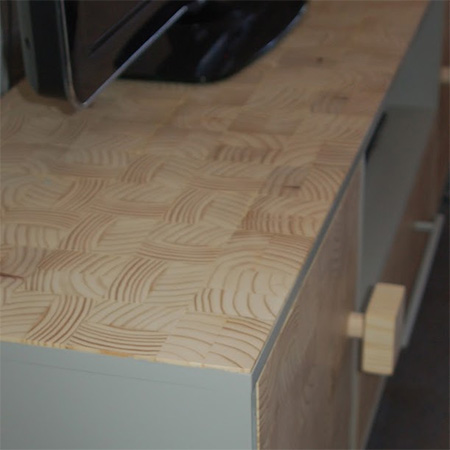
11. Cut the wood slices using a mitre saw. For the top you need 132 slices, for each door you need 36 slices, and for the drawer you need 30 slices. You will also need to trim some of the wood slices to fit around the edges.
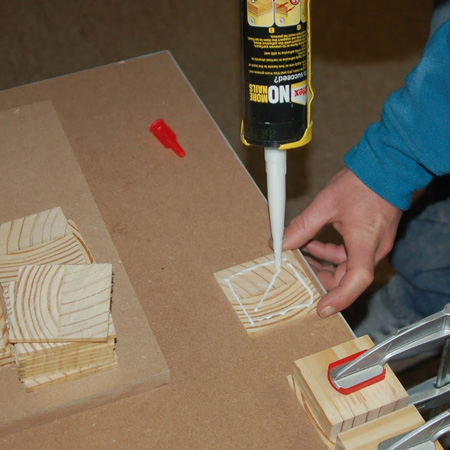
12. Use No More Nails adhesive to secure the wood slices to the top, doors and drawer front.
GOOD TO KNOW: Since each slice will need to be clamped for about 30 minutes, how many slices you can glue in one go depends on how many clamps you have - or if you have a heavy item that can be used to weigh down the slices until the glue dries. If you don't clamp the individual wood slices they tend to lift off the surface and bow slightly.
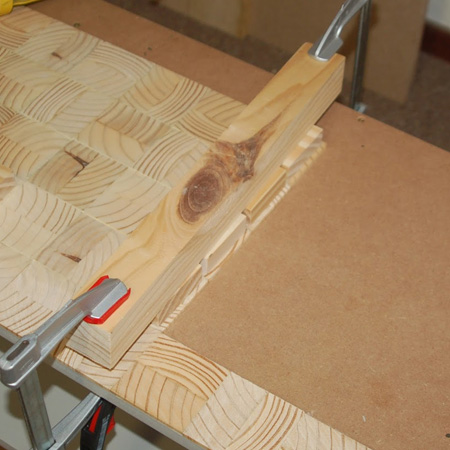
13. We used assorted quick clamps, spring clamps and Kwiklamps to glue wood slices to the front of the top - working from one end. These were left for about 30 minutes before the clamps were removed and we continued along the front edge to the other side. This was repeated for every row until the top was finished. This is a time-consuming process - but the end result was definitely worth the effort.
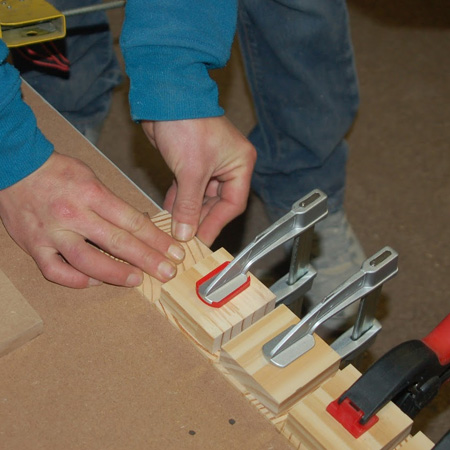
TOP TIP: To cut down on the time spent gluing the wood slices onto the top, we fashioned a clamp using a length of pine and 2 clamps. This allowed us to glue more slices in one go.
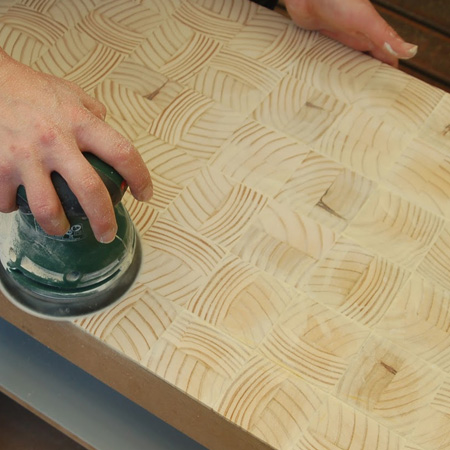
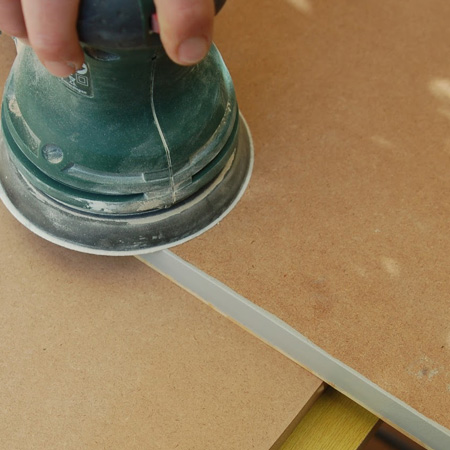
14. After leaving the wood slices overnight, they were then sanded with 120-grit to get rid of the uneven heights and then sanded again with 240-grit for a smooth finish. Once done, sand the entire cabinet with 240-grit to prepare for painting. Wipe or brush clean to remove all traces of dust.
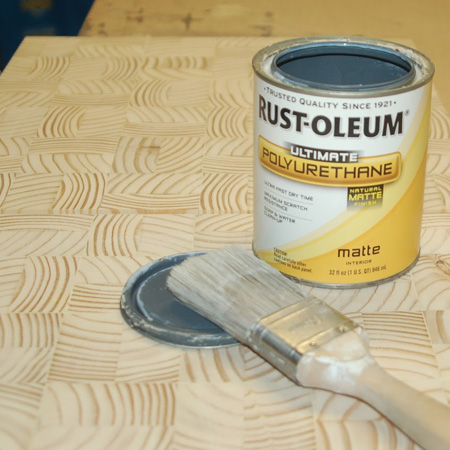
15. Two coats of Rust-Oleum Ultimate Polyurethane, natural matte, were added over the top and edges of the wood slices on top, doors and drawer front. Make sure to allow drying time between each coat. We opted for a matt finish to keep the wood slices as natural looking as possible.
GOOD TO KNOW: Don't worry if the sealer is applied over the edges of the SupaWood, as it helps to seal these and make it easier to paint these once you have finished sealing the wood slices.
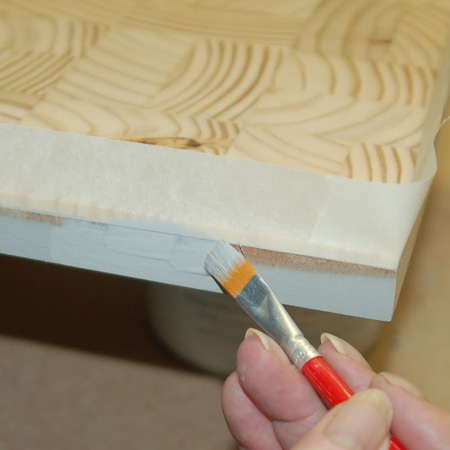
16. Mask off the edges of the top, doors and drawer front so that you can paint the cabinet. We actually painted the cabinet before sticking down the wood slices but ended up having to paint the edges again. Use a foam paint roller to apply paint to flat or large surfaces, and a small artist's paintbrush to paint around the edges.
Fired Earth offer a wide range of paints for in and around the home. Finish your furniture and decor projects with Cabinet & Furniture paint, makeover your furniture with Fired Earth Chalk Paint, or add a unique finish with Fired Earth Liquid Metal.
GOOD TO KNOW: Two coats of Fired Earth 'Made By Me' Cabinet & Furniture paint in Mocca Chocca were applied to the cabinet. Allow sufficient drying time between coats.
BELOW: The back of the doors was not painted, and we sanded away any excess paint.
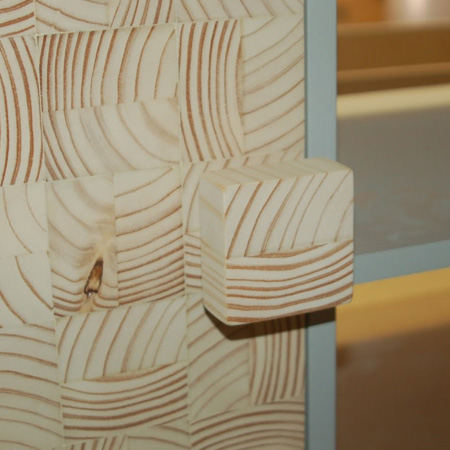
17. We made our own handles for the doors using blocks of 67 x 67mm PAR pine and small, cut dowels. These were glued together to make the handles. After an hour the wood handles were sealed to match the door.
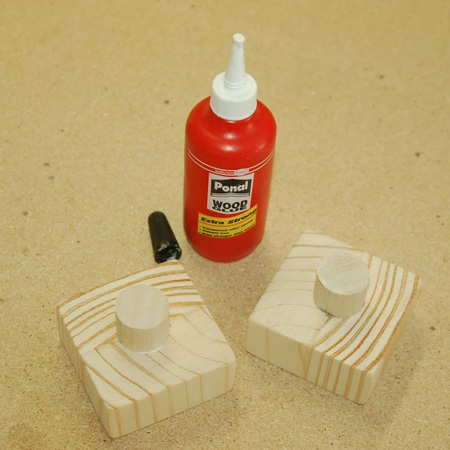
18. The handles were secured onto the door using screws long enough to go through the door, through the dowels and halfway into the blocks.
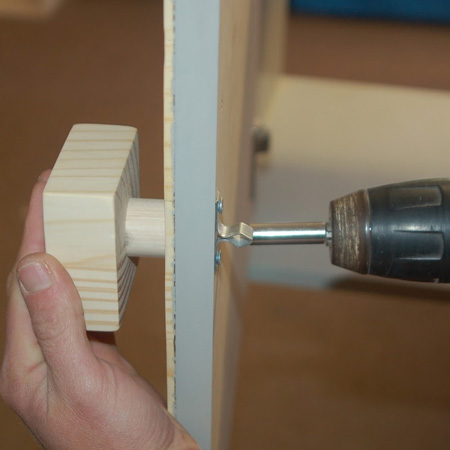
BELOW: Wood block handles mounted onto doors.
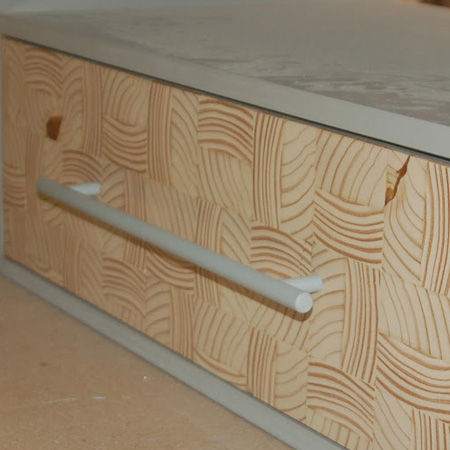
TOP TIP: We upcycled an old handle for the drawer. This was given a couple of coats of Spraymate Grey Primer that perfectly matches the paint colour on the cabinet.
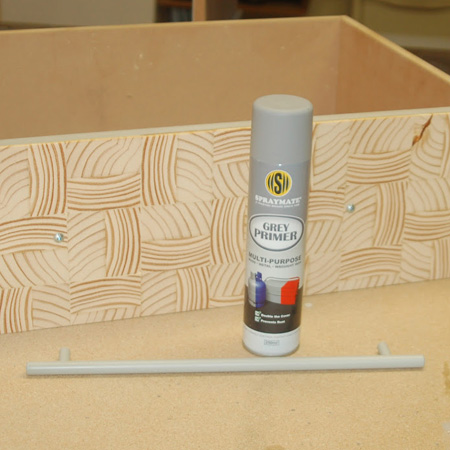
BELOW: Drawer handle attached.
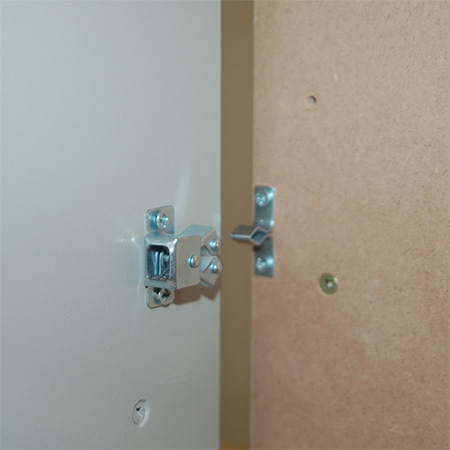
19. Add door catches to the doors, securing onto the dividers with 16mm screws.
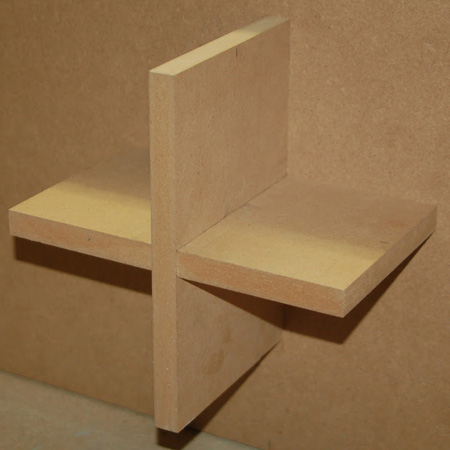
20. Finish off your TV unit by adding your choice of legs. We used a chrome design leg that we found at Gelmar. Unfortunately, they only have four legs in stock, so we had to make a plan to support underneath the centre of the TV unit. The legs were secured to the underside of the cabinet with 16mm screws.
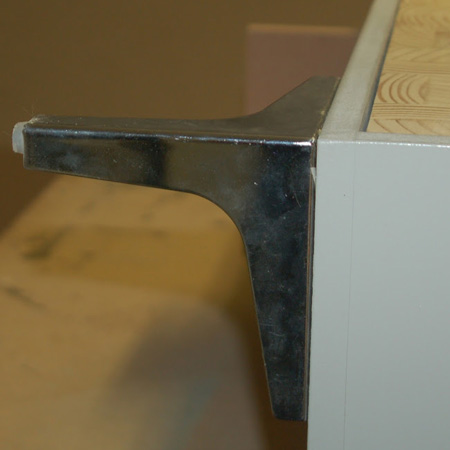
GOOD TO KNOW: Due to the fact that we were unable to source extra legs for our TV unit, we had to make a support for the centre section. This is simply 4 interlocking pieces of SupaWood secured underneath the cabinet. This will prevent any bowing later on. Since it will be out of sight, the support was left as is and not painted.