
DIY Tip: How To Make Screws Invisible
When you are working with wood and you don't want screw heads to be visible, try this clever trick.
24/05/2021
When you are making projects with wood, you want the finished project to look as good as possible. If you are able to have screws that are not visible, that's one of the ways to have a more professional finish, but what if you don't have a pocket-hole jig or a biscuit joiner? What else can you do to make screws - and particularly screw heads - invisible. It's easy!
Finishing off wood projects, particularly when working with a softwood like pine, normally means you have to have specialised tools, especially if you want screws to be invisible and not spoil the finished look. I came across a very clever method that I am sure many experienced woodworkers have used over the years and it's one that you can perform with basic woodworking or power tools.
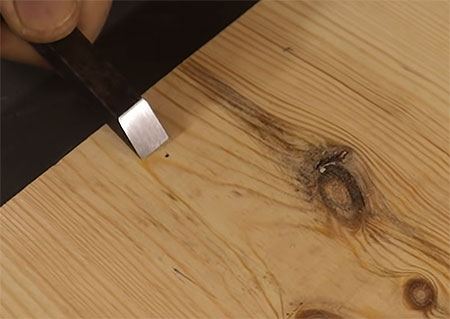
Step 1
Use a sharp chisel to scrape and gently lift up a flap on top of the wood surface. The chisel must be very sharp in order to easily slice into the surface of the wood.
Slice into the wood to carefully lift up a thin flap.
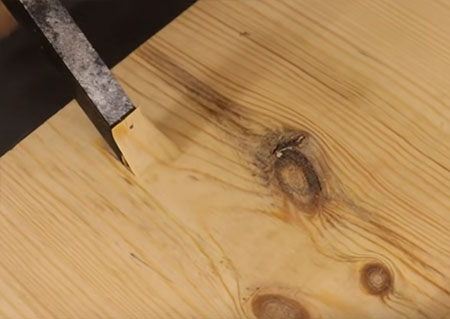
Step 2
Repeat this method for however many screws you need to drive in. For this example, two screws were used and as you move through the steps to the end, you will see that it is exactly the same piece of wood being worked on - no Photoshopped tricks here!
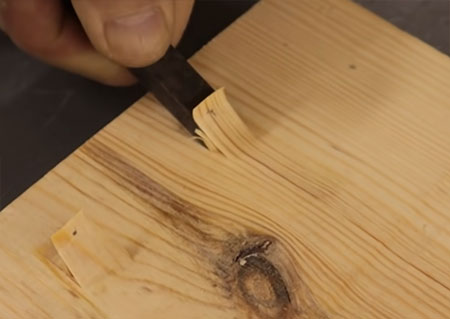
Step 3
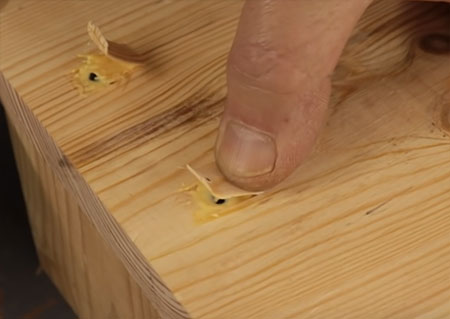
Once you have made the flaps you can insert the screws and drive them in, making sure to keep the wood flap out of the way.
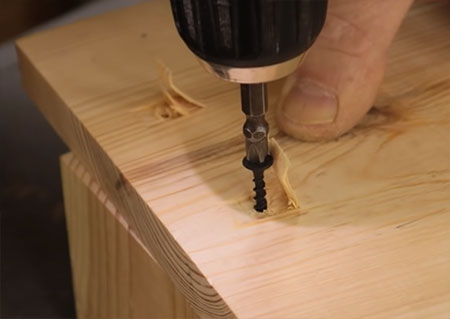
With the flap out of the way - drive in the screw.
Step 4
Once the screws are in place, apply wood glue to the wood flaps.
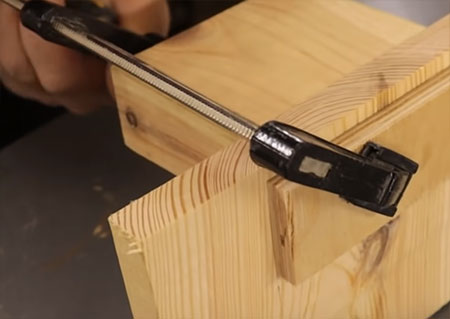
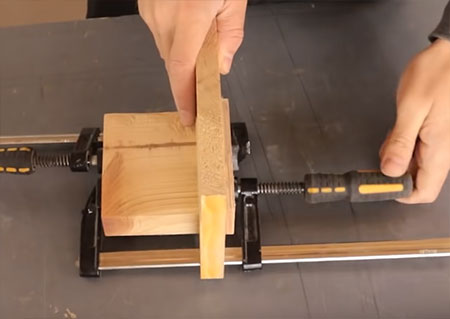
Step 5
Press down on the flaps and then place a scrap piece of wood over the top, making sure that the wood flaps will be pressed flat. Clamp overnight.
Clamp overnight until the glue has set.
Step 6
Now it is to remove the clamps.
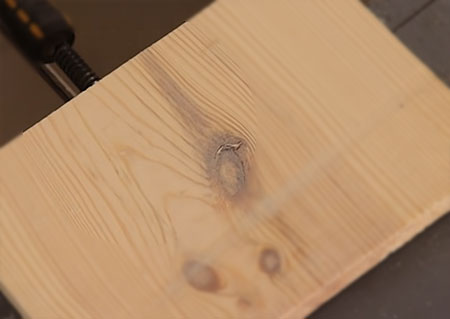
Step 7
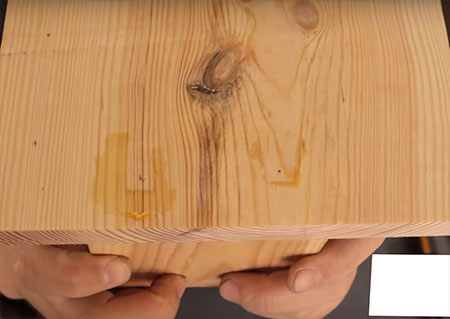
The screw heads are completely hidden and out of sight. You can still see the nail holes that were there at the start of this tutorial.
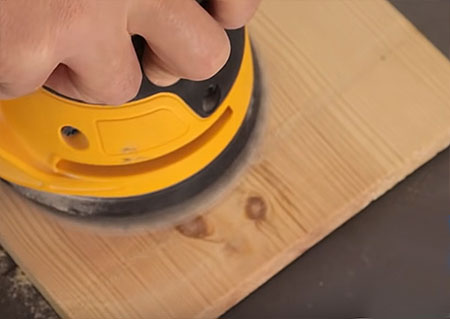
Step 8
Sand as you normally wood. You want to sand away any wood glue remaining on the surface as this will spoil the finish if you want to apply clear sealer or varnish.
Sand away any imperfections on the surface of the wood.
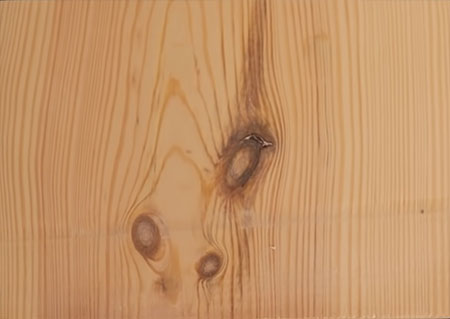
No more visible screws and the surface of the wood looks as good as new.
This method is particularly useful if you use pine, poplar or cedar for your DIY furniture or decor projects.
If you want more of the same tips, visit the video channel: https://www.youtube.com/channel/UC3xiLtzcga6n7nhvQf-s5-A