DIY Shadowbox Storage Shelves
These shadowbox storage shelves are made using pine plywood and you can make as many as you like to fill a blank spot on a wall.
21/11/2017
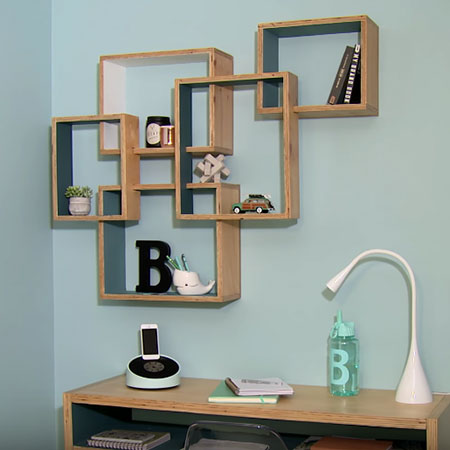
The cut outs in the individual boxes allow you to create a unique design layout.

YOU WILL NEED:
16mm plywood cut to the size required for your boxes
Wood glue
Wood filler
TOOLS:
Pneumatic nail gun OR hammer and panel pins
Orbital Sander plus 120- and 180-grit sandpaper
Jigsaw and clean-cut blade
Tape measure and pencil
Buy all the tools and materials for this project at your local Builders.
HERE'S HOW:
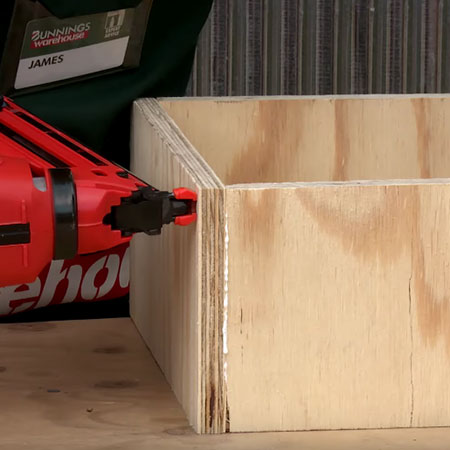
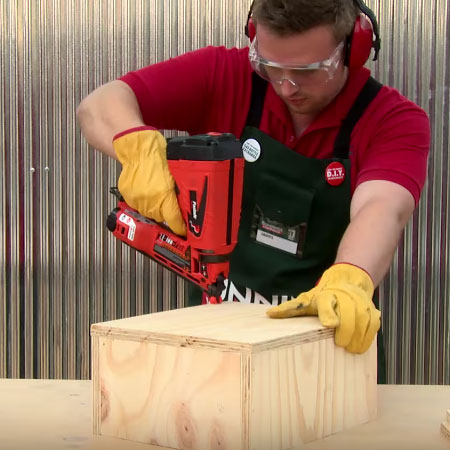
1. Join all the boxes together using wood glue and pneumatic nail gun OR use a hammer and panel pins.
GOOD TO KNOW: The central box, or one box, has a plywood back to allow for fitting onto the wall.
2. Wipe away any excess glue with a rag.
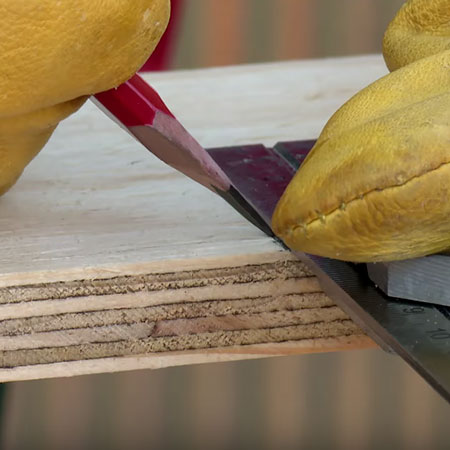
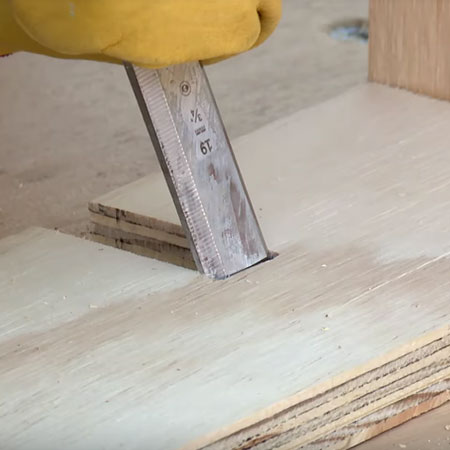
3. Mark the location for cutting out slots to join the shelves together. Cut out with a jigsaw and then clean up the edges with a sharp wood chisel.
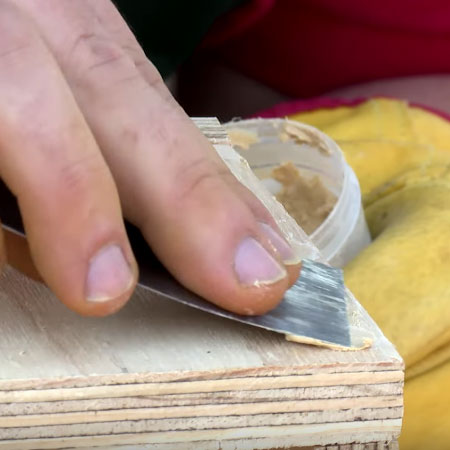
4. Fill all holes with wood filler and let dry.
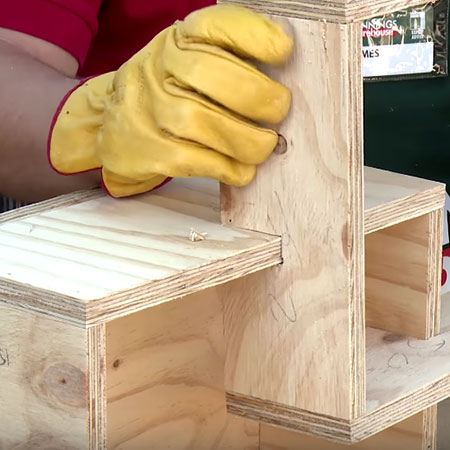
5. Test fit all the sections.
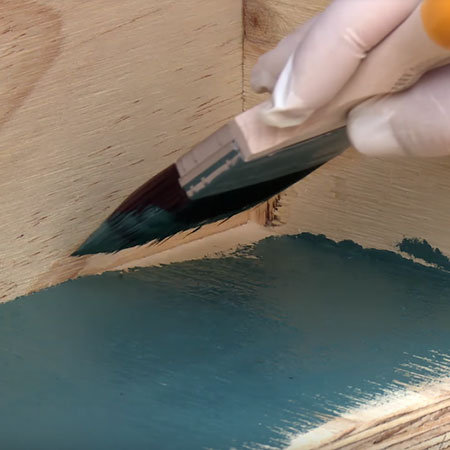
6. Sand the boxes smooth, wipe clean and then apply your choice of paint finish.