
DIY Storage Platform for under Washing Machine
Here is a great DIY project if your washing machine or tumble dryer is not mounted under a countertop and it will save you much-needed space and provide extra storage.
25/09/2022
allaboutdiy.com
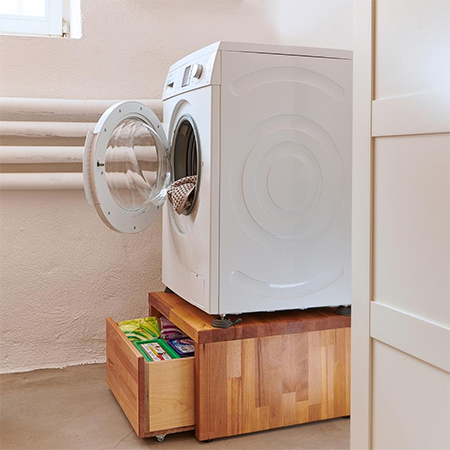
If your washing machine or tumble dryer isn't mounted under counter, chances are you can do this DIY project and add valuable storage space underneath the appliance by adding a storage platform and optional pull-out drawer. You only need a few tools and materials that you can purchase at any Builders store and about 30 minutes of spare time to knock this project together. The project itself is not difficult and you don't have to worry about installing drawer runners, which many DIY enthusiasts find a daunting task, since the pull-out drawer is on caster wheels.
The storage platform and optional pull-out drawer is a great place to store laundry day supplies or just use as added storage. Keep in mind when making the storage platform that you need to use 32mm thick timber, as anything less than this will not support the heavy weight of a washing machine. It is also an excellent idea to fit self-adjusting feet onto the platform, especially if your floors are not even, as this will balance out the washing machine and ensure quieter operation and longer lifespan.
YOU WILL NEED:
1 of 32 x 620 x 600mm PAR pine - platform top
2 of 32 x 600 x 290mm PAR pine - sides
1 of 32 x 540 x 290mm PAR pine - back section
Have all the PAR pine cut to size at your local Builders for easy assembly
5 of 80mm cut screws
4 of self-adjusting feet for the platform
Wood glue
TOOLS:
Drill plus assorted bits
Countersink bit
Screwdriver set or cordless screwdriver and bits
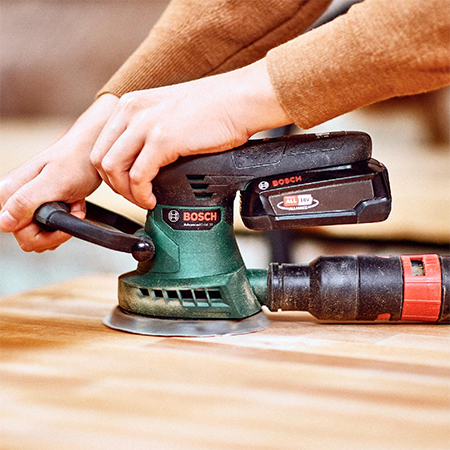
Orbital sander and 120-grit sand paper
Carpenter's square
Clamps
Corner clamps OR masking tape
Tape measure and pencil
Safety gear
HERE'S HOW:
Step 1
Take the time to sand all the individual pieces beforehand so that they are smooth, and the sharp edges are slight rounded off.
Step 2
Begin by placing the Back between both Sides and securing this in place with wood glue and screws. You can use masking tape to align and hold the corners in place as you drill a 4mm countersunk pilot hole.

GOOD TO KNOW
Use a damp cloth to wipe away any wood glue that oozes out when joining pieces.
Step 3
Using a clamp, secure the top on the sides and back section and secure in place with wood glue and screws. DO pre-drill countersunk pilot holes so that screws do not sit above the surface of the timber.

Step 4
To finish off the storage platform, sand the entire piece with 120-grit sandpaper. Once finished, you can apply a clear polyurethane sealer or tinted sealer. Follow the recommended instructions for proper application.
Step 5
Finally, add the [4] self-adjusting feet to the corners of the storage platform. These should have a sturdy rubber base that will grip the floor and can be adjusted to set the platform level on an uneven floor.
Adding a pull-out drawer
The addition of a pull-out drawer that fits into the storage platform makes a lot of sense. This valuable space can be put to use for storing laundry day essentials or to provide much-needed storage for a kitchen or laundry. You can make the pull-out drawer using 21mm laminated pine shelving or other board product. Plywood is an easy solution as it can be finished or stained to match the storage platform.