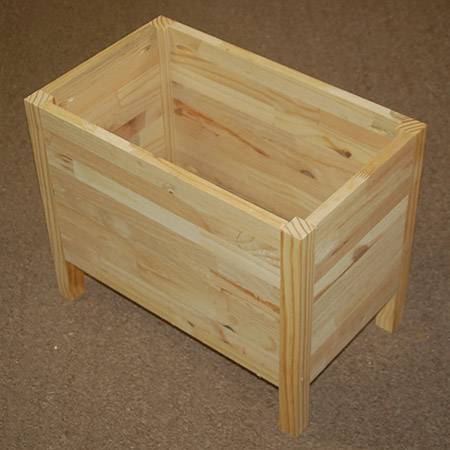
Stool and Toybox in one
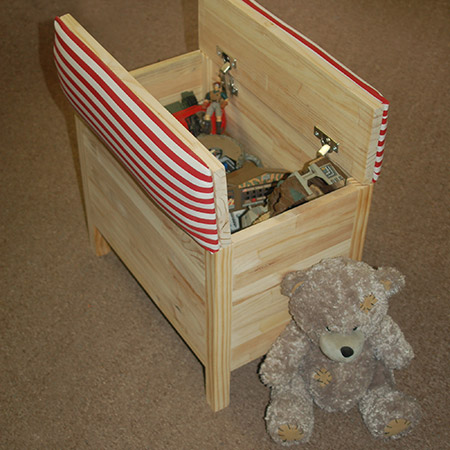
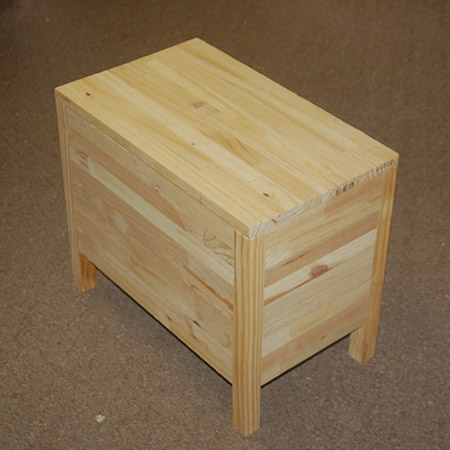
This upholstered stool is also a toybox. The upholstered lid folds open to reveal a storage compartment that can be used for toys, or you can use to store your craft or hobby supplies, or even use as a toolbox.
03/02/2018
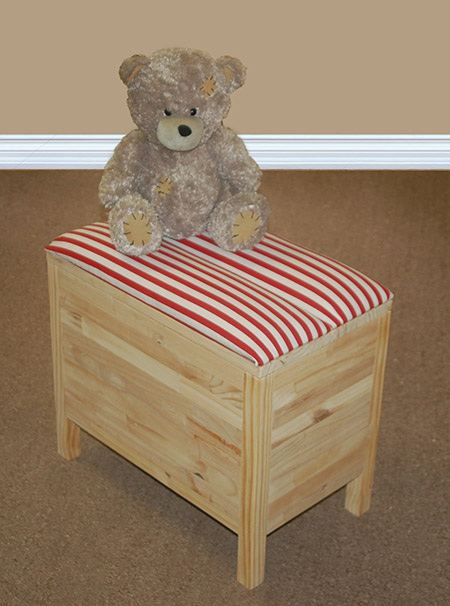
This stool and toybox is one provides an out-of-sight storage space for toys, or for craft and hobby supplies, or you can use it as a comfortable toolbox. The padded lid folds open to reveal the storage compartment. The stool | toybox is made using pine PAR and laminated pine that you will find at your local Builders.
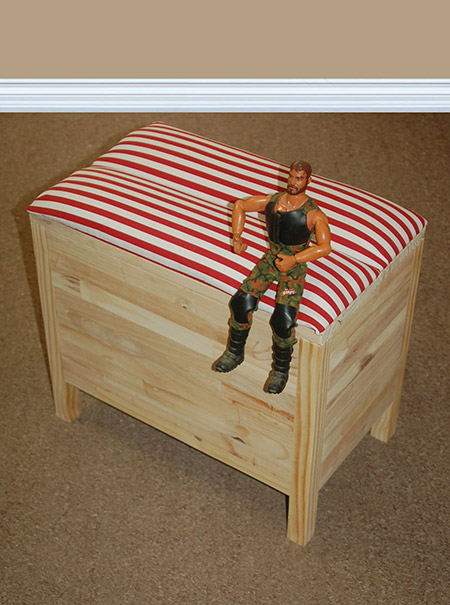
The finished dimensions of the stool | toybox are: 500mm long x 300mm wide x 460mm approx. height (with upholstered seat). As another option, you can reduce the height of the legs by 100mm and add caster wheels to the stool | toybox for easy mobility.
YOU WILL NEED:
4 of 32 x 32 x 400mm pine - legs
2 of 19 x 436 x 300mm laminated pine - front/back
2 of 19 x 236 x 300mm laminated pine - sides
1 of 19 x 463 x 262mm laminated pine - base
2 of 19 x 500 x 150mm laminated pine - lids
2 of 3 x 500 x 150mm masonite or hardboard - fabric backs
32mm coarse-thread pocket-hole screws
1 metre of fabric plus 1/2 a metre of thick batting
Double-sided tape
No More Nails adhesive
Wood glue
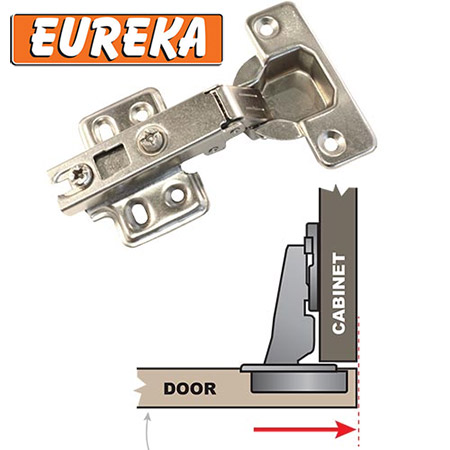
Eureka concealed hinges, full overlay plus 16mm screws
35mm Forstner or MAD bit
TOOLS:
Drill/Driver plus assorted bits
Kreg pocket-hole jig
Jigsaw plus clean-cut blade
Sander plus 120- and 180-grit sanding pads
Clamps
Tape measure and pencil
The reason we use concealed hinges for this project is so that little fingers can't be trapped. The hinges hold the lid firmly when open.
Eureka offer a wide selection of products for all your DIY, home maintenance and home repair projects. From cup hooks to wall anchors, pop into your local Builders or hardware store to see the full range of products available.
HERE'S HOW:

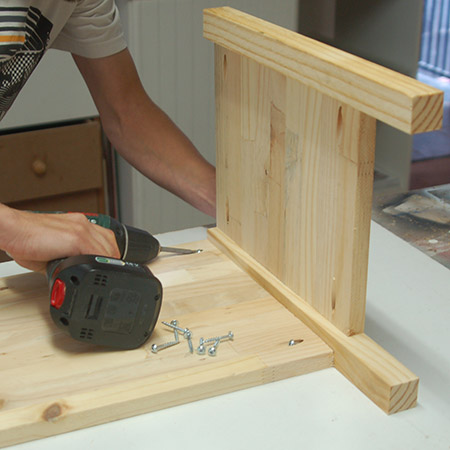
1. Drill pocket-holes at both sides of the side sections.
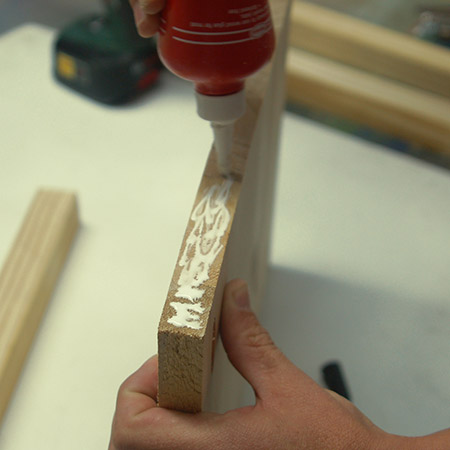
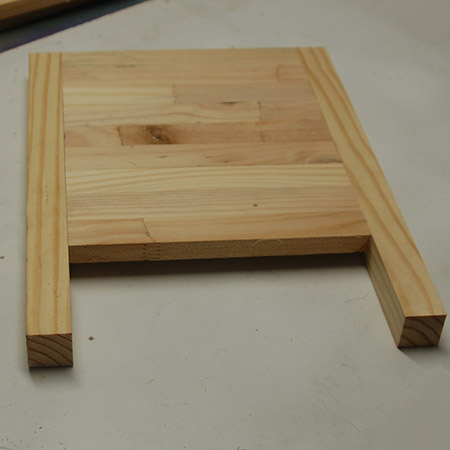
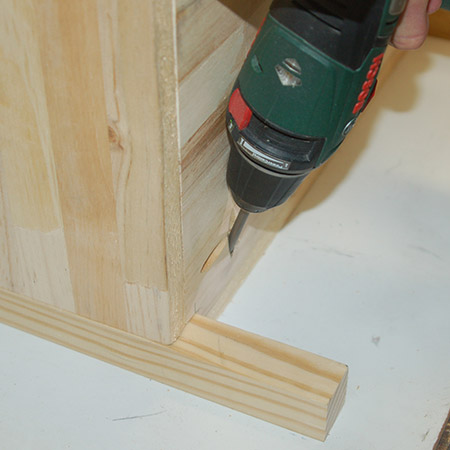
2. Apply glue to the ends of the sides and clamp these onto the legs.
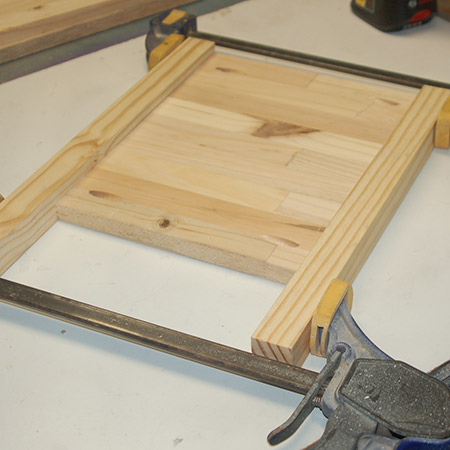
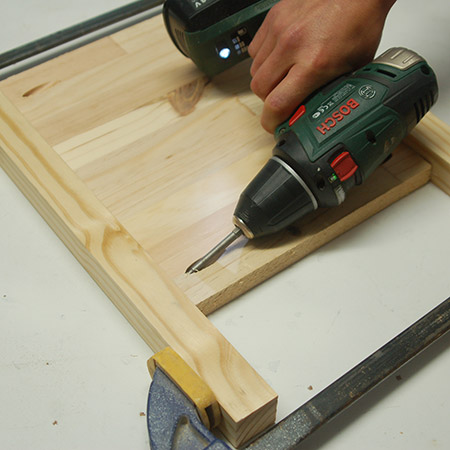
3. Secure the sides to the legs with 32mm pocket-hole screws.
BELOW: Completed side section.
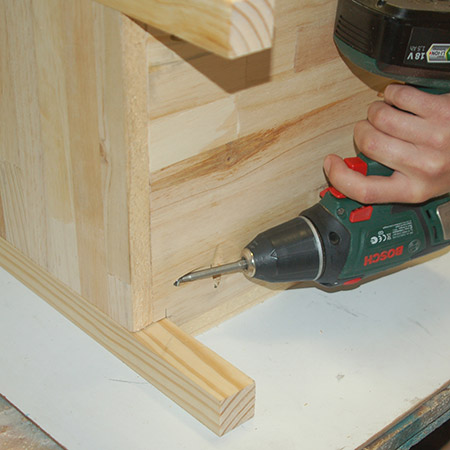
4. Drill pocket-holes at both sides of the front and back sections.
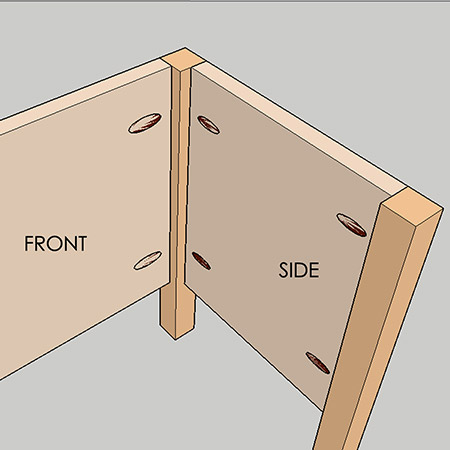
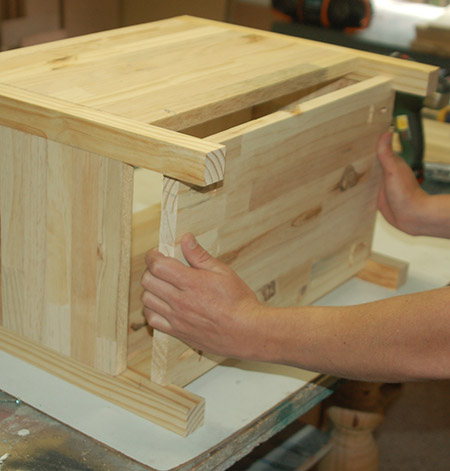
5. Apply wood glue and secure the front panel to the side sections.
BELOW: Front and back secured to side sections.
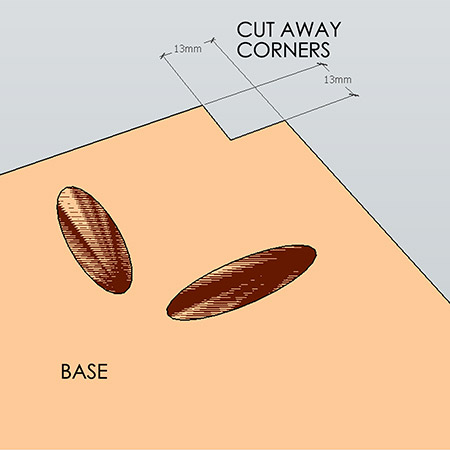
6. Use a jigsaw to cut rebates at the corners of the base until it fits snug in place. You're going to have to measure and trim and test fit this as you go, because not all pine is exactly to size and there will be differences. For this project the rebate measures 13mm x 13mm.

7. Drill pocket-holes around the base.
GOOD TO KNOW
GOOD TO KNOW
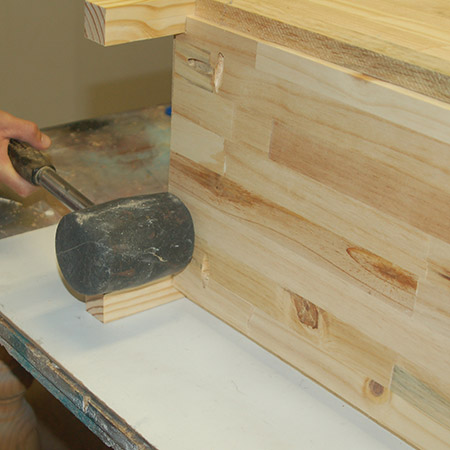
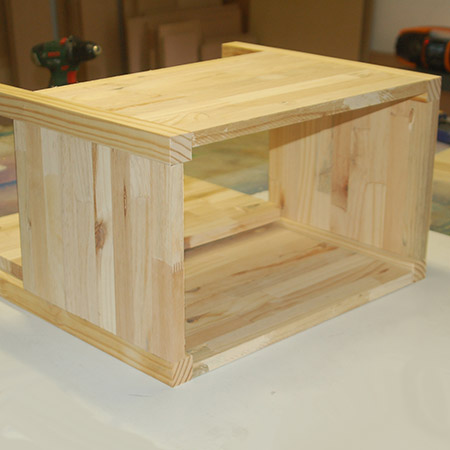
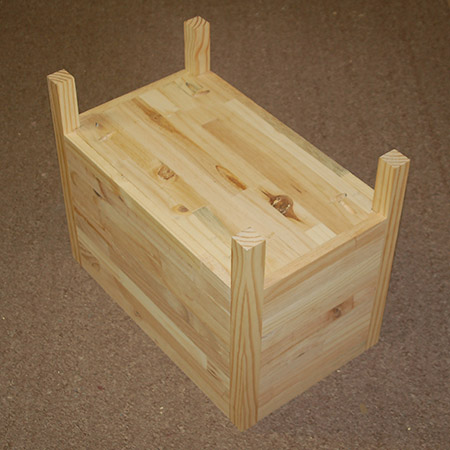
8. Secure the base in place with pocket-hole screws.
BELOW: Base fitted to frame.
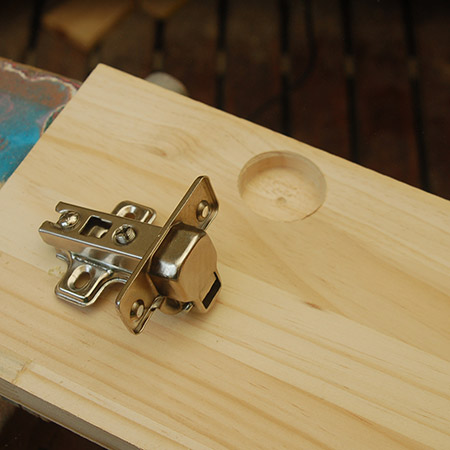
9. On both the lids you will need to drill holes for the concealed hinges. If you only have a 14V drill/driver, rather use a corded drill to do this. Measure in 21.5mm from the edge and mark. Place the tip of the Forstner bit on the mark and drill to a depth of 11mm.
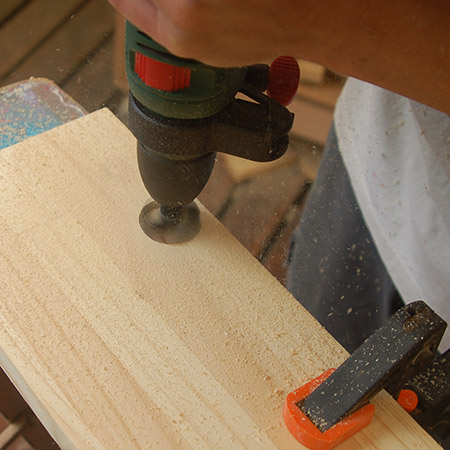
GOOD TO KNOW
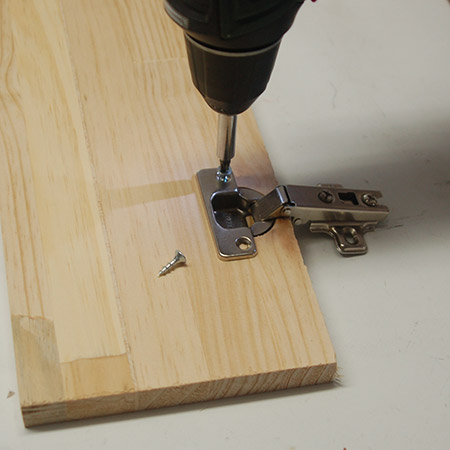
10. Secure the hinges to the lid with 16mm screws.
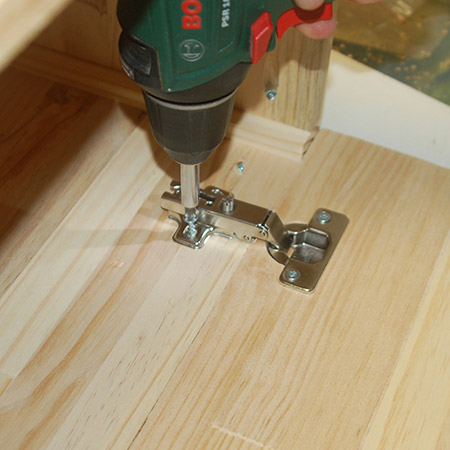
11. Secure the lid and hinges to the front and back of the cabinet, making sure the edges are flush.
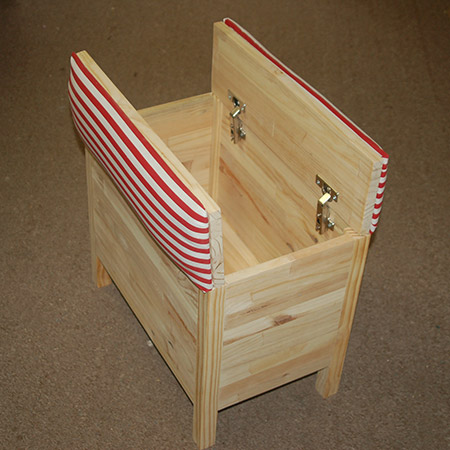
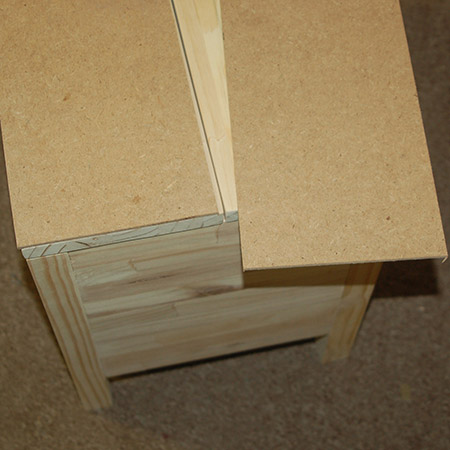
BELOW: Hinged lids are attached to the box frame.
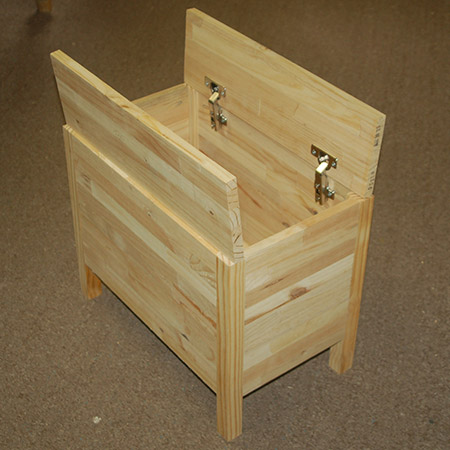
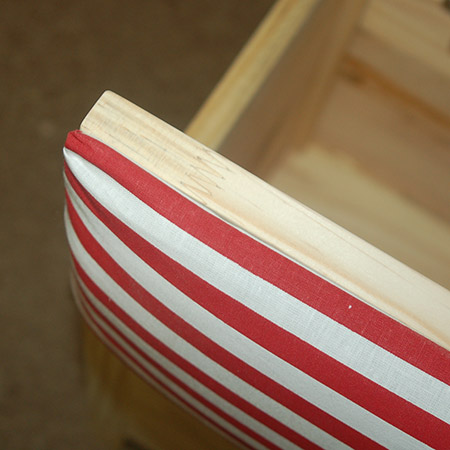
ABOVE and BELOW: Lid open and closed.
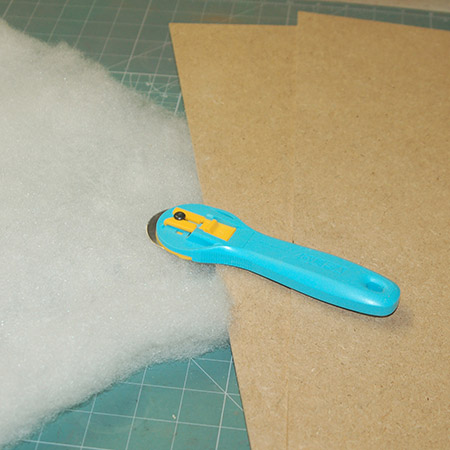
12. Cut masonite or hardboard panels for the upholstered tops. These are the same size at the lids.
13. Cut batting to the same size as the panels. Cut 2 pieces per lid for extra padding.
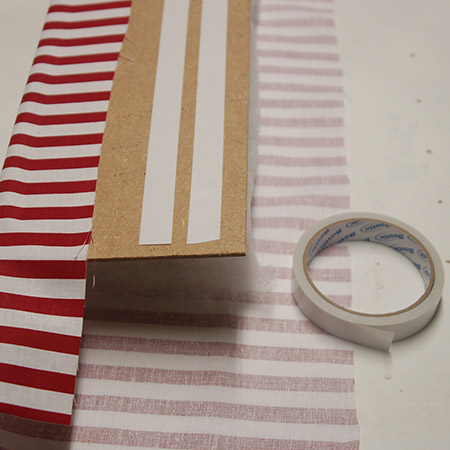
14. Cut the fabric at least 5cm bigger all round. Apply double-sided tape to one side of the panel and pull the fabric taut to secure to the tape. Using tape allows you to adjust the tightness and placement of the fabric all around as you secure. Use more double-sided tape for the ends and any folded over fabric.
15. Use No More Nails adhesive to secure the upholstered panels to the lids. Place a heavy item on top and leave overnight.
GOOD TO KNOW
We use concealed hinges for the stool and toybox so that little fingers can't be trapped. The hinges hold the lid firmly when open.