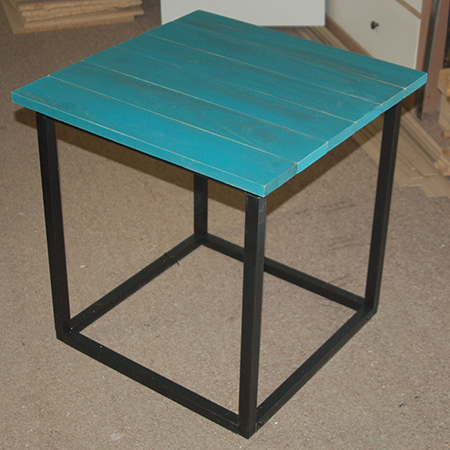
Steel frame side table - no welding!
An amazing new product has been launched by Connect-It that allows DIY enthusiasts to use steel tube to make furniture - without any welding. These amazing connectors can be used with 25mm or 38mm square pipe.
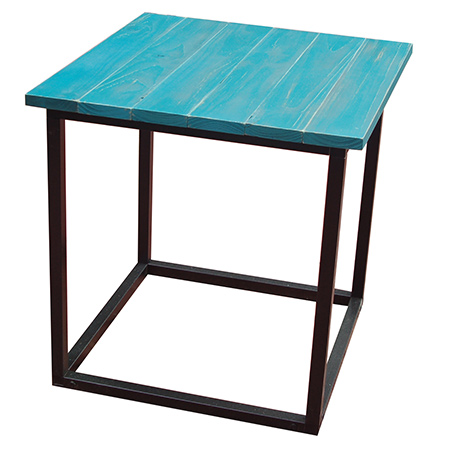
Now you can make your own steel furniture using Connect-it (connect-it.za.com), a range of connectors that can be used in conjunction with 25mm and 38mm square steel tube. I asked Connect-it to sponsor products to make a steel frame side table to see just how good the product was and if it was easy to use. I was thoroughly impressed. Assembling the steel frame table took 30 minutes was super easy!
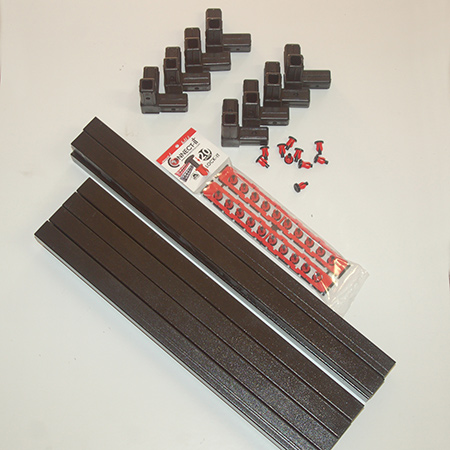
YOU WILL NEED:
2 of 22 x 67 x 564mm pine slats for the top
8 of 25mm SQ 3-way connectors
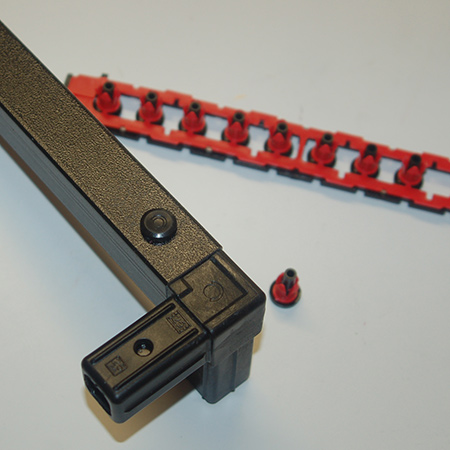
2 packs of 8mm diameter lock pins
4 of 25mm x 500mm square pipe for the legs
8 of 25mm x 450mm square pipe for the sides
TOOLS:
Drill / Driver plus assorted bits
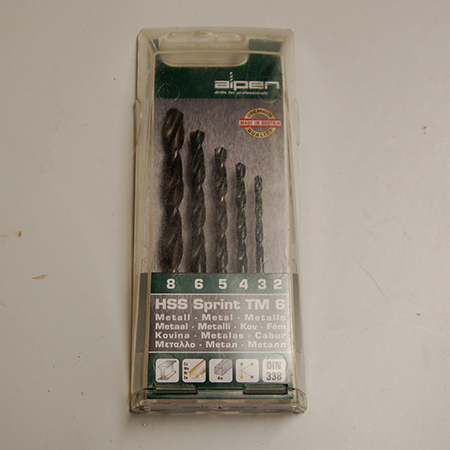
Alpen 6mm and 8mm HSS drill bits
Rubber Mallet
Steel ruler and pencil
Click here for details on finishing the steel frame table
Connect-it is a modular framework solution that allows DIY enthusiasts to be even more creative with square steel tube. No more welding... now you can click all the sections together!
HERE'S HOW:
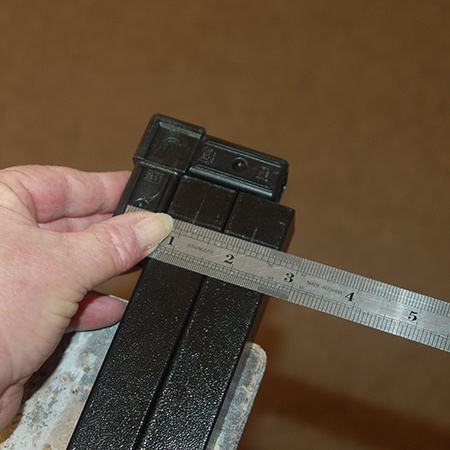
1. Start by measuring and marking to drill the holes for the lock pins. Using one of the connectors and a steel ruler and pencil, mark the location for drilling.
GOOD TO KNOW: To be honest, I discovered this wasn't absolutely necessary when joining the sections together. They fit together tightly and there was no movement once the pieces were all assembled. However, if you plan of building a shelf unit or larger table, then you should use the lock pins.
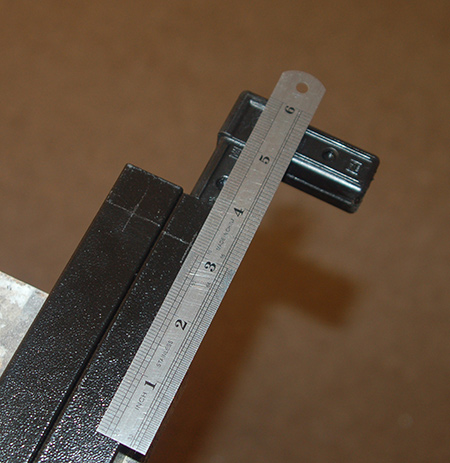
2. Make a cross for the centre to drill holes at the end of all the steel frame sections.
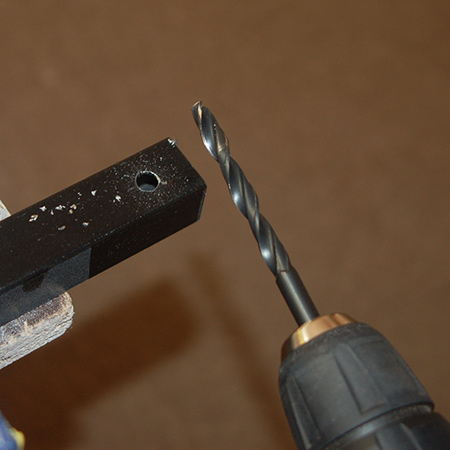
3. Drill 8mm holes through the top of the square bar at the marked locations.
4. Now you are ready to start joining the steel sections together using the Connect-it 3-way connectors. Check that they are placed in the correct direction before using a rubber mallet to tap into the ends of the square tube.
5. Once firmly in place, pop in the Connect-it red lock it section and push down.
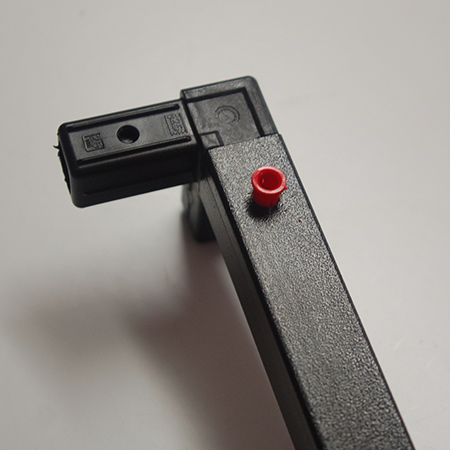
6. Now insert the Connect-it black pin and tap down. The lock pins hold the connectors and tube firmly
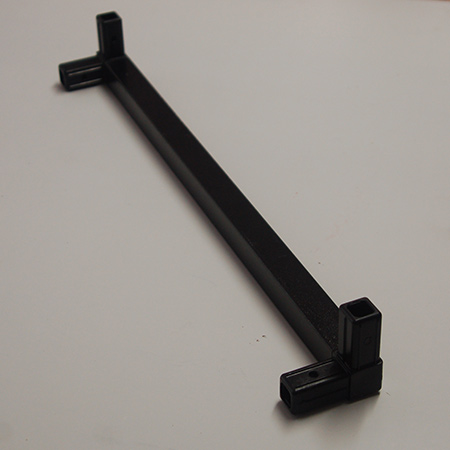
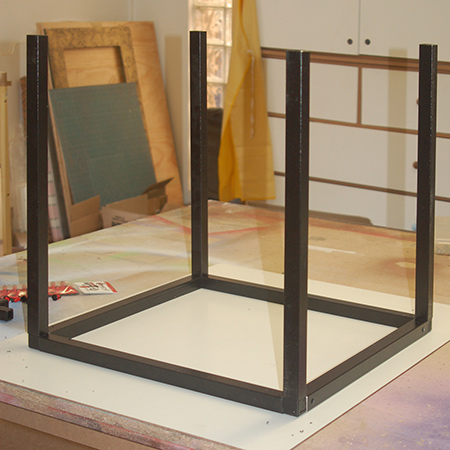
7. It is easier to start with two completed ends and then insert side sections.

8. After assembling a complete frame for the bottom, you can add the legs or upright sections.
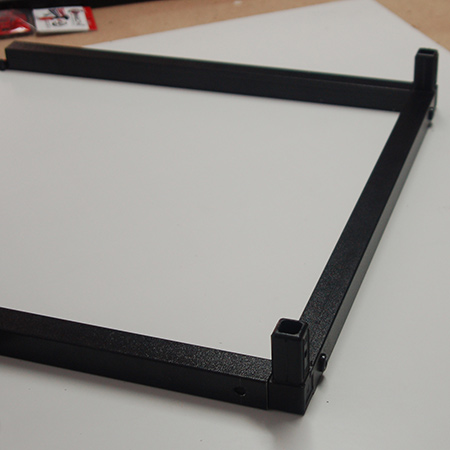
9. Finish off the frame with an assembled top section.
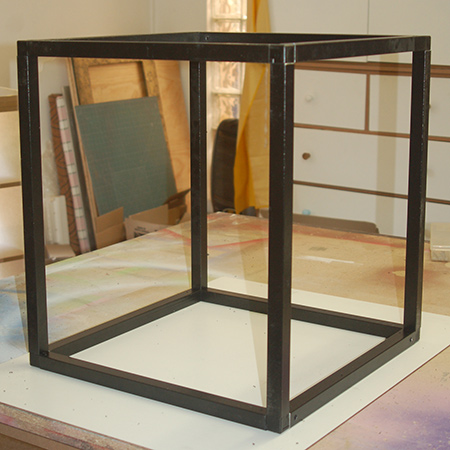
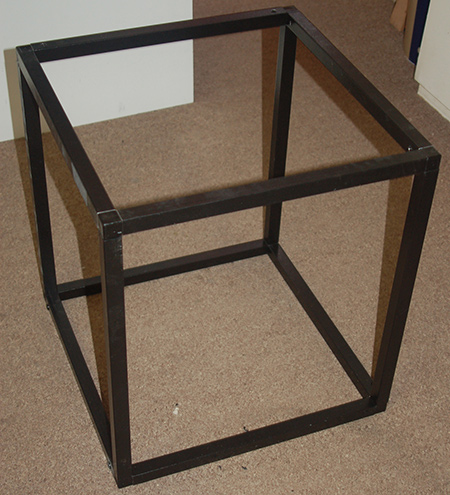
And there you have it... a steel frame ready to be finished off with the top.