Make Sure It's Safe Before Drilling Into Tiled Walls
If you want to avoid hitting water pipes and electrical conduits concealed behind tiles, make sure to check before you drill.
04/06/2021

The last thing you want to happen when drilling into a tiled wall is to hit a water pipe or electrical conduits that are concealed behind the tiles on the wall. Not only will this result in very costly repairs it might also result in having to have a bathroom completely re-tiled if the tiles on the wall are no longer available. I received a query on this just the other day, a visitor to the website asked what she could do if replacement tiles were no longer available and the answer to that is, unfortunately, that there isn't much you can do if you can't purchase replacement tiles.
ALWAYS ORDER EXTRA TILES
While not exactly related to drilling into a tiled wall, if you order extra tiles when doing any tiling job, you will always have spares in the event of something happening, whether it be a cracked or chipped tile, or a leak that occurs behind the tiles that require tiles to be removed.
Even if you live in a small place that doesn't have anywhere to store extra tiles, you can tuck these away somewhere and be safe in the knowledge that they are there if you need them.
CHECK BEFORE YOU MEASURE AND MARK
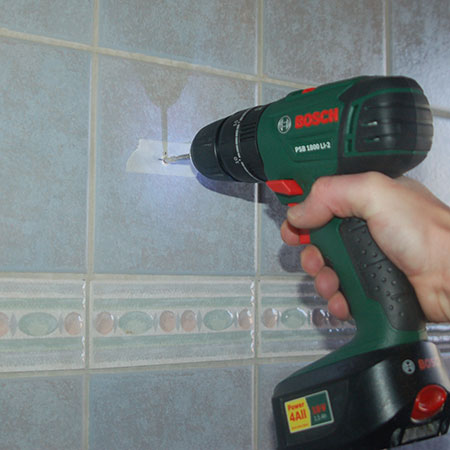
When you have an item that needs to be mounted on a wall, it could be a towel rail, toilet roll holder or even a new rail for a shower curtain, check the area using a digital detector before you measure and mark the exact location. You need to make sure that there is nothing behind the tiles before you drill.
On my particular electronic detector, there are 3 levels of detection. The green light means I can go ahead and drill, the amber/orange light indicates that there is something close to where I intend the drill, and the red light means not safe to drill.
By doing a check before you drill, you still have the opportunity to choose a safer location and be safe in the knowledge that you won't hit a water pipe or electrical conduit.
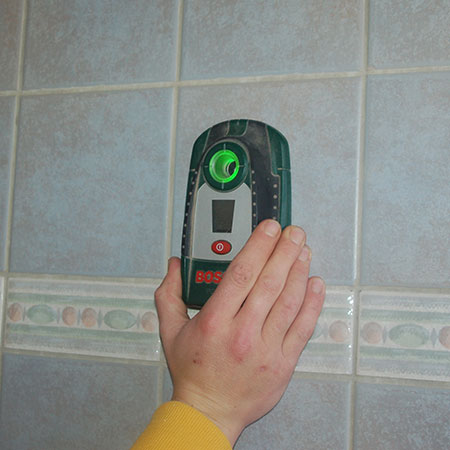
Green means you are good to go ahead and drill - Amber/orange indicates there is something close - Red means not safe to drill.
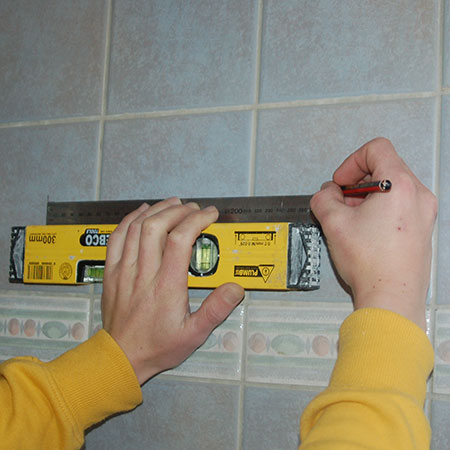
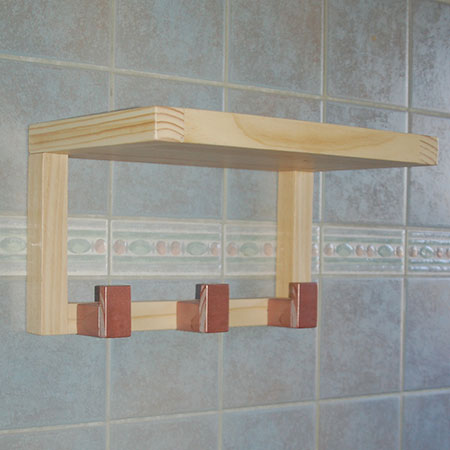
1. Measure and mark where you want to mount the shelf and use a spirit level to ensure the shelf will be level.
GOOD TO KNOW: Although you want your shelf to be level, if you know for a fact that your tiles are not level, visually align the shelf with the angle of the tiles. It will look silly if your shelf sits straight and your tiles are skew.
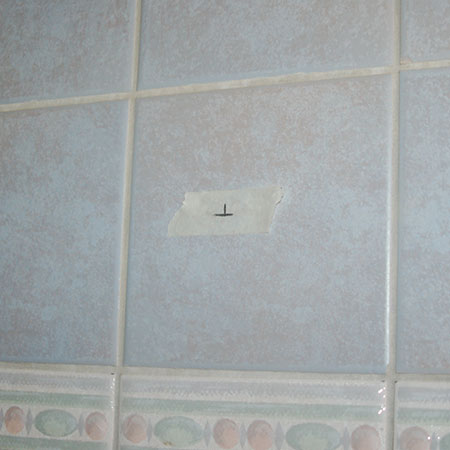
2. Place a couple of pieces of masking tape where you will drill to prevent the drill bit from sliding around.
Do yourself a favour and invest in a set of quality drill bits for all your home DIY projects. Alpen drill bits allow you to easily drill through tile and brick for easy mounting in walls.
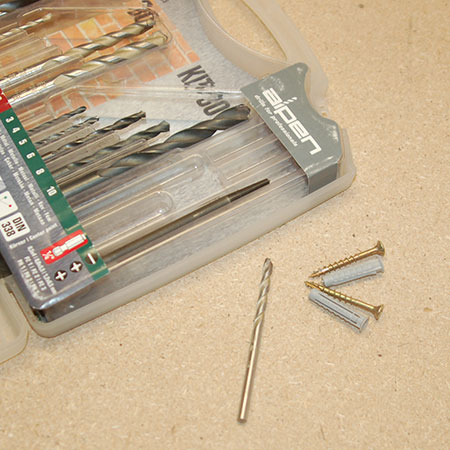
Replace plastic wall plugs with nylon wall plugs (fischer or Rawlplug) to ensure secure fastening onto walls.
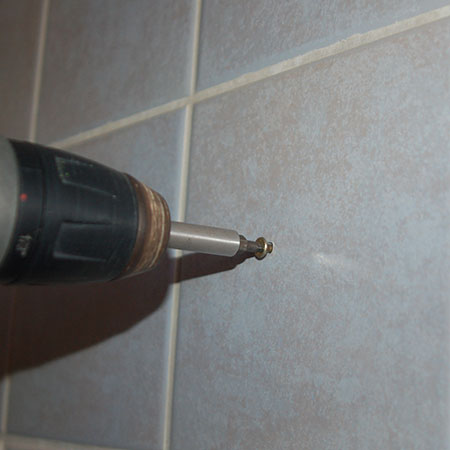
3. Drill a straight hole through the tiles and into the wall, push in the wall plug and drive in the screw - leaving about 4 to 5mm for slotting the keyhole bracket in place.
GOOD TO KNOW: Check that the position of the drill is at the right angle to drill a perfectly straight hole.
SAFETY FIRST
If you take the time to check before you drill into tiled walls, you won't have to worry about costly damage and expensive repairs as a result of hitting a water pipe, or worse if you hit an electrical conduit.