Repair Damage to Wood Front Door
My beloved furbaby was recently left outside by mistake and managed to almost chew through the front door to get inside - now I need to fix the damage to the door.
01/03/2020
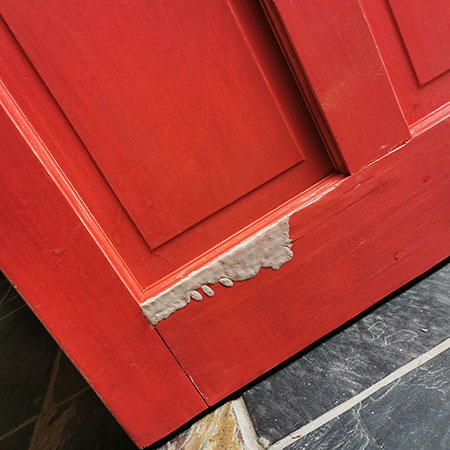
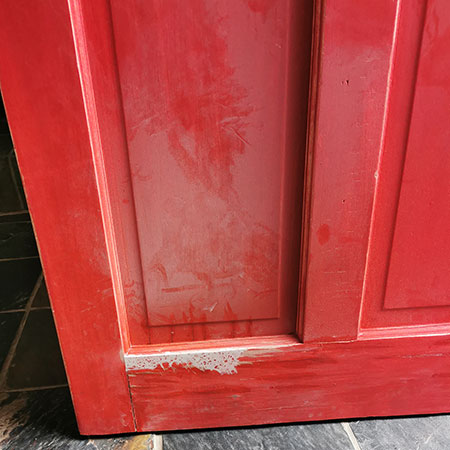
After accidentally locking my Dachshund outside the other day, and leaving him out there for too long, he decided to chew his way through the front door. The result was a fairly large chunk of wood missing from the door. I don't have money to spend on a new door, so time to put on my thinking cap and fix the damage as best as I can. Fortunately, I wasn't that upset as I had been planning to give the front door a makeover and this just forced my hand a bit.
You will note that some of the images are taken with the door off and some with the door mounted. The reason for this is that the past week we have had rain and showers and I had to keep hanging the door back in place all the time!
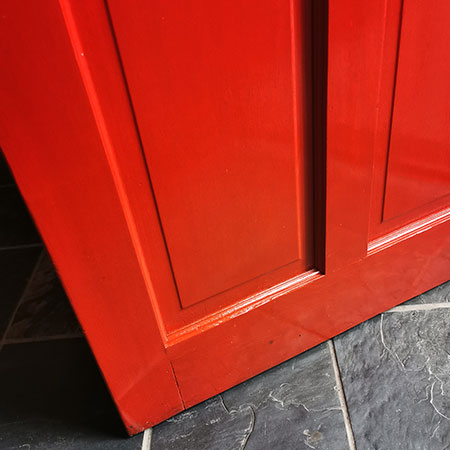
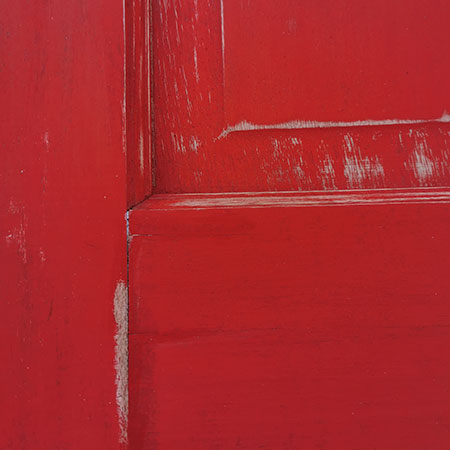
1. The door was removed from the frame and sanded down with 80-grit and then 120-grit sandpaper. This is to degloss the existing finish before applying new paint.
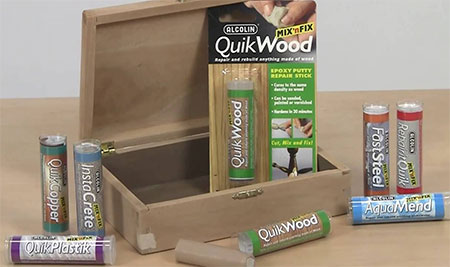
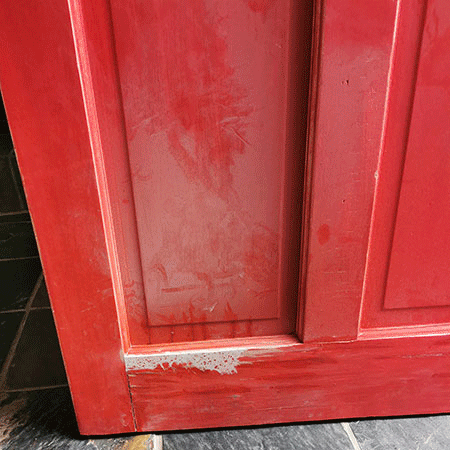
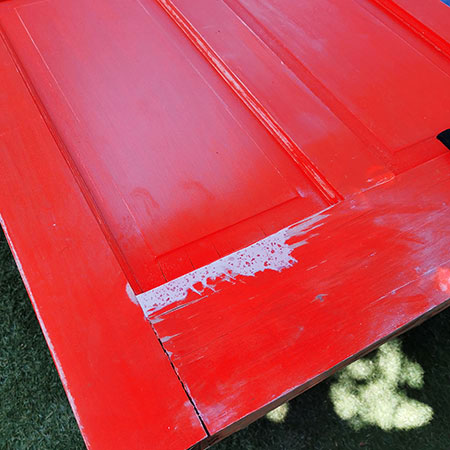
2. Once the door was sanded down, I used Alcolin QuikWood epoxy putty to repair the damaged area. You can see from the image below that quite a bit of wood had been removed, but this was quick and easy to fix up.
GOOD TO KNOW: When using Alcolin QuikWood, have a bowl of water handy to keep wetting your fingers. Having wet fingers makes it so much easier to place and mould, as well as smooth the epoxy putty as you work.
3. After letting the epoxy putty set hard - approximately a couple of hours - the area was sanded smooth.
4. Further repair work needed to be done to fix up a few areas where the wood was cracked and the joints had small gaps. These areas were filled with waterproof wood glue.
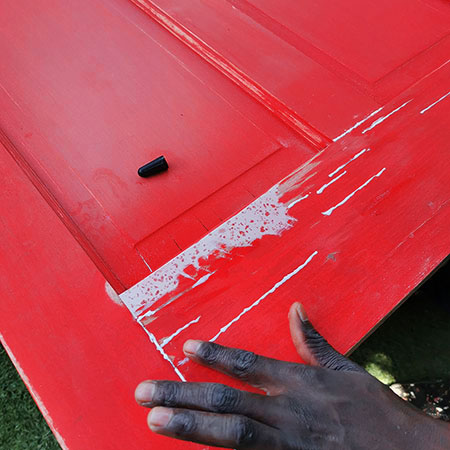
GOOD TO KNOW: After filling any cracks or gaps with waterproof wood glue, wipe away any excess glue before it has time to dry.
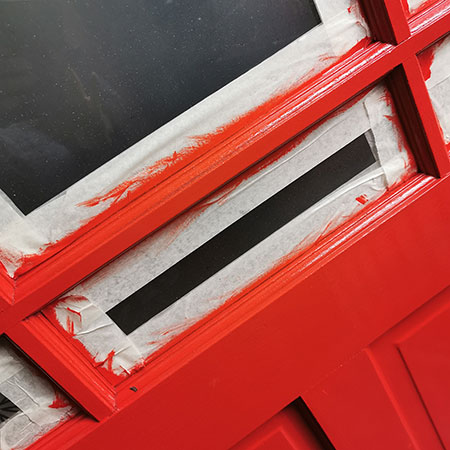
5. To protect the glass panes within the door frame, masking tape was applied around the edges, as you can see in the image below. I normally use painter's tape for this, but unfortunately, my local Builders was out of stock... sigh!
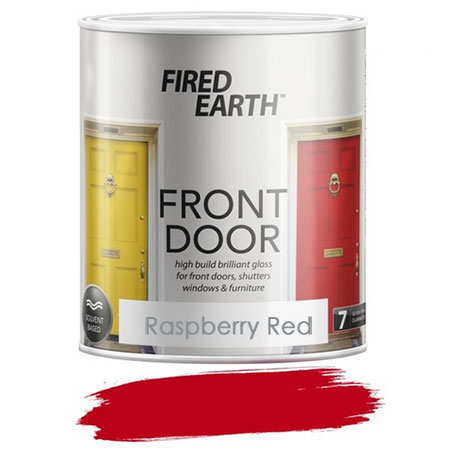
6. Two coats of Front Door paint were applied and the first coat was left to dry overnight before applying a second coat.