
Quick Project: Simple Room Divider
Pop into your local Builders or hardware store for PAR pine and supplies and grab your power tools to make this quick and easy room divider.
26/09/2020
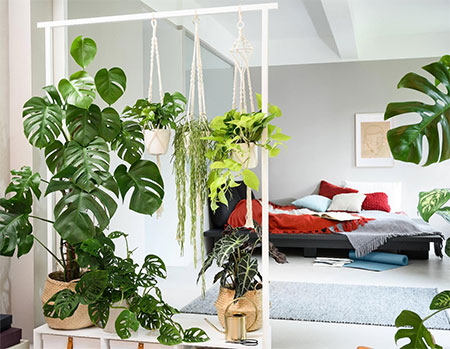
When you need a bit of privacy in an open plan living space or studio apartment, a room divider can be a lifesaver. The only problem is finding one that is right for the job and doesn't cost a fortune. In this project, we show you how to make a simple, basic room divider that you can modify or amend to fit your requirements.
We thought it might be nice to incorporate some plants into the room divider because every home should have a plant or two. Just be sure to select the right plants for the amount of light that the room receives and remember to water them at least once a week - or more during the hotter months of the year.
YOU WILL NEED:
2 of 1200 x 400 x 15mm plywood - top and bottom
4 of 100 x 400 x 15mm plywood - sides and dividers
3 of 38 x 38 x 180mm PAR pine - frame, height as required
8 of 40mm Angle brackets
4 of 50mm dia. caster wheels
16mm and 45mm screws
Paint, sealer or tinted varnish to finish
TOOLS:
Drill / Driver or Combi Drill with assorted bits
Multi or orbital sander and 120- plus 180-grit sanding pads
Jigsaw or nanoBLADE
Set square
Clamps
Tape measure and pencil
HERE'S HOW:
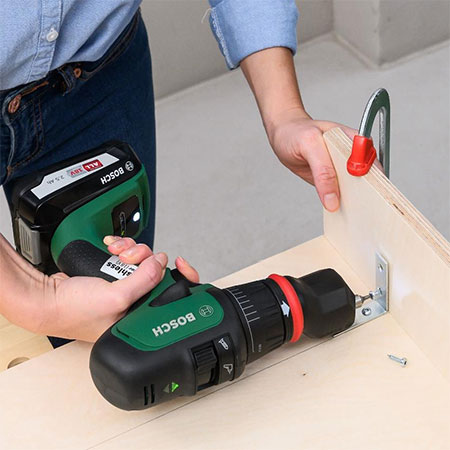
1. Clamp the sides onto the underside of the top and secure with screws. Don't over-tighten the screws as they will go through the plywood board.
2. Mark the location for the remaining [2] dividers on the top and bottom pieces so that you can screw these in place in the next step.
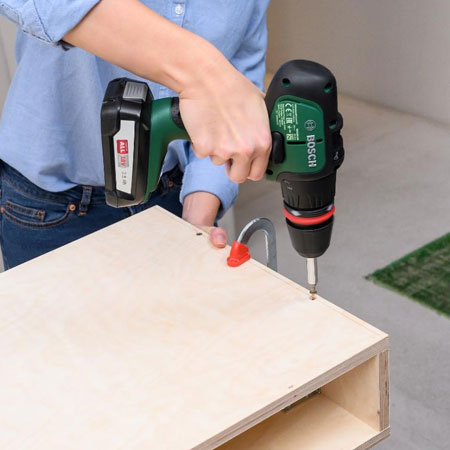
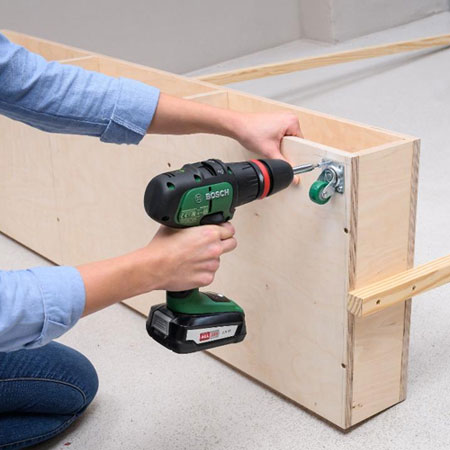
3. Place the bottom piece over the sides and secure in place with 45mm screws. DO countersink the holes beforehand.
4. Using the previously marked lines as a guide, insert the dividers and secure with screws, again countersinking the holes beforehand.
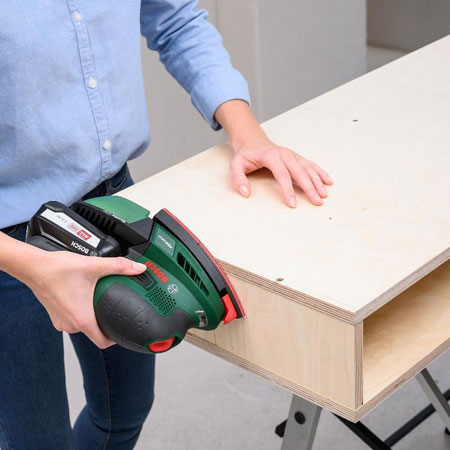
5. Use 120-grit sanding pads and your sander to remove any visible edges and 180-grit to smooth the plywood ready for finishing.
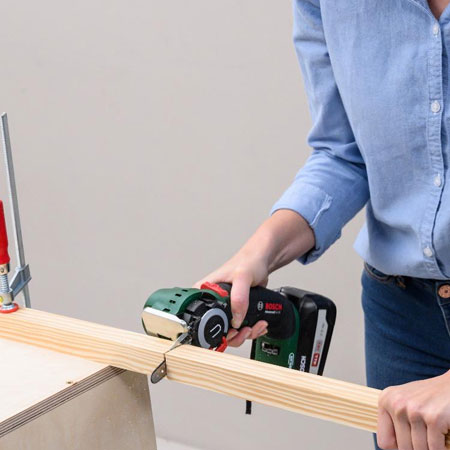
6. Cut the 38 x 38mm PAR pine to [1] 1360mm length for the crosspiece at the top, and [2] to a length of 1780mm for the sides of the frame. You can modify these last two for a lower or higher frame.
GOOD TO KNOW: Sand the [3] frame pieces before attaching to the unit.
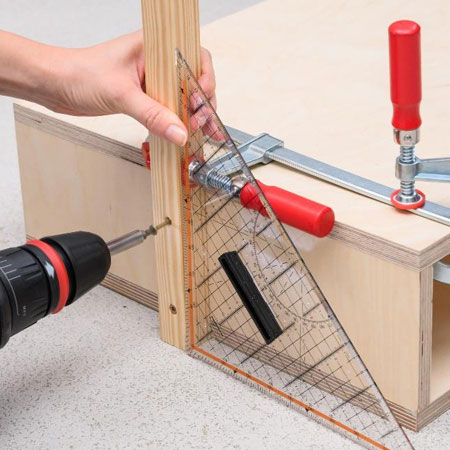
7. Clamp one of the side frames to the edge of the cabinet, making sure it is placed in the centre, and clamp in place before drilling a countersunk pilot hole and securing to the cabinet with 45mm screws - one about 30mm down from the top and one 30mm up from the base of the cabinet. Repeat on the other side.
GOOD TO KNOW: Use a set square or corner edge to ensure the side uprights are perfectly straight.
8. Use 16mm screws (don't over-tighten) to secure the caster wheels to the base of the cabinet.
For finishing, you have the option to paint, apply sealer or tinted varnish as preferred and then all that's left to do is to decide what accessories you want to use to fill up the frame - or use plants as we did.
all about diy