Make a wall-mounted Pegboard
This wall-mounted pegboard is simple to assemble and can be used for storage or to display accessories.
25/11/2018
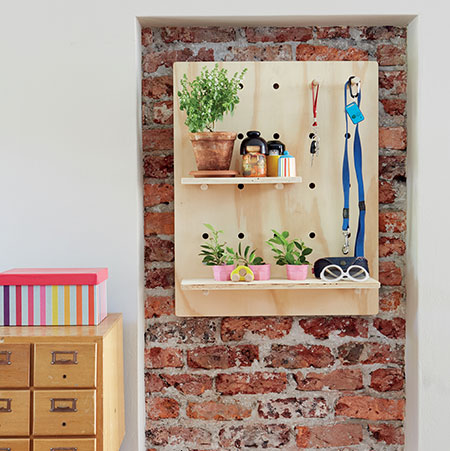
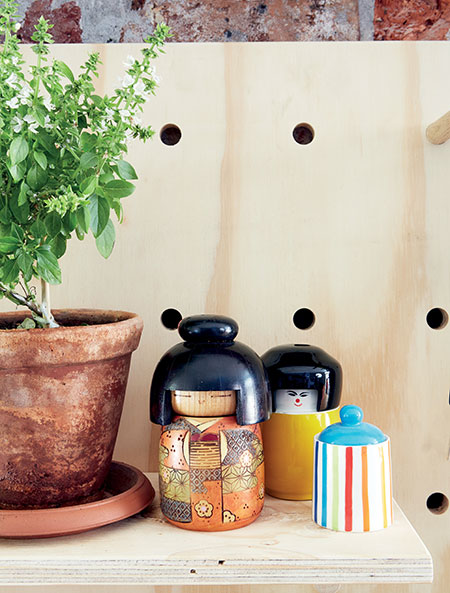
You can use this plywood pegboard as a place to hold keys, for organisation in a kitchen or bathroom, or for a quick and easy storage solution. We drilled holes in the bottom shelf to be able to pop in a few small colourful plants.
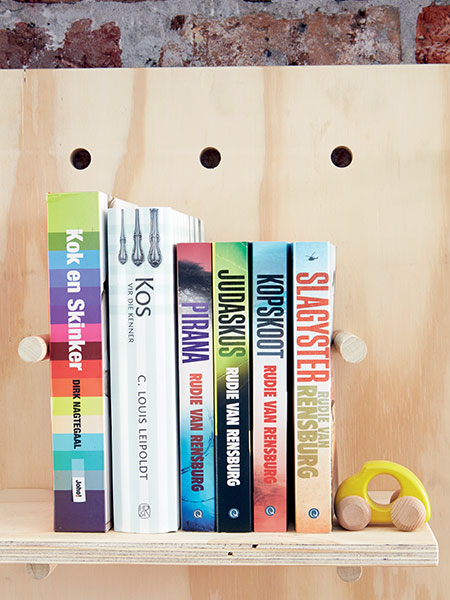
This plywood pegboard shelf is ideal for setting up a small bookshelf.
gallo images
YOU WILL NEED:
1 of 820 x 660mm 18mm plywood - back board
1 of 600 x 200mm 18mm plywood - shelf
1 of 360 x 200mm 18mm plywood - shelf
1 of 19 x 1800mm pine dowel, cut into [8] 200mm lengths
4 Rawl bolts, 10mm
120-grit sandpaper
TOOLS:
Combi Drill / Driver plus assorted bits
19mm spade bit
54mm hole saw
10mm spanner
Tape measure and pencil
HERE'S HOW:
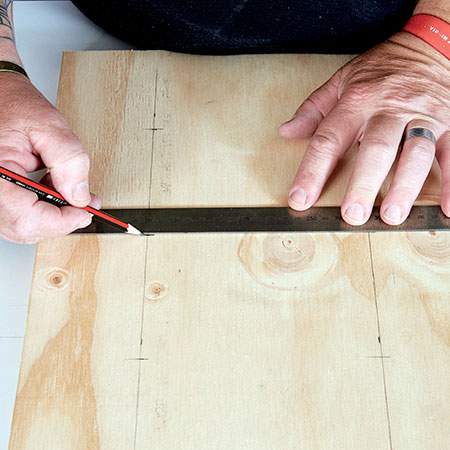
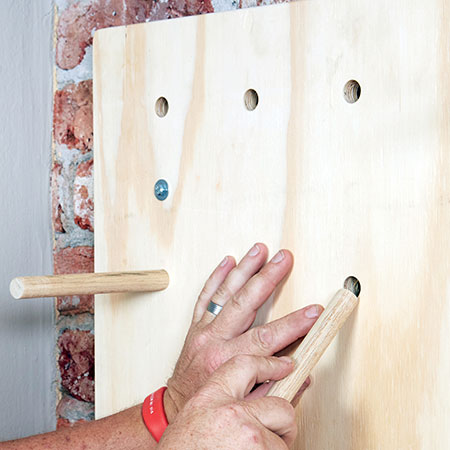
1. Measure and mark across the length of the backing board at 80, 240, 400, 560, and 720mm. Measure and mark across the width at 100, 215, 330, 445, and 560mm. Join these marks with pencil lines to form a grid.
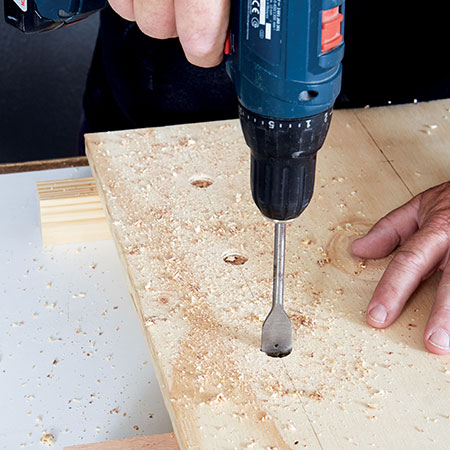
2. Use the 19mm spade bit to drill holes where the lines intersect. Also drill [4] holes for the rawl bolts for mounting the board onto a wall.
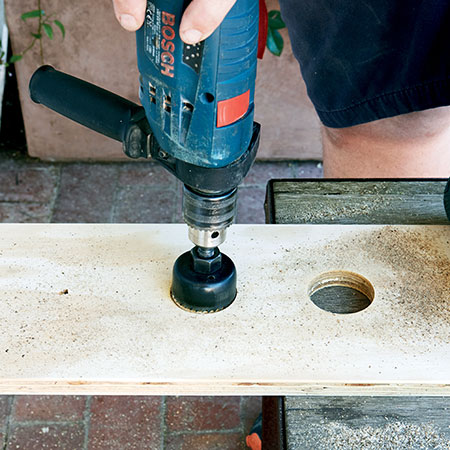
3. Measure and mark at 130, 245 and 360mm in the middle of the 600 x 200mm shelf. Usie the hole saw to drill a hole at each mark. These holes are ideal for holding small pot plants.
GOOD TO KNOW: Now sand all the pieces before moving on to the next step.
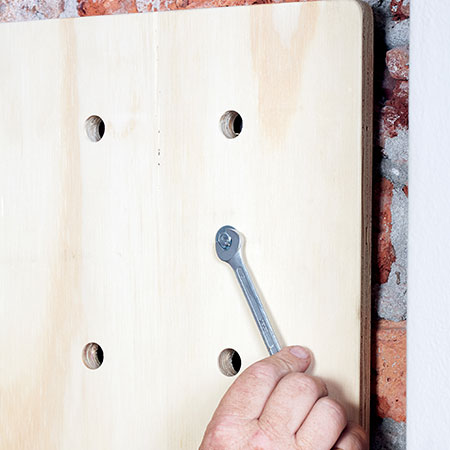
4. Place the board against the wall and mark to drill 10mm holes into the wall for the rawl bolts. Place the back over the bolts and tighten firmly with your spanner.
5. Cut the wooden dowel into eight lengths of 200mm each and place them in the board at the desired height for your shelves.