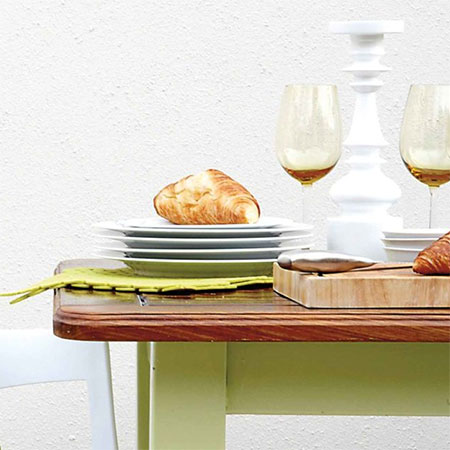
This Badly Scratched Table gets a Revamp!
There comes a time when a badly scratched tabletop needs some TLC, and this farmhouse style table gets a revamp and a new lease on life.
02/10/2019
Referenced from Gallo images / Home Magazine
Tabletops take a lot of beating. They get used everyday and even when protected with tablecloths and placemats, there comes a time when you might need to give the tabletop some tender loving care to give it a new lease on life and have it looking good again.
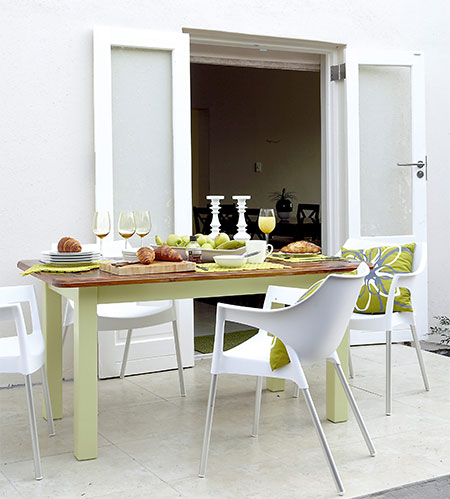
For this project, an old farmhouse-style table was given some much-needed attention and revamped with environmentally-friendly products to have it looking new again.
YOU WILL NEED:
Clear or tinted varnish or sealer
Wood filler - to match the finished colour
Orbital or Multisander and assorted sandpaper
Router plus decorative router bit
Painting supplies and equipment
HERE'S HOW:
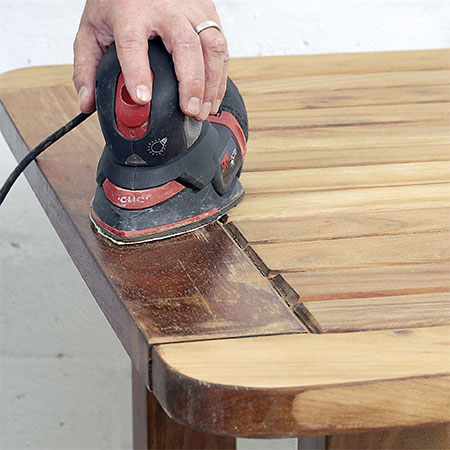
1. The first step is to remove all the old paint or varnish on the tabletop. The easiest way to do this is with a sander. You can use an orbital or multisander for the job.
GOOD TO KNOW: Keep in mind that when using a multisander YOU MUST go with the grain of the wood in order not to damage the wood fibres.
Choose the right grit sandpaper for removing layers of paint
40/60-grit to remove many layers of paint or varnish
80-grit to remove only a couple of layers of paint or varnish
120-grit to remove any remaining paint or varnish on the surface of the wood
180/240-grit to finish off with a smooth finish
2. After sanding, you will be able to see any damage that needs to be repaired. Use wood filler to fill in any gaps or cracks, keeping in mind the colour of the sealer or varnish you will be using the finish the tabletop. Wood filler comes in a variety of wood tints and you want to match the filler to the finished colour of the tabletop. Let the wood filler dry and then sand smooth with 180-240-grit sandpaper.
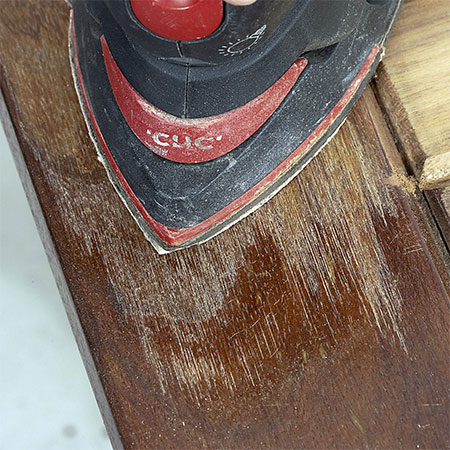
Using a multisander lets you get into any cracks or crevices to make the job easier.
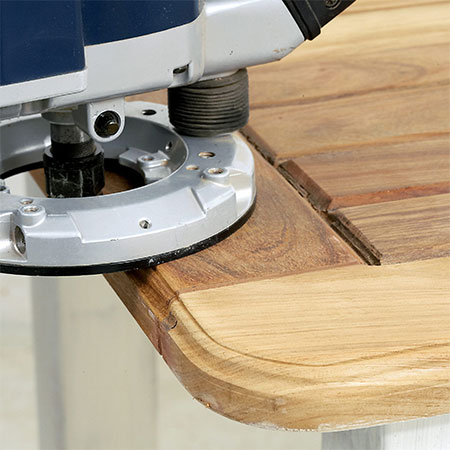
3. Once all the sanding is done, the edges of the tabletop were finished off with a decorative router bit. This will give the finished table a completely new look and add even more to the revamp and remove quite a few dings and dents around the edge of the tabletop.
4. Wipe the tabletop clean to remove all traces of dust. You can wipe down with a rag lightly dampened with mineral turpentine to make sure the tabletop is ready for the next step. Any dust will spoil the finish.
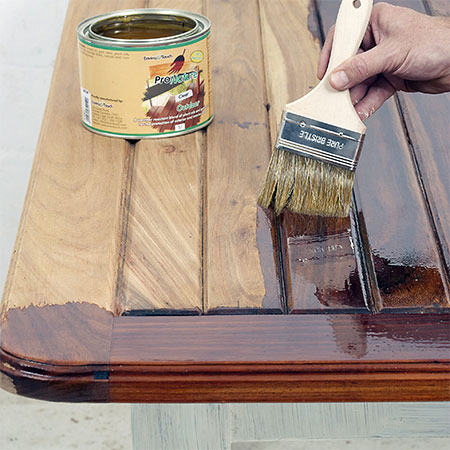
5. Apply two to three coats of clear varnish to the tabletop (or follow the manufacturer's recommended guide for application). Apply the product in long even brush strokes and work quickly so that the finish doesn't start to become tacky while you are working.
GOOD TO KNOW: To ensure that varnish is absorbed into the surface of the tabletop, thin the first coat with some mineral turpentine.
And there you have it... and old table has been revamped and restored and given a new lease on life.