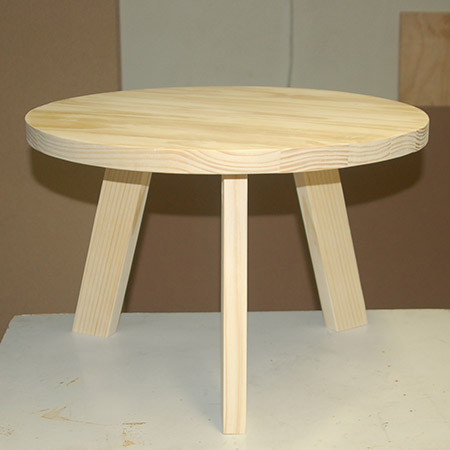
DIY Occasional Table
Make a pine occasional table that also serves as a compact coffee or side table.
11/02/2018
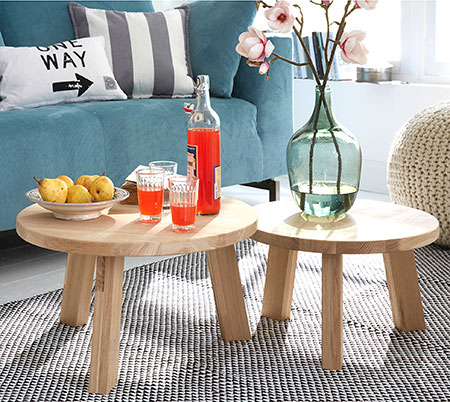
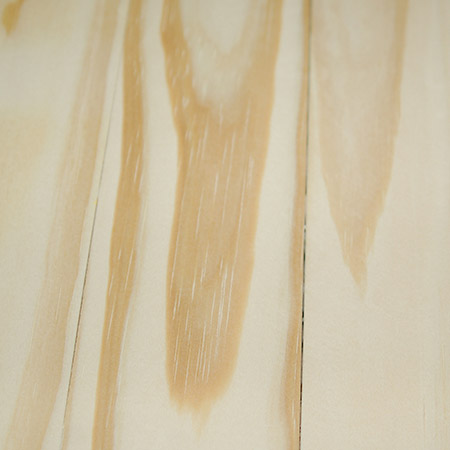
Made using pine PAR that you can buy at your local Builders, these practical tables can be used as a coffee table, side table, or occasional tables. Additionally, if you finish them with exterior sealer, they're also great for use on a patio or deck.
YOU WILL NEED:
5 of 32 x 69 x 600mm pine - top
2 of 32 x 69 x 500mm pine - top
2 of 32 x 69 x 400mm pine - top
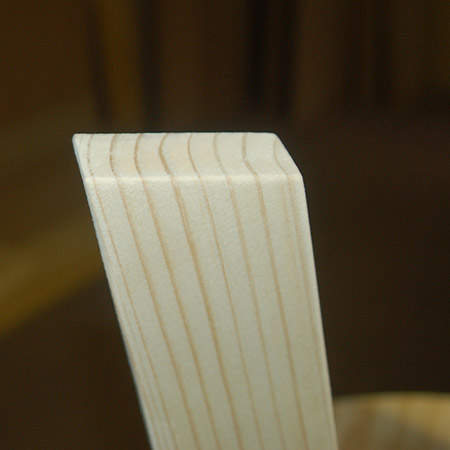
3 of 32 x 69 x 390mm pine - legs - cut at 15-degree angles top and bottom
Wood glue
32mm coarse-thread pocket-hole screws
Length of chain
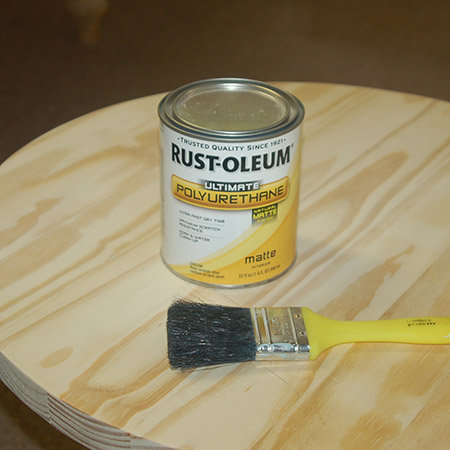
Rust-Oleum Ultimate Polyurethane natural matte plus paintbrush
TOOLS:
Drill / Driver plus assorted bits
Kreg pocket-hole jig
Orbital sander plus 120- and 180-grit sanding pads
Protractor
Hammer and panel pin
Clamps
Tape measure and pencil
HERE'S HOW:
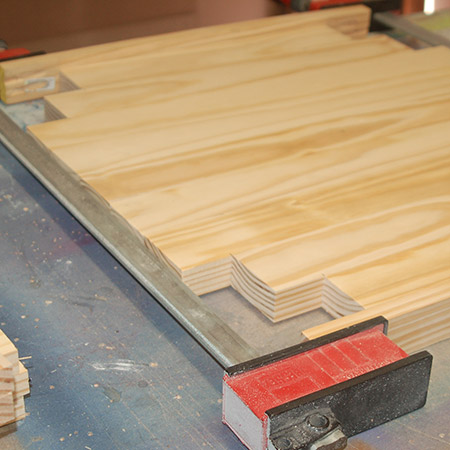
1. Glue the top boards together, with the boards tapering from long at the centre to short at the end, and clamp overnight.
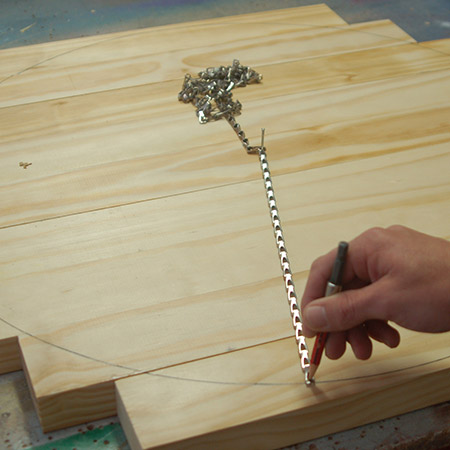
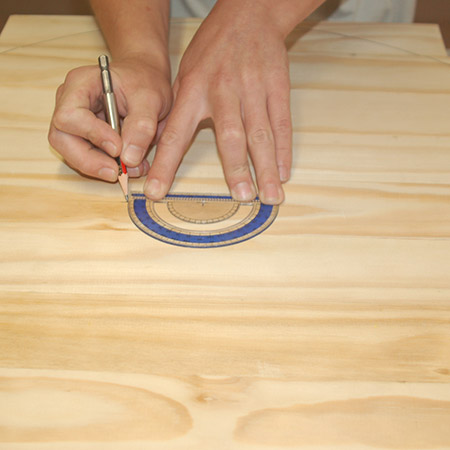
2. Hammer a nail into the centre of the glued boards and use a length of chair and pencil to draw a 600mm diameter circle.
3. Use a protractor to divide the top into 3 sections and draw a line as a guide for attaching the legs.
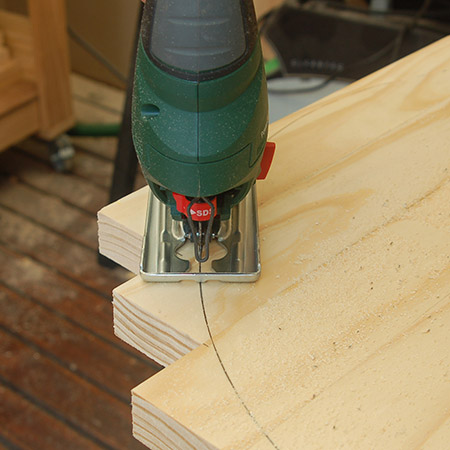
4. Use a jigsaw to cut out the circle. Take your time here - you want the circle as perfect as possible.
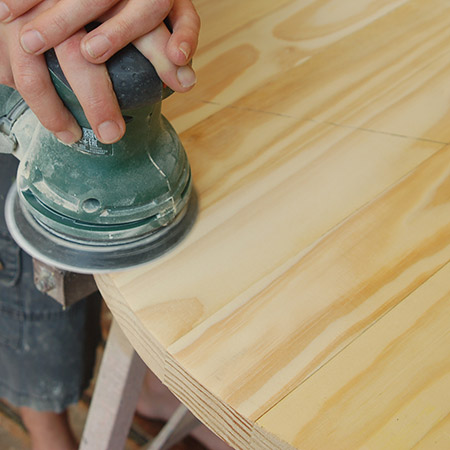
5. Sand the top of the table smooth. It's not always guaranteed that the boards will be one hundred percent level, so start with 120-grit to remove uneven edges and then sand smooth with 180-grit.
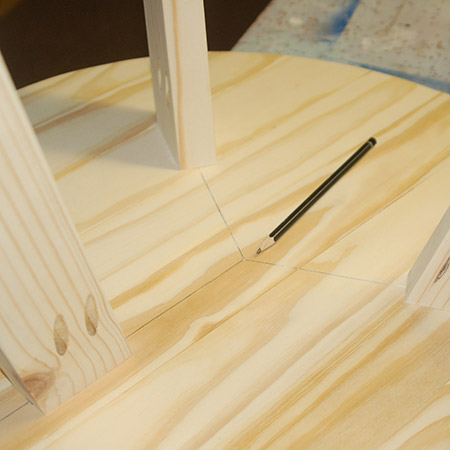
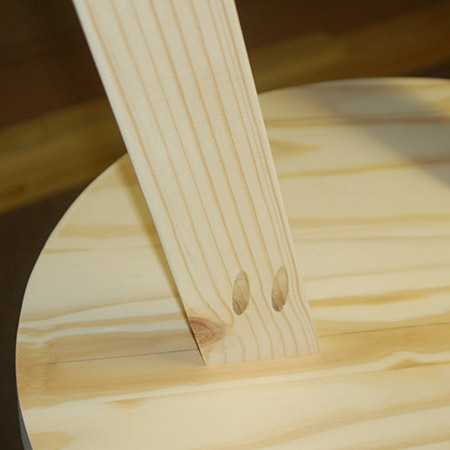
6. Using the guides drawn with the protector, place the legs. The legs will be mounted 110mm from the edge of the top.
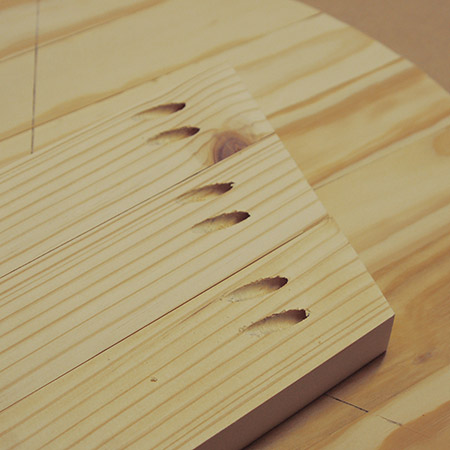
7. Drill two pocket-holes in each leg. Remember to set up the pocket-hole jig and bit for 32mm thick product.
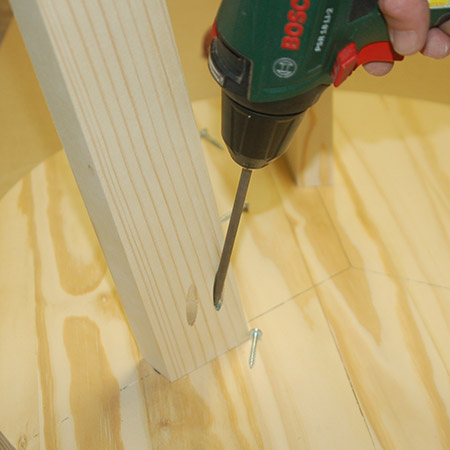
8. Secure the legs to the top with wood glue and 32mm screws.
9. In hindsight it would have been better to sand the legs before mounting. I omitted this and ended up sanding the legs after attaching to the top. Round off all the sharp edges with 180-grit sanding pads.
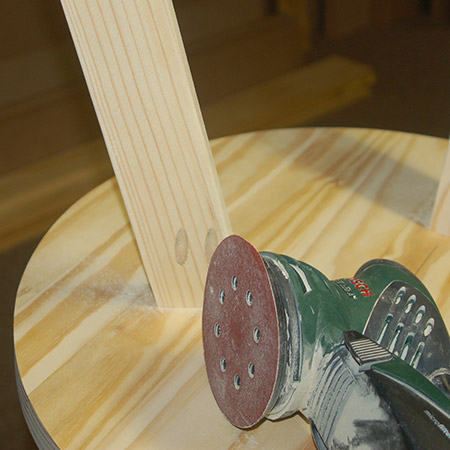
10. Also round off the bottom of the legs.
11. Before finishing the table top, check for any gaps between the boards.
12. You can fill small gaps with wood filler. Choose a tinted wood filler that matches how your table will be finished if you are staining. For this table I'm using pine wood filler. Let dry and then sand smooth.

BELOW: Finished occasional table.
Finishing
You have several options for finishing the occasional table. I'm applying Rust-Oleum Ultimate Polyurethane in natural matte. I don't want the table to go yellow after sealing, and I also want the table to look as natural as possible. If you want, you can stain the table in a wood tint or colour and then apply a clear sealer or polyurethane varnish. Or, you can apply a tinted sealer or varnish. If you prefer, you can also paint the table with acrylic PVA.