
How to make your own Crown Moulding
If you have ever wondered how to make your own crown moulding, dado or chair rails, or even custom skirtings, we offer easy advice below that takes you step-by-step through the process.
18/05/2019
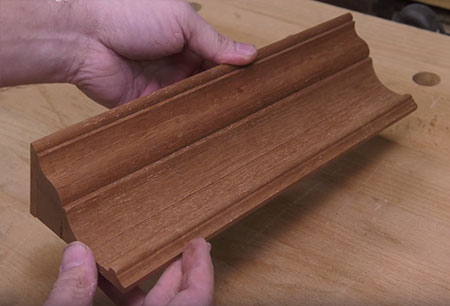
The moulding shown here is a historical moulding design that you will find in many older homes and in this feature we show you how to make your own moulding, in a specific design, or to your own design specification to make crown moulding, a dado or chair rail, picture rails, or to create your own wood skirtings - and you can make all these using common router bits you will be able to buy at any Builders Warehouse or tool and accessory supplier.
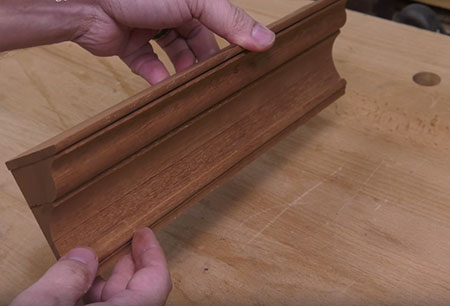
Using this method you can replicate moulding or trim you already have in your home, or you can use this method to build up mouldings to fit in your home or to add to your furniture - in the exact design that you want.
This method lets you draw almost any design on a piece of paper and make it up without having to buy additional extra router bits. The bits you would use to create the profile are bits you may already have in your router bit set, and it's just the size that changes. If you don't already have these bits, it's definitely worth investing in a set, as you can use these bits for all types of moulding profiles.
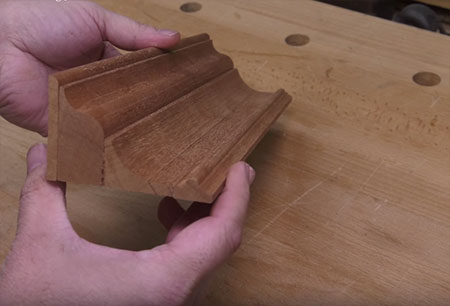
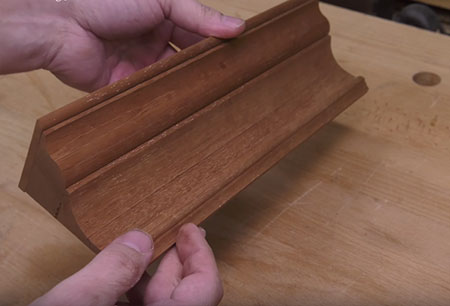
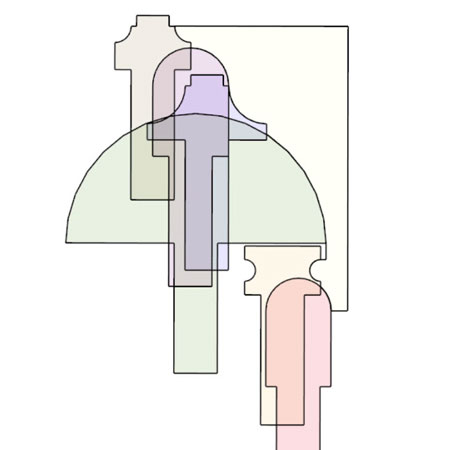
To begin the process, start off with your idea of a design and break this down into individual shapes cut in smaller pieces of wood that are then glued together to create the entire moulding design. You have to do it this way as this is no way you can raise your router bits to cut the shape as is. Doing it in using this method gives you unlimited design options, at the end no one will know that they are individual sections glued together to create the whole design.
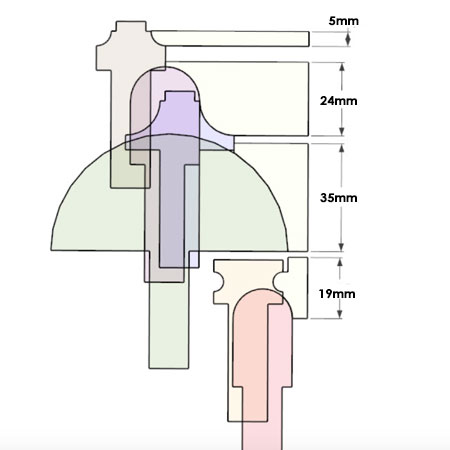
As an example and to create this particular moulding design we would set out the steps as follows:
1. The bottom part of the moulding would be cut with a core box bit.
2. The next shape is cut with a bullnose router bit.
3. Moving on you would use a larger core box bit for the large cover.
4. Above the cove is a ogee or roundover bit.
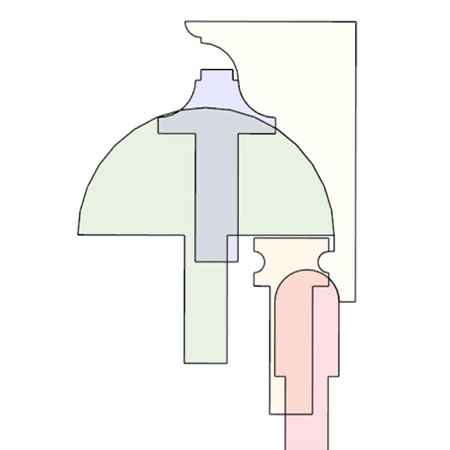
5. As you reach the top use another core box bit.
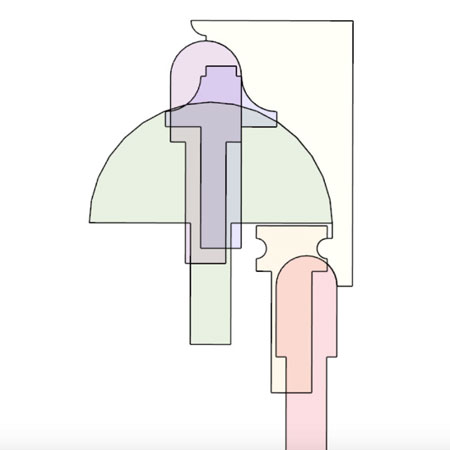
6. The entire design is finished off with another roundover bit.
7. Once you have worked out the router bits that you need, you can set up your table router to start building up the moulding using the following steps:
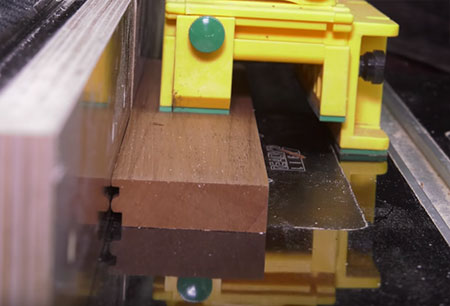
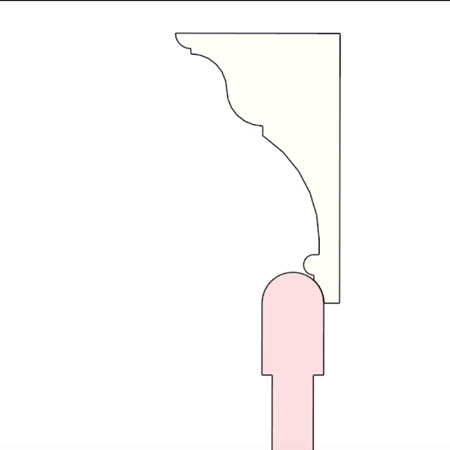
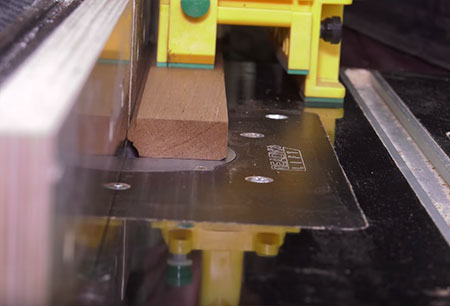
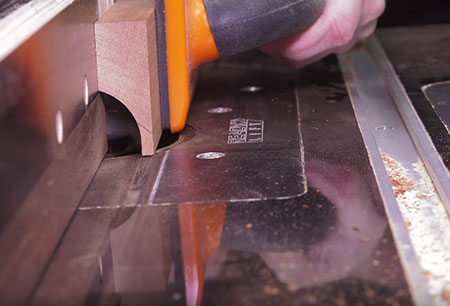
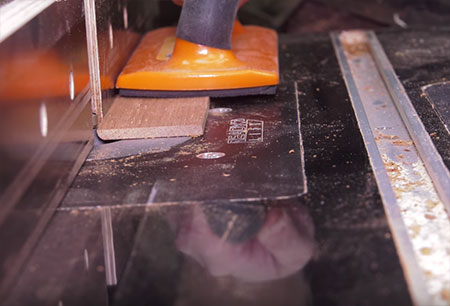
8. The first bead is cut with a bullnose bit [above]. The first run will leave a small sliver of wood at the bottom, so you will need to run over a second time to remove this with a straight bit.
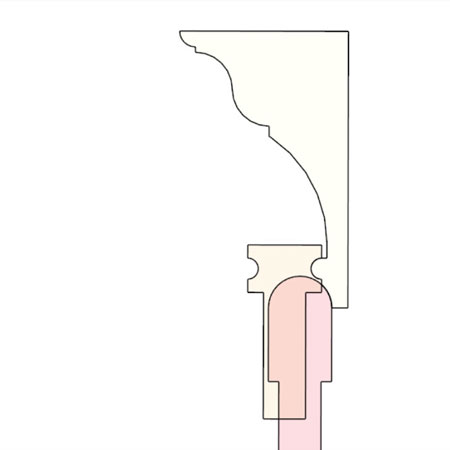
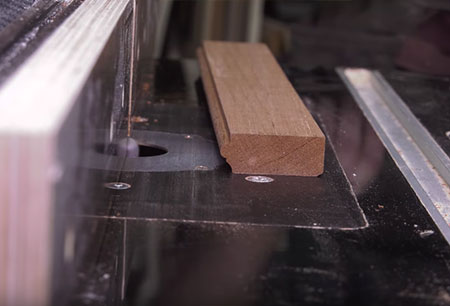
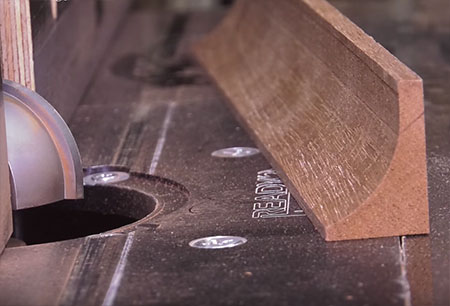
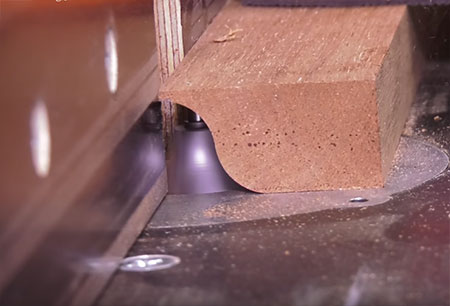
9. The bottom is then cut with the cove bit to give the curved edge that you see on the finished profile.
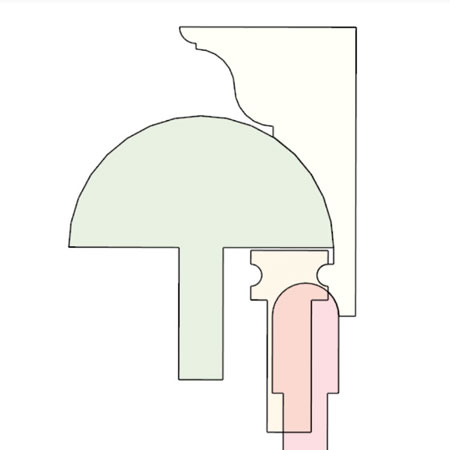
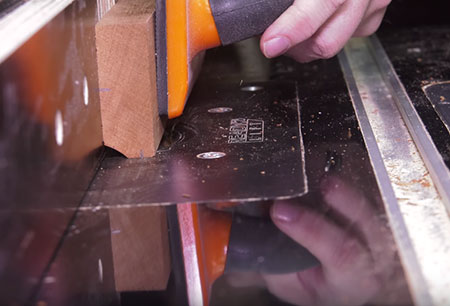
10. For the next shape you will need to use a large core box router bit.
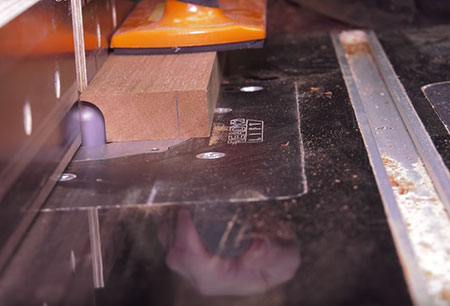
11. You will need to do a few passes for the long curved shape seen in the finished profile, and this is done by gradually raising the bit for each run. This is altogether a better method for removing the material and will not dull your router bits quite as fast.
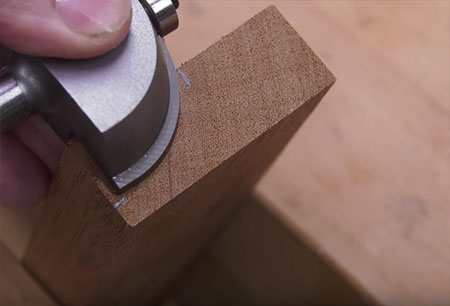
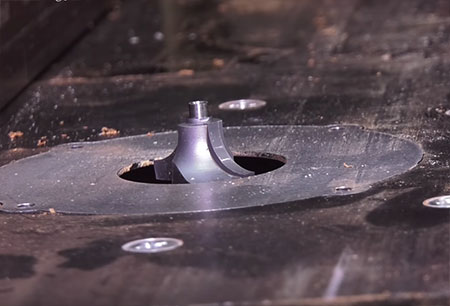
12. For the next pass we use the ogee bit. There are two parts to this cut: the first part is to use a core box bit, raising incrementally as done with the large box cove...
...and then we remove the bearing from the roundover bit in order to avoid hitting the coving above.
13. Set the fence for the correct distance to finish the curved profile.
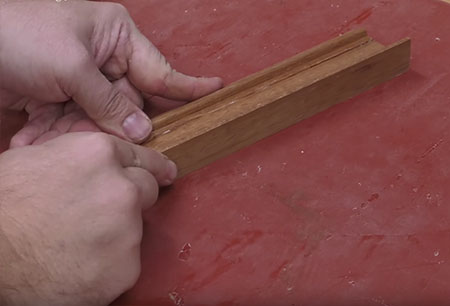
14. The last bit of the top section is cut with a roundover bit.
15. A thin layer of wood glue is applied to all the individual sections to glue them together.
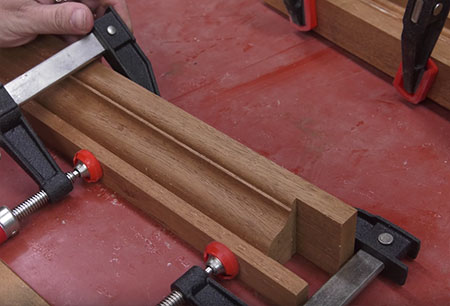
16. All the individual parts are them assembled with wood glue and clamped overnight. By only applying a thin layer of wood glue you will minimise any excess glue from squeezing out.
Watch the video below for a more detailed step-by-step process of how all the individual pieces are cut and glued together.