DIY Pine Knick Knack Shelf
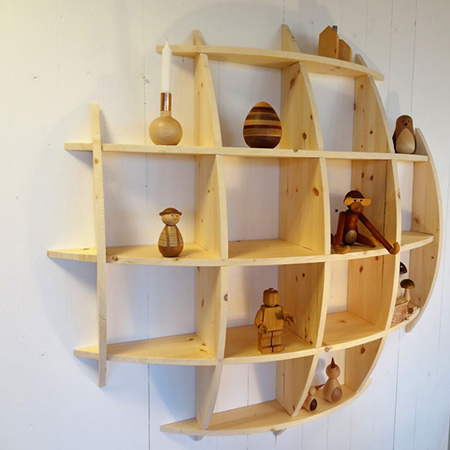
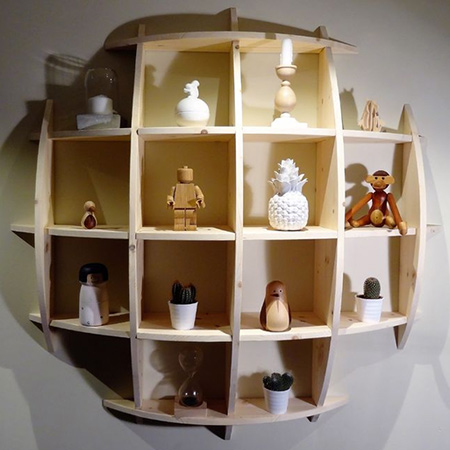
Make this pine knick knack shelf to fill up a blank wall and be an interesting feature.
31/05/2018
The shelf is made using PAR pine that you can buy at your local Builders Warehouse. Shop for pieces that have the least amount of knots and check that the boards are not cupped or bowed.

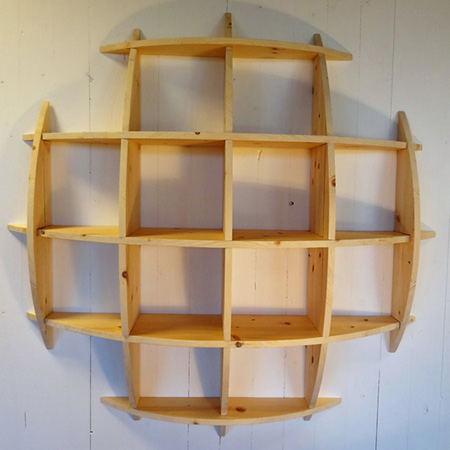
The design of the shelves allow them to be slotted together, which means there are no screws used in this project.

Designed by Manfredo Massironi and known as the Massironi shelf, the original design has 7 shelves, but this one has been modified to have 5 shelves for a smaller diameter of 1100mm.
The original idea was to paint the shelf, but after completing the assembly it looked so good as it was, it was left in it's natural state and only two coats of sealer were applied.
YOU WILL NEED:
Download the diagrams - Diagram 1 - Diagram 2 - Diagram 3 - Diagram 4 - Diagram 5 - Assembly
10 of 19 x 240 x 1800mm - Pine planks*
Paper and pencil
2 of keyhole brackets and screws
TOOLS:
Band saw, scroll saw or jigsaw
Orbital sander plus 120- and 240-grit sanding pads
Wood chisel
Wood file
Tape measure and pencil
*The maximum plank width locally is 220mm, so if you want to reduce the cost of this project, adjust to allow for a width of 220mm and not 240mm.
HERE'S HOW:
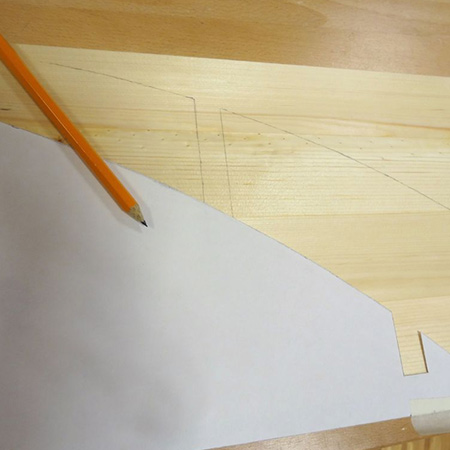
1. Using the diagrams provided above, draw the design onto paper and then transfer onto the pine planks.
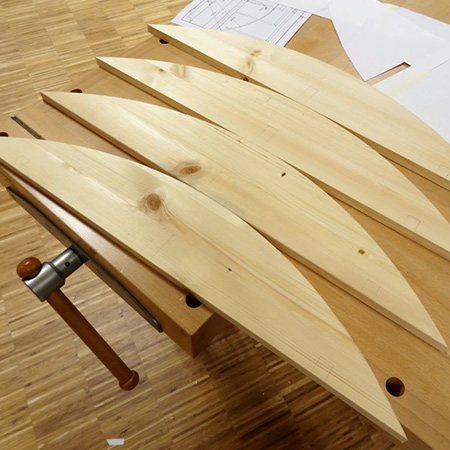
2. Cut out the individual shelves.
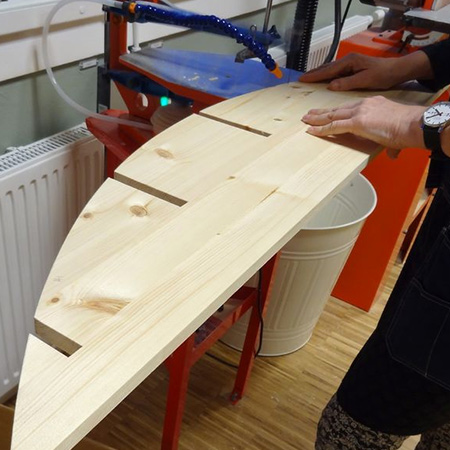
3. To cut out the slots you can use a band saw, scroll saw, jigsaw or a wood chisel. Some accuracy is required here, as you don't want to make the slots too wide.
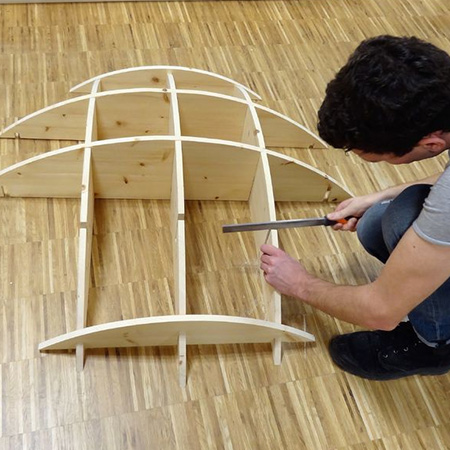
GOOD TO KNOW: Any remaining wood can be removed with a chisel and wood file.
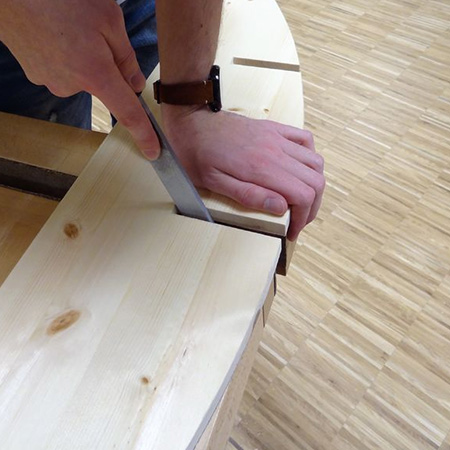
4. Sand all the pieces and then assemble on a level, flat surface. Keep the wood chisel on hand in case you need to shave off a little here and there when slotting the shelves together.
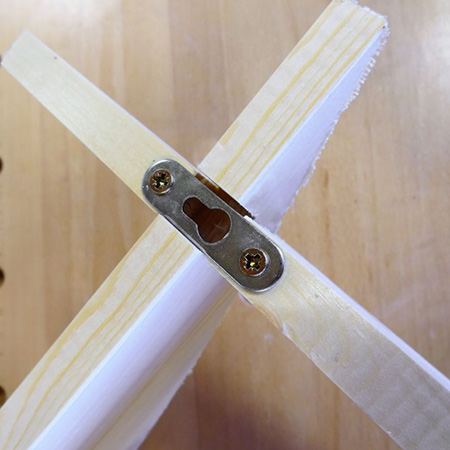
5. To hang the assembled shelf onto a wall, keyhole hangers were secured to the back of the shelves - at the ends.