
Make this Kiddies Book Stand
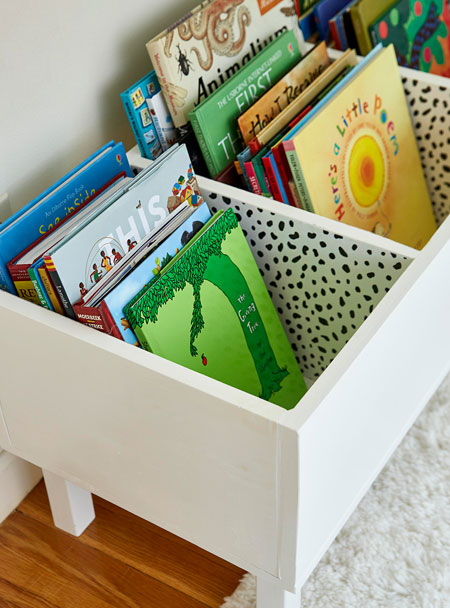
Make a kiddies book stand that allows any young child access to their favourite reading books, or use it for easy-to-reach toy storage.
08/04/2019
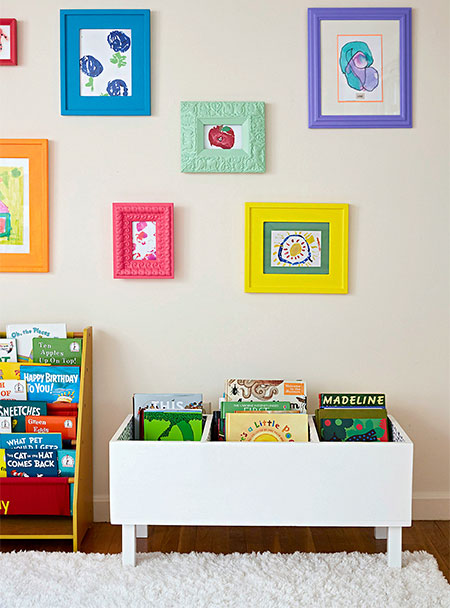
This practical book stand is designed to be at a height that is easily accessible to young children, You can fill the book stand with their favourite bedtime books, or use it for toy storage. All the materials to make this book stand can be found at your local Builders Warehouse, plus they can cut everything to size for quick and easy assembly.
YOU WILL NEED:
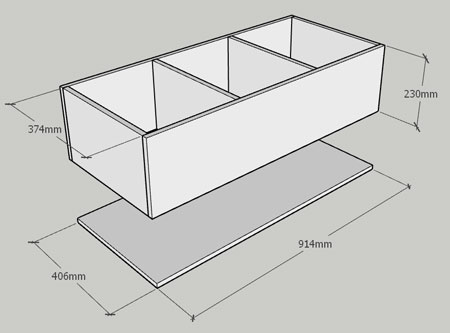
1 of 16 x 406 x 914mm SupaWood - bottom
2 of 16 x 230 x 914mm SupaWood - front and back
4 of 16 x 230 x 374mm SupaWood - sides and dividers
4 x 50mm screws
Wood filler
No More Nails adhesive
Paint and paintbrush to finish
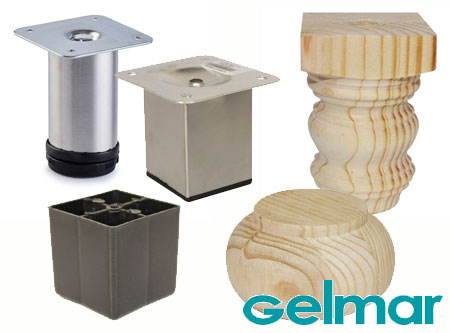
4 of legs and 16mm screws
Medium and fine sanding sponge
TOOLS:
Drill/Driver plus assorted bits
Countersink bit
Clamps
Tape measure and pencil
HERE'S HOW:

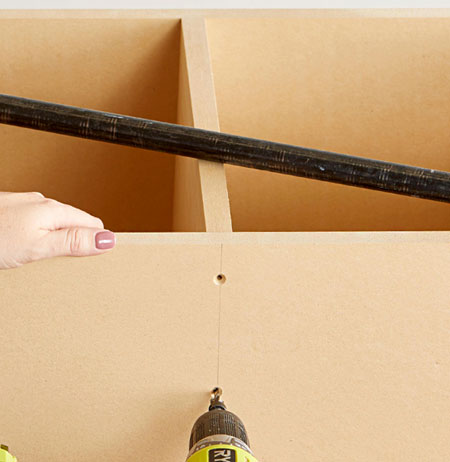
1. Place the front, back, sides and dividers on top of the bottom piece. To position the dividers at 283mm in from the sides. Clamp in place.
2. Drill 3mm countersunk pilot holes where the front and back joins onto the sides and dividers. Screw together with 50mm screws.
GOOD TO KNOW
Drilling a pilot hole is essential as it prevents the board from splitting at the edges. The countersink ensures that screws will be below the surface of the wood.
GOOD TO KNOW
Use a pencil to draw lines to show where to drill for mounting the base onto the dividers.
3. Flip over so that you can secure the base onto the front, back, sides and dividers
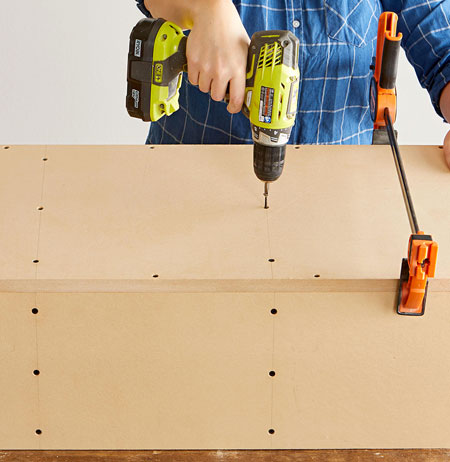
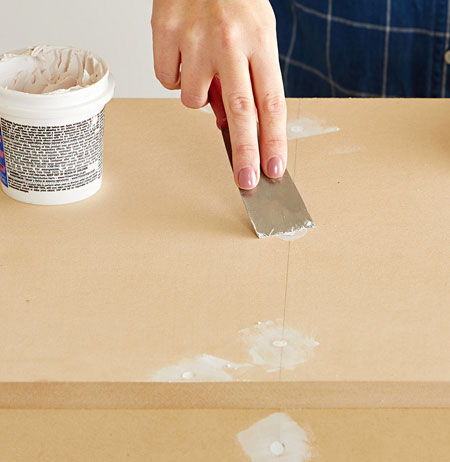
4. Apply a small amount of No More Nails adhesive to the screw heads and leave this to dry for about 10 minutes. Fill the holes with wood filler and let this dry.
GOOD TO KNOW
Applying adhesive to the screw holes ensures that the wood filler does not dry too quickly, which can result in shrinkage and cracking.
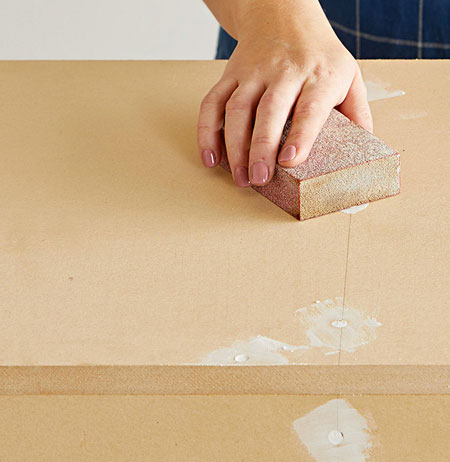
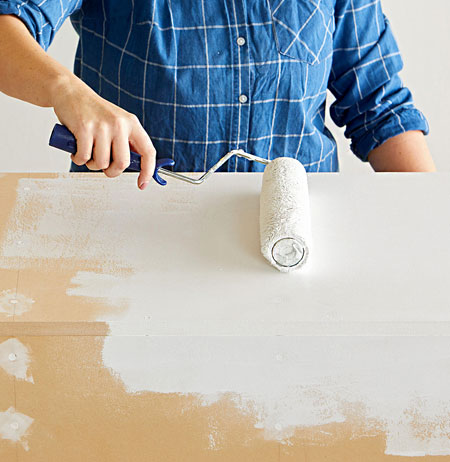
5. Use a medium sanding sponge to smooth the wood filler and then sand the edges with a fine sanding sponge to prepare for painting.
GOOD TO KNOW
Sanding the edges to a smooth finish will prevent these from absorbing too much paint.
6. Now you are ready to apply your choice of paint. A sheen or gloss paint will be easier to keep clean, as will a water-based enamel paint.
bhg.com