Quick Project: How To Make A Panel Door
Making designer panel doors is just one of the easy ways to update a home without spending too much money.
20/06/2021
woodshop diaries
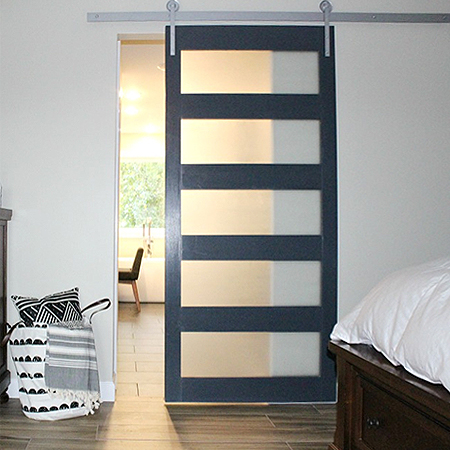
An affordable and easy way to update the interior of a home is to install new doors. Panel doors - ones with glass panels - are perfect for any room. Install a panel door to a bathroom that opens onto a dark passage and it will allow light to shine through from one room to another and instantly brighten up a dark space.
The panel door shown in this project is by Woodshop Diaries (woodshopdiaries.com) and they have plenty of other great projects on their website for the DIY enthusiast. We thought you might like this particular project because it is quick and easy to make and will add impact to a home without too much expense. All the materials you need to make the sliding panel door can be purchased locally, including the sliding gear for the door. Simply enter 'sliding door hardware' into the search bar to find a supplier close to you.
I have simplified the step-by-step instructions below so that even beginner DIY enthusiasts will be able to make a panel door for their home.
PREPARATION:
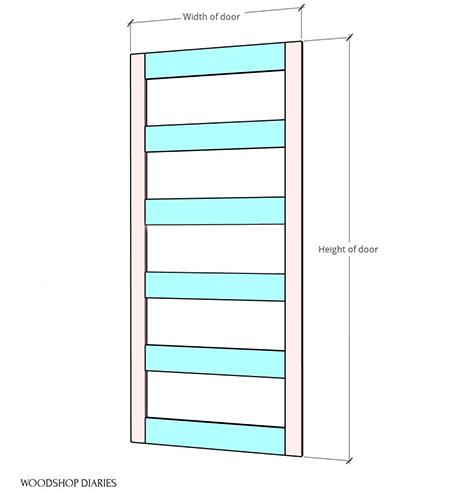
Before buying materials to make the panel door, you need to measure up the opening and determine the size of the door. Keep in mind that the width of the door should be wider than the opening so that it covers any gaps on either side when closed. Measure twice - cut once! Make sure you get the measurements absolutely correct before you go and order the materials cut to size.
YOU WILL NEED:
22 x 94mm PAR pine planks - door sides
22 x 144mm PAR pine planks - door crosspieces
5mm glass panels, cut to size - or transparent / opaque acrylic sheets
32mm pocket-hole screws
Wood glue
Silicone adhesive, clear
Paint to finish
Rust-Oleum Frosted Glass spray or opaque self-adhesive vinyl
TOOLS:
Drill / Driver plus assorted bits
Sander plus 120- and 180-grit sanding pads
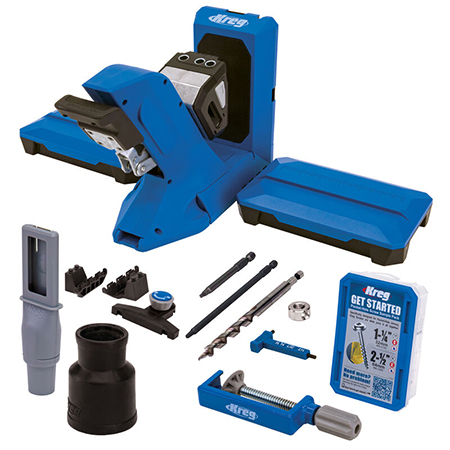
Kreg Pocket-Hole Jig
Clamps
Router and cutting bit
Wood chisel and hammer
Tape measure and pencil
Safety gear
Priced at around R2600, the Kreg 720PRO Pocket-Hole System makes any DIY project faster, easier, simpler
HERE'S HOW:
Step 1
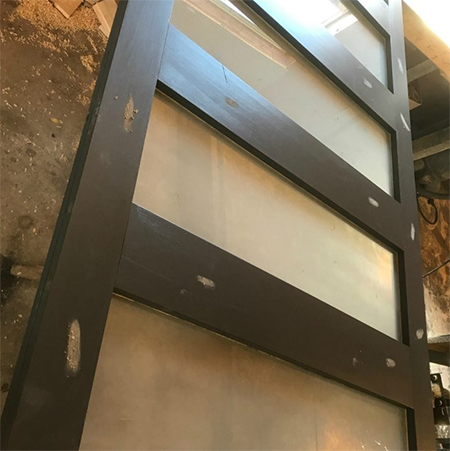
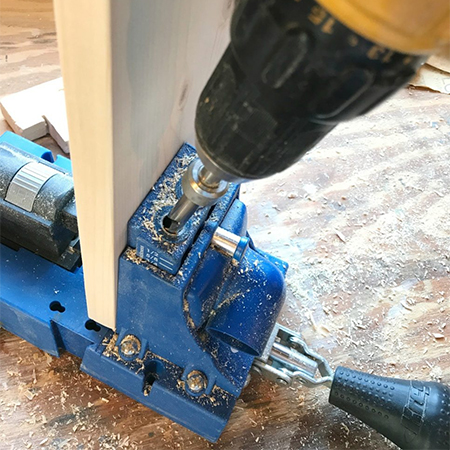
Set up your pocket-hole jig for 22mm material and drill [2] pocket-holes at the ends of all the crosspieces. Once you have done that you can apply wood glue and then clamp the crosspieces to the door side individually to secure with pocket-hole screws.
Secure the crosspieces to the door sides with wood glue and pocket-hole screws
Step 2
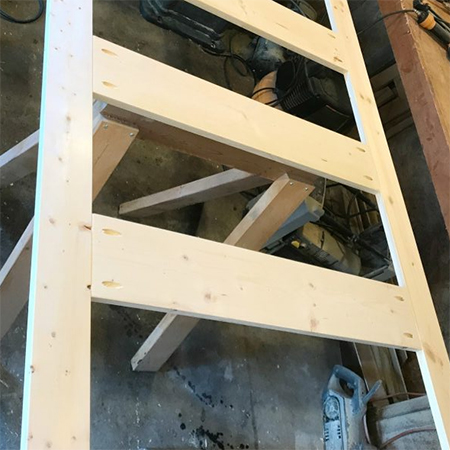
Use your router and cutting bit to create a ledge on which the glass pane can sit. Use a wood chisel to square off the corners neatly.
Use a router to cut out a ledge in the back of the assembled door

Step 3
Measure each opening to have a precise measurement for the glass to be cut to size. It is far better to measure after assembly so that there can be no mistakes.
Step 4
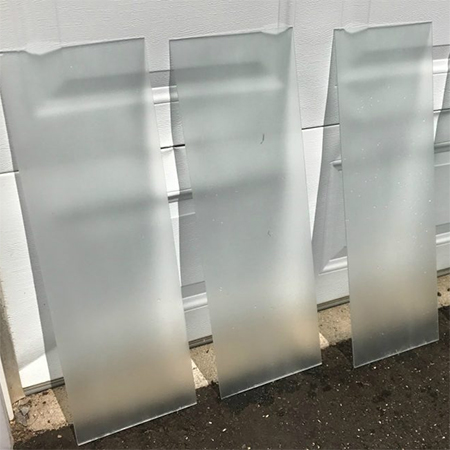
Have the glass panes cut to size at your nearest Builders store or glass supplier and then spray these with Rust-Oleum Frosted Glass spray. Apply 3 to 4 coats of even spray over the glass panes, allowing them to dry between each coat. As an alternative to frosted glass spray, cover with self-adhesive vinyl with opaque or steam design. This also provides a frosted glass effect and does last longer than the frosted glass finish.
Spray the glass panes with frosted glass spray or apply opaque self-adhesive vinyl
Step 5
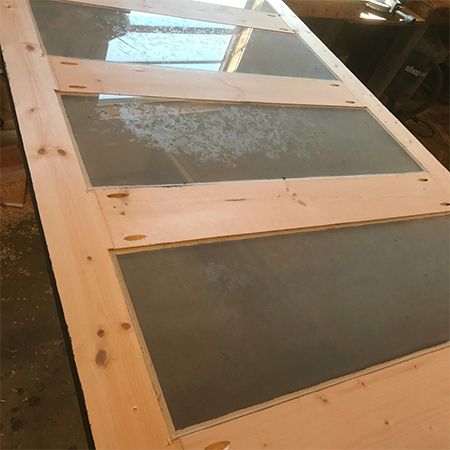
Test fit that the glass panes fit into the frames easily.
Secure the glass panes in the door with clear silicone adhesive
Step 6
For this step, I recommend painting the door - or stain, seal or varnish - before placing the glass panes in the openings.
Step 7
Secure the glass in the openings with clear, silicone adhesive and wipe away any excess on the glass or around the back. Make sure the silicone is neatly finished at the back and do this before it starts to harden. A cloth slightly dampened with vinegar will do the trick.
Step 8
Fill in any holes with wood filler or wood plugs, let this dry and then sand smooth before touching up with paint.
Finish the door in your preferred choice - paint, stain, sealer or varnish