
Quick Project: Make Hex Shelves
When you have scraps of hardwood left over it seems a waste not to use this and this small project lets you make some modern hex shelves for a wall display.
20/03/2019
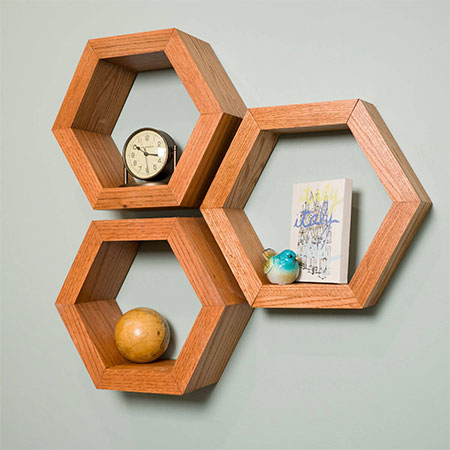
Got some spare time and a few scraps of hardwood left over from a previous project? These modern hex shelves are quick and easy to make and you can use up any offcuts that you have lying around.
These hex shelves are designed purely for display purposes, so they are joined together using wood glue. Alternatively, you can join with biscuits or dowels if you prefer a more sturdy design.
To hang your new hex shelves on the wall, secure a picture hanger at the back or allow for mounting a keyhole bracket.
YOU WILL NEED:
Hardwood offcuts
Wood glue
Masking tape or painter's tape
TOOLS:
Mitre saw or table saw
Orbital sander plus 120- and 180-grit sandpaper
Tape measure and pencil
HERE'S HOW:
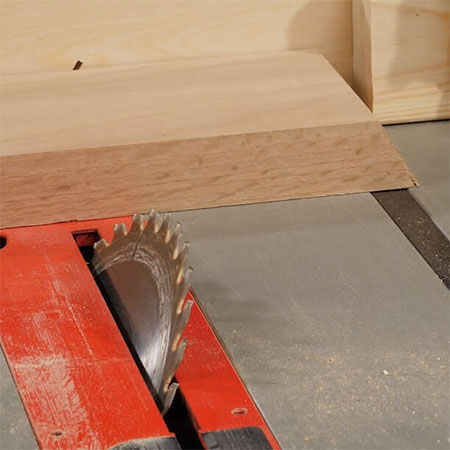
1. Set the cutting angle of your mitre saw or table saw to 30-degrees. This is the angle you need to cut all the sections for making the hex shelves. The shelves shown here are approximately 170mm in length, but you can adjust this depending on how much scrap wood you have to use.
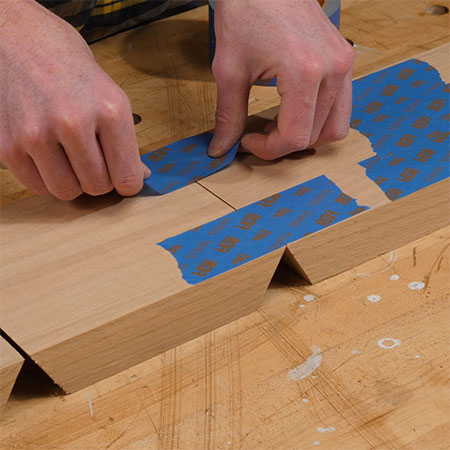
2. Place the cut pieces on a flat surface and join together using masking tape or painter's tape - see above. This is a far easier method than clamping the pieces together and works well when you are working with awkward or tricky angles.
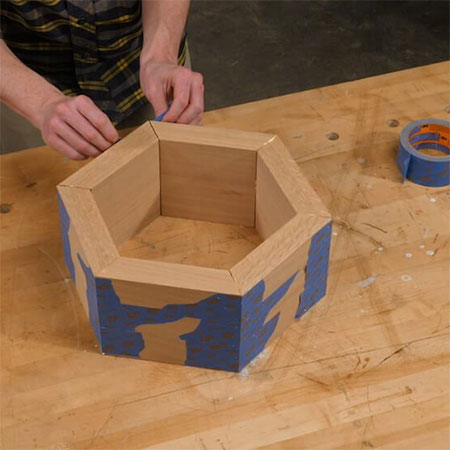
3. Apply wood glue to all the angles and then fold to complete the shape. Close off at the end with more tape and make sure it is tightly taped together.
GOOD TO KNOW: Since you are gluing the end grain of the pieces, make sure to apply glue to both sides and smooth all over.
family handyman