
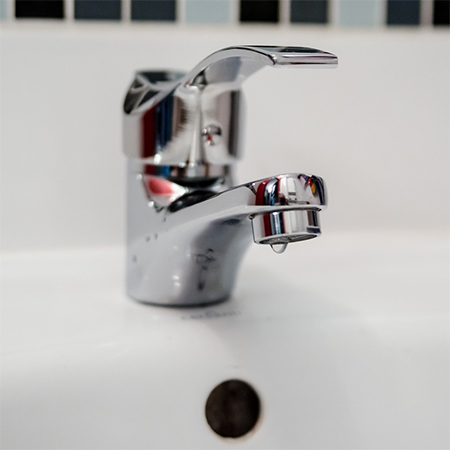
DIY Guide: How to Fix a Leaking Tap
DIY tips on how to fix minor home plumbing problems and save yourself some money.
02/06/2022
Part of home maintenance involves rectifying fixing leaky taps and replacing parts of plumbing underneath the sinks, behind toilets and other water related care.
Some important items to have in your home DIY plumbing tool kit may include, Teflon tape, plumbers’ putty, basin wrench, seat wrench, plumbers/pipe wrench and a drain snake.
Often missed potential issues
The steel thin flexible connector
pipes for sinks and toilets may be small, but
they are vital. The life span on these is said
to be five to ten years, but there have been
cases where they have not lasted as long as the
manufacturers may have indicated.
It is now
expected that they are checked every two years,
however, if you notice these rusting or leaking,
replace them straight away. Check for
discolouration, bulging, fraying, kinks or rust
spots.
One of these tiny little hoses has the potential to carry 1500 litres of water an hour! Consider how many hours you may be absent from the home due to work and other commitments or in a deep sleep, and that can add up to be a substantial and ghastly amount of water!
If one of these bursts, it has the potential to flood your home and cause expensive and catastrophic damage. If this happens when no one is home or the household members are asleep, it may result in flooding in surrounding rooms and areas and the damage bill can run into tens of thousands of dollars.
This is because flooring, carpet, skirting boards and personal effects may become damaged and water logged.
If there is electrical equipment on the floor, or in an area that is impacted by this surge of water, the situation also can become dangerous.
According to a report in 2016, burst flexible connection hoses were the cause of more than one in five water damage claims in Australia and it can happen here too.
How to replace steel pipes:
- It’s a relatively easy and straight forward process.
- Turn on the mains and the taps connecting the hoses.
- Take the hoses of and replace them.
- Turn the water mains and taps back on.
How to fix a leaking tap:
- Get all your supplies together. For this job you will need, spanners, screwdrivers, a flat knife, as well as O rings, Teflon or plumbers’ tape and washers.
- The first step is to turn of the main water supply to your home. Anytime, you are working with water, this needs to be your first step.
- Turn on the tap you intend to work with and let all the residual water run out.
- It’s an idea to put the plug in the sink you’re
working on. This tops any small and important
pieces slipping away down the drain.
Usually on top of each tap, there is a small little bolt, which may have H (for hot) or C (for cold) on it. Undo this. - Remove the tap handle and the plate /skirt underneath it.
- The part that is now exposed is called the spindle and body. If this is wet, it means your O ring is leaking.
- Take of the washer. Wind the threaded spindle out of the pipe. This is done by turning it in the same direction as if you were turning the water off.
- You should be able to see the O ring after this. Usually this comes of fairly easy with your fingers or it may need some gentle coaxing with a blunt knife.
- Clean the exterior and then replace all the parts. Spindle parts, O rings and washer.
- Put a small amount of tap lubricant on the spindle and valve.
- Put the spindle back in place. Take care not to fasten it on to tight.
- Put all the outer parts of the tape back on.
- Turn the main water back on and test the water.
If the tap is still leaking, call a plumber in your area, such as plumber Mentone.
How to replace a shower head:
- Firstly, gather all your tools that you require to complete the job.
- You’ll most likely need, the new shower head, a ladder (if you’re unable to reach the shower head standing up), some soft jaw pliers, an adjustable wrench, some thread sealing tape and a wire brush, rag or toothbrush.
- Once again, the initial step is to turn of your mains water supply and turn on the shower tap to allow the water to empty before you change the shower head.
- The next step is to remove the old shower head. This may be as simple as just turning it to loosen it and simply removing it. Or if you have a bit of a stubborn shower head, you may need to utilise your adjustable wrench to loosen it.
- The shower head underneath may be quite dirty and covered with scale, rust, grime or other debris. Use your toothbrush, wire brush or rag to clean the thread and shower head. This can assist for increasing the water pressure (making a more enjoyable shower), and ensuring the water is clear.
- Dry the thread after you’ve finished cleaning it.
- Although your shower may have an internal washer, placing additional tape is a good idea. This stops all the threads from locking together and makes future removal of the shower head easier.
- Wrap the tape around your shower head in a clock wise direction
- Next, put the new shower head on. As with the removal of the shower head, some may simply be able to be installed with your bare hands, others may require assistance with a wrench and adjustable wrench.
- Be mindful not to make it to tight as this can damage the threads.
- The last step is to turn on the mains water and then the shower taps to check for leaks. Ideally, there won’t be any, but if there is, it is most likely that a rubber seal need replacing or your thread tape has moved.
Author: Therese Vickers