How to make a cover for your generator
With the ever-increasing possibility for load shedding, and an overloaded power grid in my area, I decided to make a cover for my generator to protect it from the elements.
16/07/2019
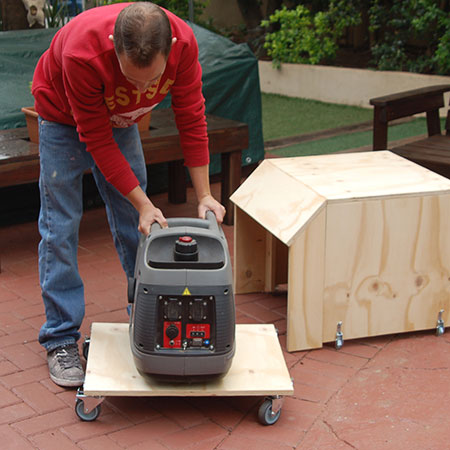
The area that I live in is prone to power outages due to an overloaded electricity supply grid. Add to that the fact of ever-increasing load shedding, and I decided to make a cover for my generator to make it easier to keep and use it outdoors and also be able to move it into position easily when needed.
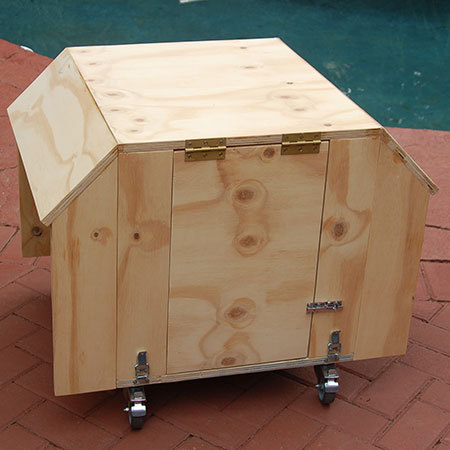
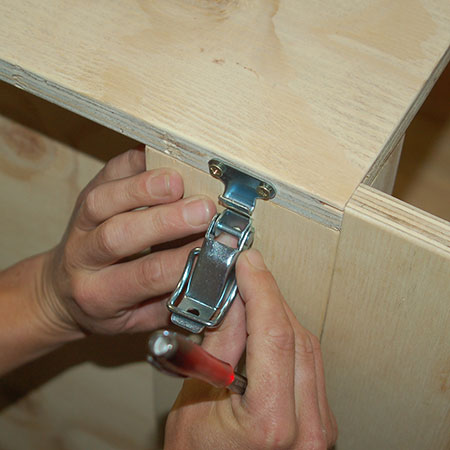
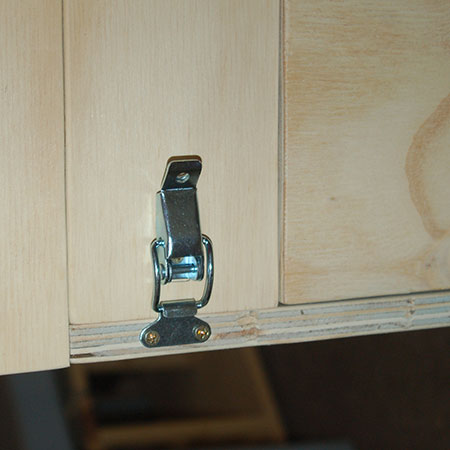
The cover was designed so that the entire top of the generator cover could be removed to allow for adding petrol and oil, and to allow for easy removal when the generator needs to go in for service. For this, some clips were added to the sides of the cover.
Adding the cover also protects the generator from the elements and lets me use the generator even when it's raining. Since it is usually stored on a covered area, the generator cover will ensure the gennie is ready for use whenever the need arises.
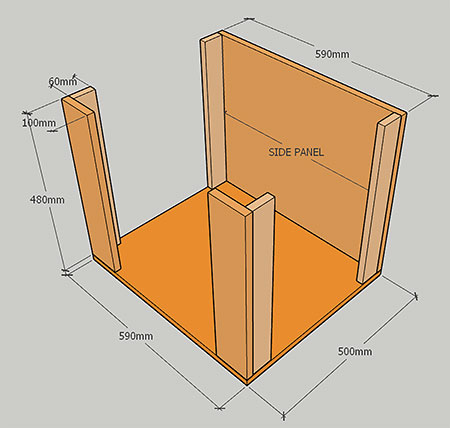
If you want to make a cover for your own generator, bear in mind that you will have to cut all the sections to fit the size of your particular model of generator, since they are all different sizes.
HERE'S HOW:
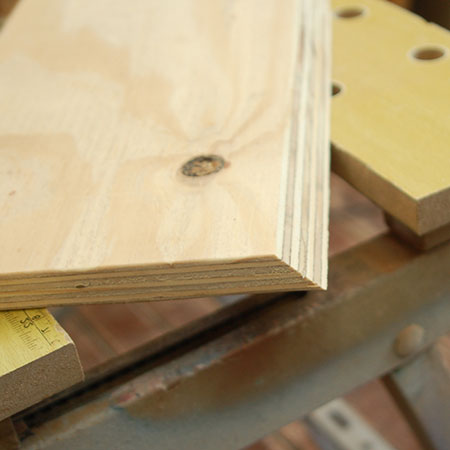
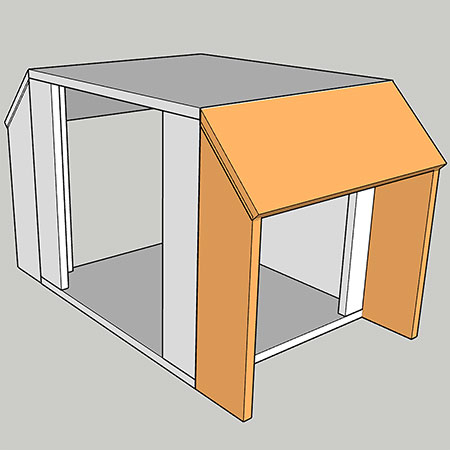
1. The angled flaps at the front and back of the cover are designed to offer protection from the elements and will allow use of the generator when it is raining (and already under cover of the patio). The angle is 45-degrees on one end of both of the flaps.
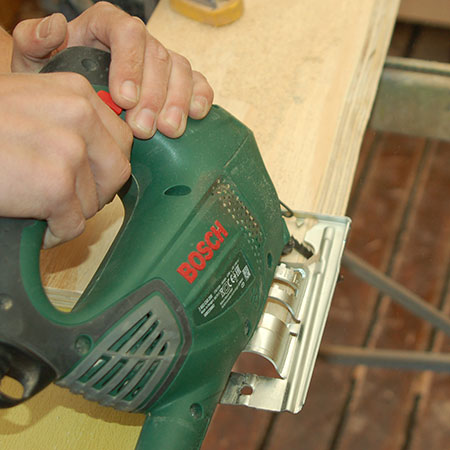
GOOD TO KNOW: Since the flaps are too long to use the mitre saw, it was necessary to cut the angle with my jigsaw.
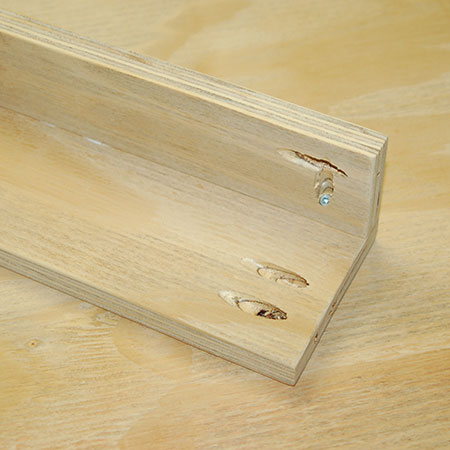
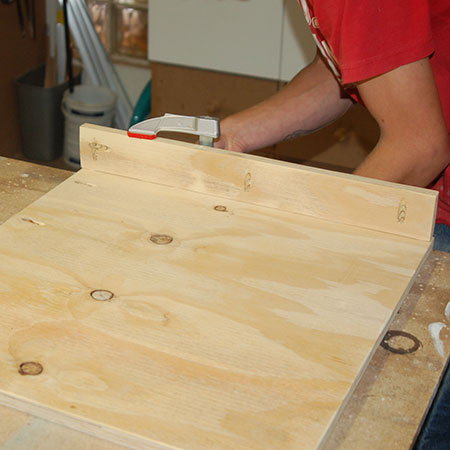
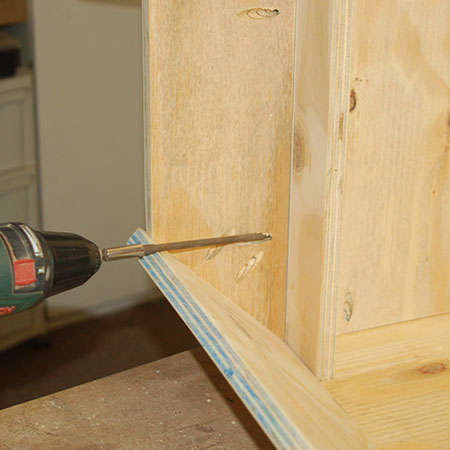
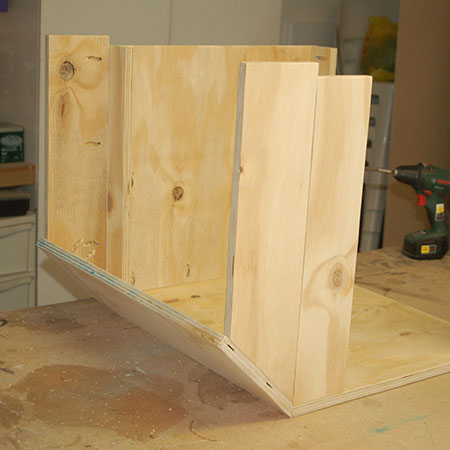
2. Assemble [2] corners for the side panel that has the door flap. If you have a Kreg pocket hole jig, you can use this to drill pocket holes that will then be on the inside and not visible on the outside of the frame.
3. For the opposite side of the cover, cut a piece of plywood to length for the side panel and add [2] ends to match the opposite side. Again, it's handy if you have a Kreg pocket hole jig so that the screws are not visible on the outside.
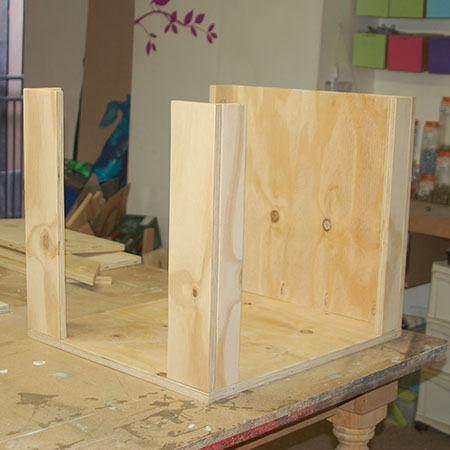
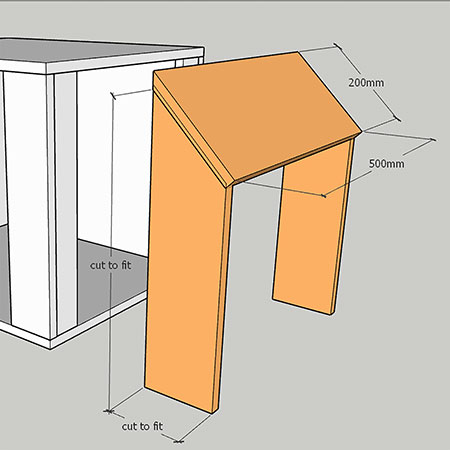
4. Now you can add the angled front and back panels to the front and back flaps. The top of both front and back flaps are cut at a 45-degree angle to sit underneath the angled panels.
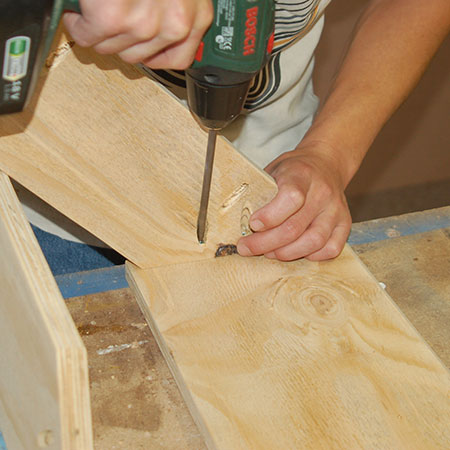
GOOD TO KNOW: The front and back panels have pocket holes drilled to attach to the main frame.
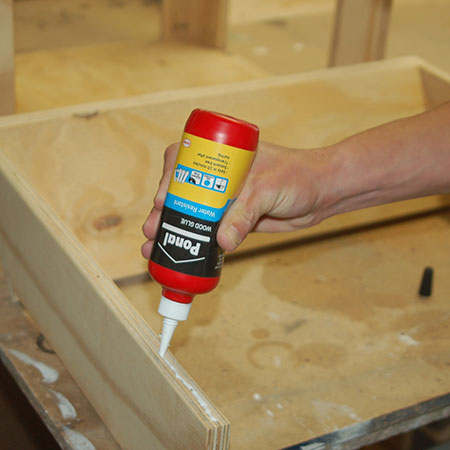
5. Apply a bead of wood glue along the back of both front and back panels.
6. Screw the front and back panels to the main frame with pocket hole screws.
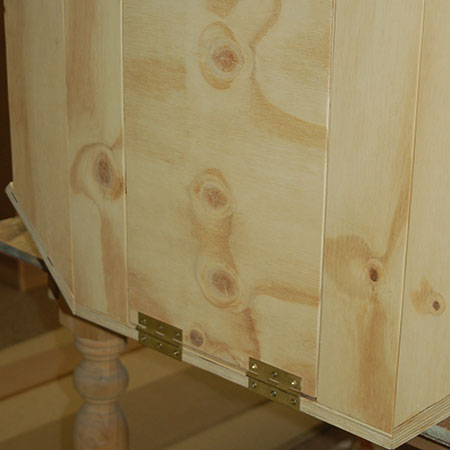
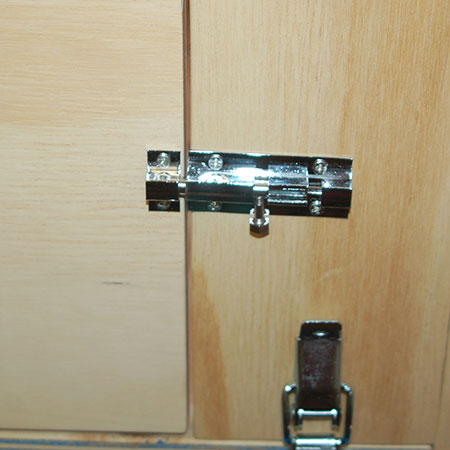
7. Now you can add the flap door with butt hinges and 16mm screws. Note the placing of the hinges to allow the door flap to be lifted up when the cover is right side up.
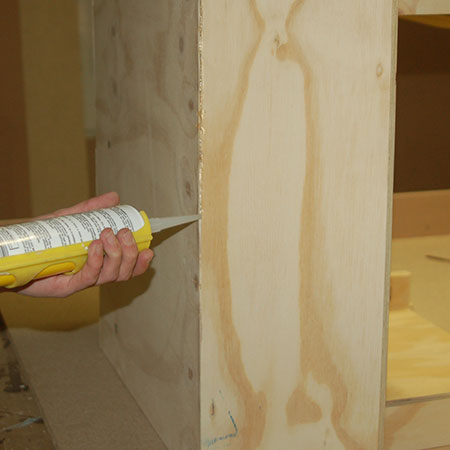
8. Apply exterior silicone to all the inside seams and joints to create a waterproof cover.
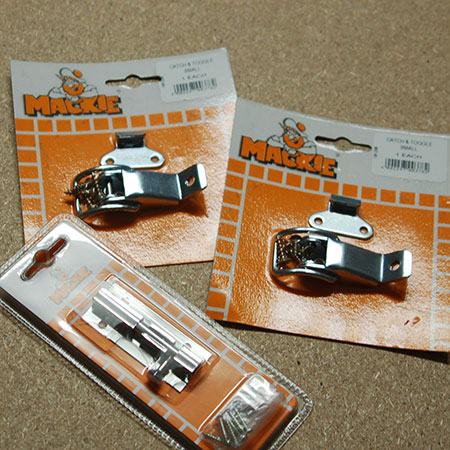
9. To allow for the entire top cover to be removed when necessary, secure [2] slips on the sides of the frame.
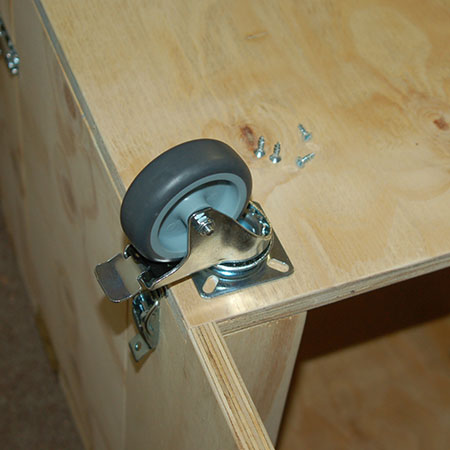
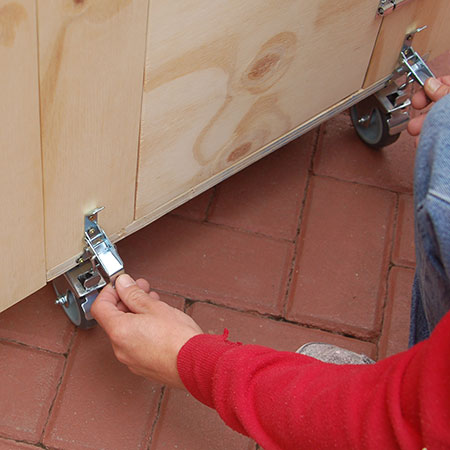
Caster wheels were attached to the base of the cover with 16mm screws. Two of the caster wheels have a locking mechanism to hold the entire assembly in place. The wheels also allow the generator to be moved from place to place.