
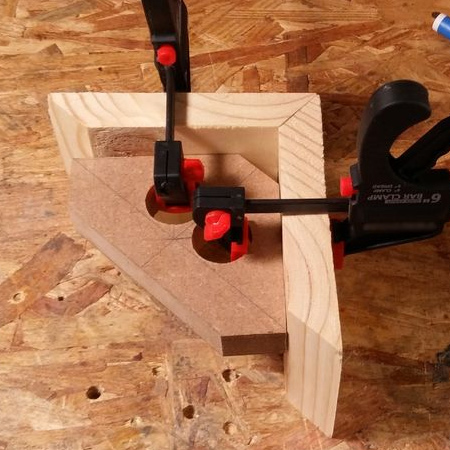
Easy corner clamp jig
When you are working on your own to make furniture or projects, it's always handy to have a trick or two up your sleeve. This handy corner clamp jig is one of those!
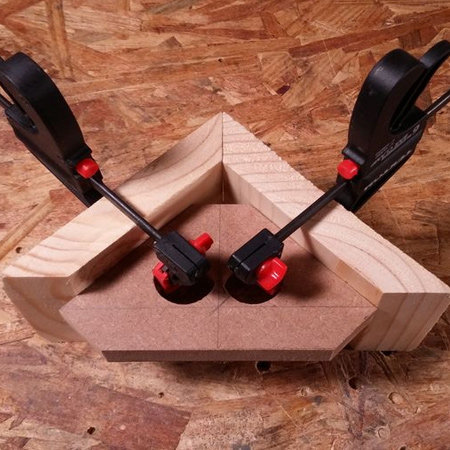
The easy corner clamp jig is so easy to make, and you can make gluing and joining much easier.
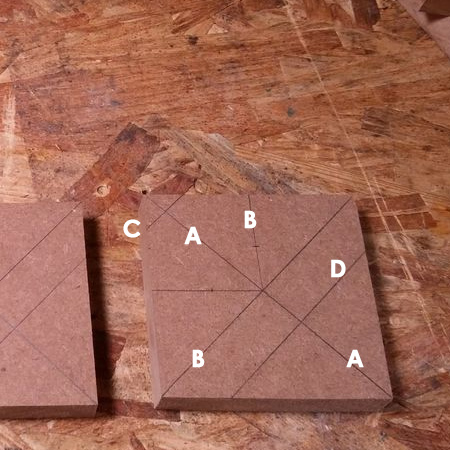
1. Measure and mark for drilling the holes for the clamps. The blocks of wood you use must be perfectly square and have accurate 90-degree corners before you start. Draw diagonal lines from corner to corner [A]. On one half draw lines from the centre to the middle of each edge and then mark the centre of each line [B]. Mark to cut away the front corner [C] and the back corner [D] .

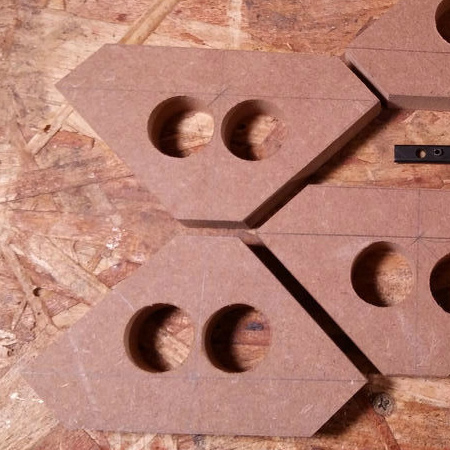
2. Where marked, cut out holes large enough to fit through your particular brand of clamps. You can use a spade or MAD (Forstner) bit, or even a hole saw.
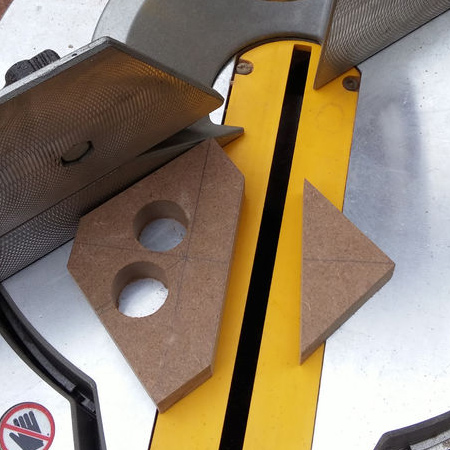
3. Cut away the front and back corners.
And there you have it... a corner jig that is easy to clamp in place and holds corners perfectly square while you wait for glue to dry!
instructables.com