
Make a Mobile Fold-Up Workbench
This mobile fold-up workbench is perfect for anyone who doesn't have a designated workshop for all their DIY projects.
01/04/2019
This portable workbench folds up and can be stored anywhere. It's the perfect DIY project for anyone who doesn't have a designated workshop or place to do all their DIY projects. This fold-up workbench is also ideal if you need to set up a mobile job set.
YOU WILL NEED:
[A] 4 of 32 x 94 x 610mm PAR pine - tops
[B] 4 of 32 x 94 x 686mm PAR pine - sides
[C] 4 of 32 x 94 x 546mm PAR pine - cross pieces
[D] 4 of 22 x 44 x 686mm PAR pine - bracket supports
[E] 4 of 19 x 127 x 505mm plywood - top/bottom folding arm
[F] 2 of 19 x 350 x 505mm plywood - centre folding arm
1 of 19 x 610 x 1220mm plywood - bench top
2 of 19 x 90 x 1000mm plywood - cut to fit - top rails
5 x 50mm screws
Wood glue
8 of butt hinges and 16mm screws
4 of strap hinges and 16mm screws
2 of Hook and eye latches
TOOLS:
Drill/Driver plus assorted bits
Jigsaw
Orbital sander plus 120- sanding pads
Tape measure and pencil

HERE'S HOW:

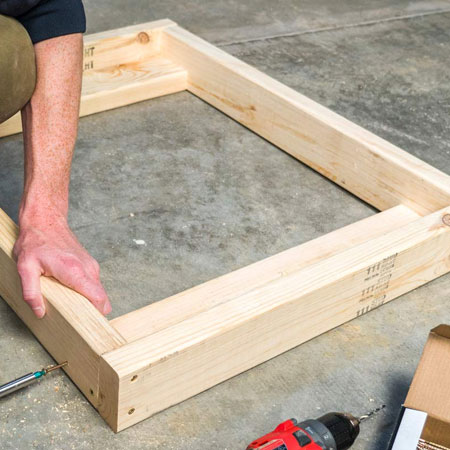
1. To assemble the side sections, join tops [A] to the sides [B] using wood glue and screws.
2. Insert the cross pieces [C] and screw through the sides to secure in place with screws.
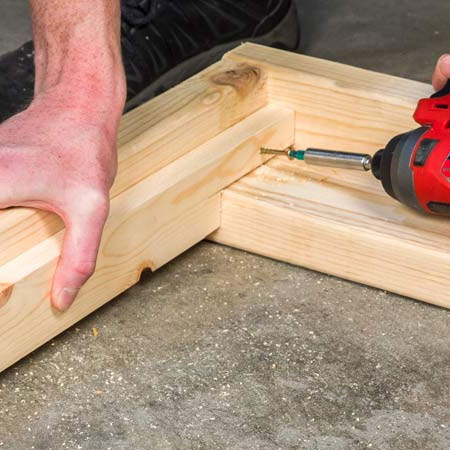
3. Use a jigsaw to cut a notch in the top and bottom of all the [D] bracket supports and then glue and screw these into the frame.
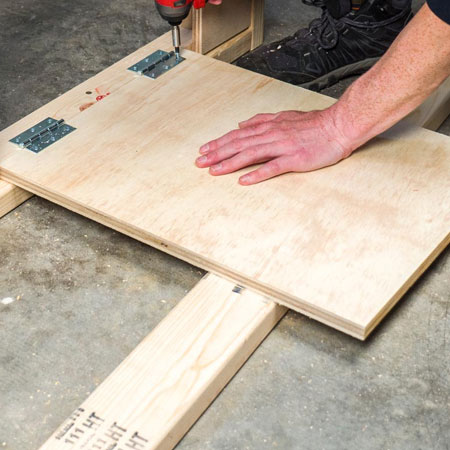
4. Secure the top and bottom folding arms [E] to the bracket supports with butt hinges and screws.
GOOD TO KNOW: All folding arms should fold flat against the frame sides.
5. Repeat to add the centre folding arm [F] to the opposite side. Centre the folding arm to allow a sufficient gap between the top and bottom folding arms when the assembly is in the closed position.
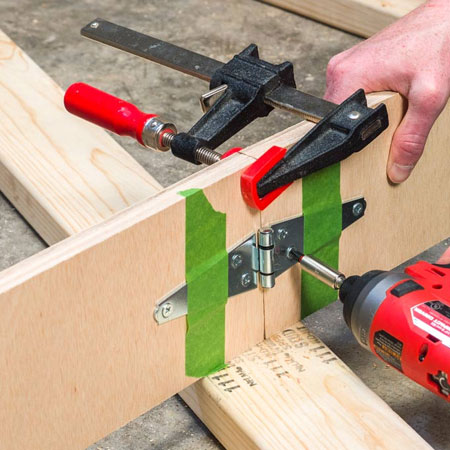
6. Clamp the folding arms together at the centre in order to join these together with a strap hinge and screws. Repeat this process for all folding arms.
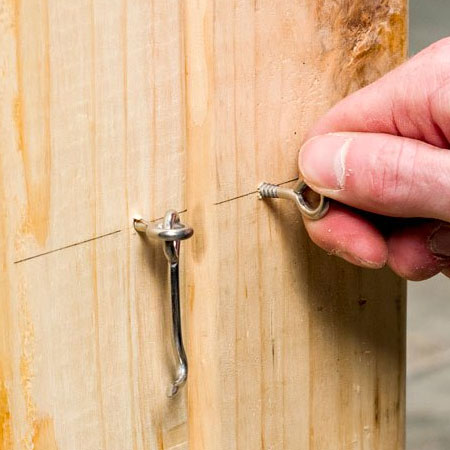
7. Close up the assembly in order to screw in the hook and eye latches to the outer sides of the frame, as shown below.
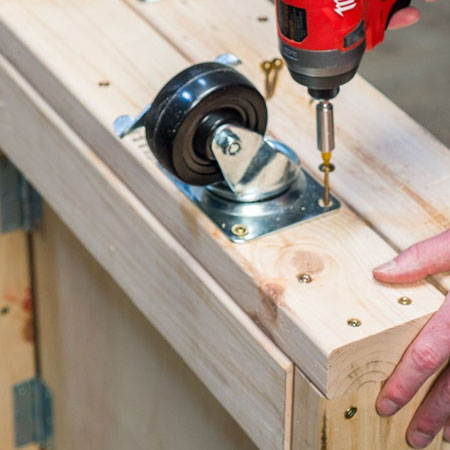
8. Add caster wheels to the base. One wheel on both side sections should be lockable for stability when in use.
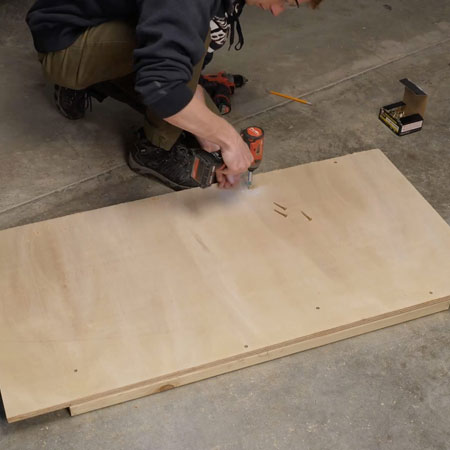
9. Assemble the top for the workbench by adding the side rails. It is better to cut this to fit to allow for any discrepancies in the thickness of PAR pine. Fully open the base assembly to double-check the total length before cutting the rails.
10. Sand the finished workbench and apply any finishing, if required.
family handyman
Watch the video below to see the step-by-step assembly of this mobile, fold-up workbench and make one for yourself.