
This Folding Side Table is Great for Indoors and Outdoors
When you need an extra side table, whether indoors or outdoors, this folding table is stylish enough for serving tea with family and friends, or for drinks when you entertain.
16/09/2019
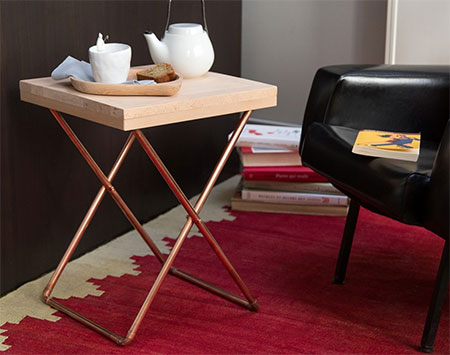
Make a handy fold-up side table that you can use when you need an extra table for when entertaining family or friends, or when you need a place for drinks when you entertain outdoors. Buy all your materials and supplies for this project at your nearest Builders store and let's get started.
YOU WILL NEED;
1 of laminated pine 22 x 400 x 400mm - table top
4 of 19 x 400mm PAR pine - table apron
4 of copper pipe 10mm or 15mm dia. x 56mm
4 of copper pipe :10mm or 15mm dia. x 30mm
8 x 35mm screws [8]
6mm dia. x 40mm screws and nuts [2]
Epoxy glue
Nylon strapping
Copper cleaner and rags
TOOLS:
Drill/Driver plus assorted bits
Socket attachment or socket set
Dremel DSM20 or jigsaw and steel-cutting blade
Clamps
Stapler
Tape measure and pencil
HERE'S HOW:
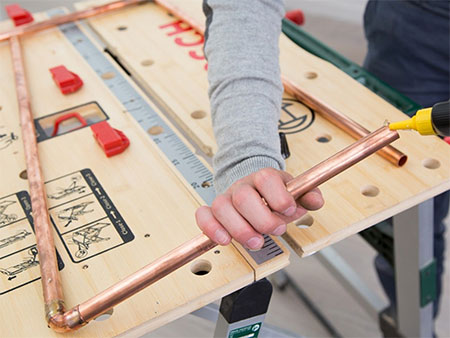
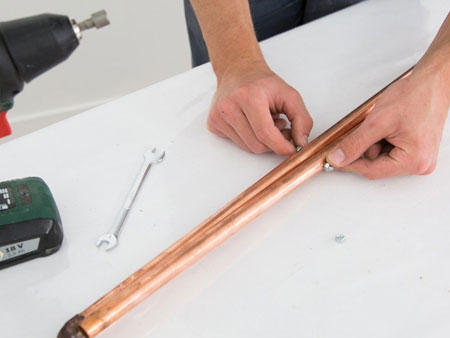
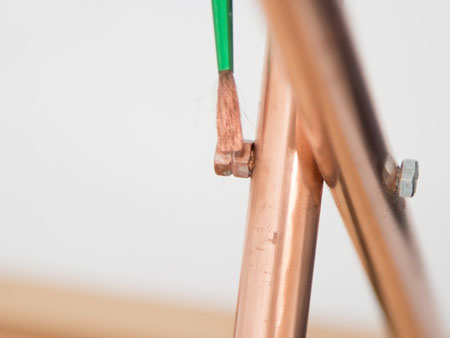
1. In order to assemble the frame for your folding table, you need to drill a 6mm diameter hole at the centre (halfway) of each long section of copper pipe. It is important that the hole be at the exact same height on pipes, so measure and mark accurately. To prevent the drill bit from sliding around, dent the pipe slightly with a hammer and nail.
GOOD TO KNOW: Clamp the pipes to your workbench to prevent them moving as you drill a hole.
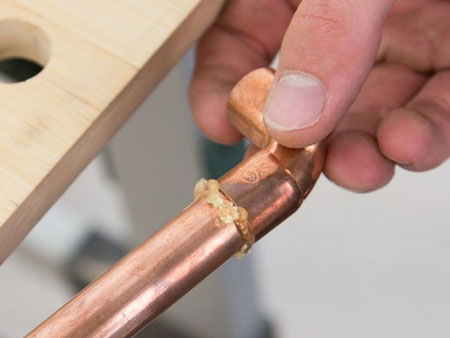
2. Take the [2] longer sections of pipe and the [2] shorter sections of pipe to assemble the frame. Arrange the pipes so that the short pipes and long pipes face each other. Use epoxy glue to secure the pipes to the copper elbow to create the frames. Repeat this to make the second frame. For the second frame, only join a long and short section of copper pipe with a copper elbow. Make the remaining side for the frame but DO NOT join these together yet.
3. To join the two frames together, using the completed frame, place one of the 2-piece frames inside it - both long copper pipes lie parallel to one another and the holes are at the same height.
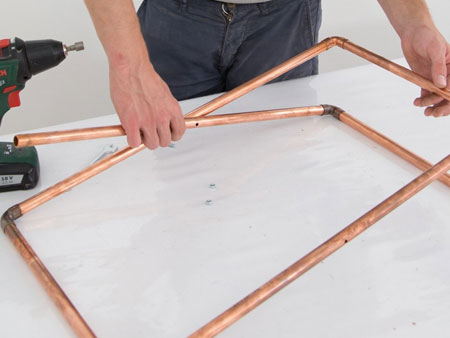
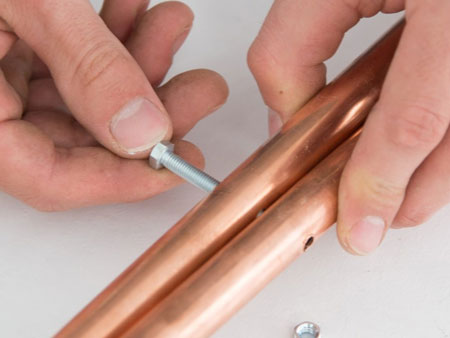
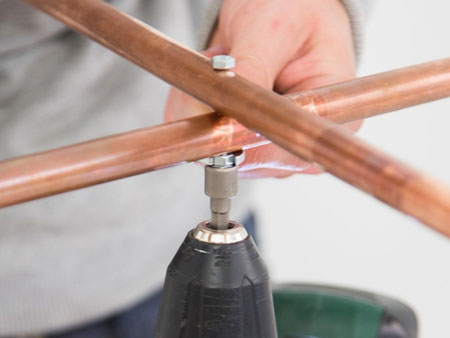
4. Insert the 6mm bolt through both holes in the frames and secure in place by tightening a nut at the end. Tighten securely using a socket wrench.
5. Place the remaining 2-piece frame on the part and add elbows to join and glue. Screw these together to complete the frame.
GOOD TO KNOW: You can insert certain sockets into the end of your drill/driver to make it easier to tighten nuts and bolts.
6. Use copper polish and a rag to clean and wipe down the copper pipe frame until it shines.
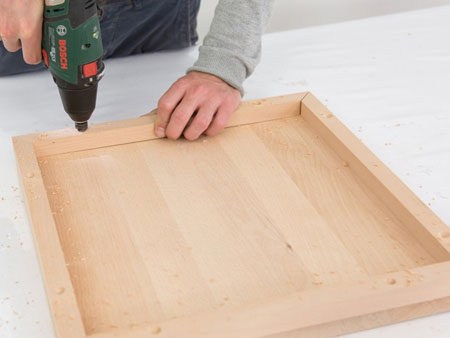
7. Before assembling the top of the table, take the time to sand around the edges and the top surface until nice and smooth, as well as the aprons that will be fitted underneath the table top.
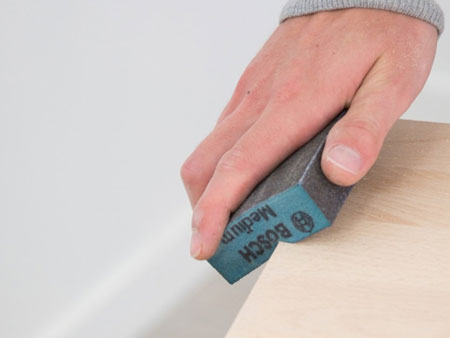
8. Cut the ends of the pieces for the apron at a 45-degree angle at both ends. Sand smooth.
9. Apply wood glue to the aprons and press onto the underside of the table top. Drill [2] countersunk 3mm pilot holes in each apron and secure with 35mm screws.
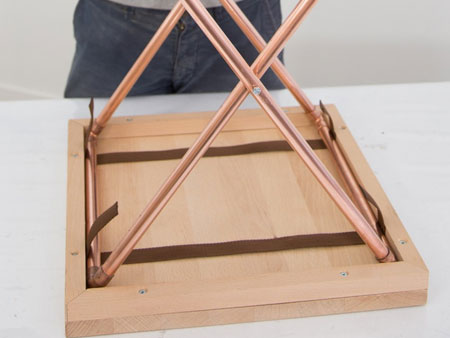
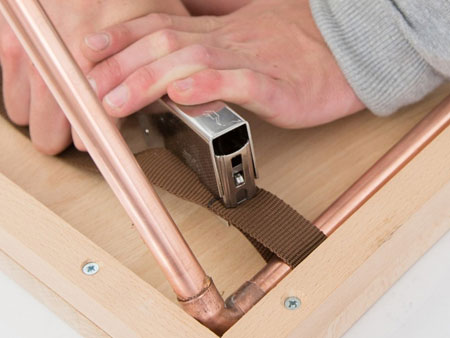
10. With the table top upside down, put down your nylon strapping about 500mm in from the edges of the table top - see below. Position the table frame on top of the strapping, so that you can loop the end of the strapping around the pipe and staple it to the strap lying on the table top.
GOOD TO KNOW: The strapping is not secured to the underside of the table, so that it allows you to fold up and store when not in use.
Finishing
If you have some copper paint at home, you can paint the nuts and bolts to match the copper pipe.
all about diy