Compact Fold-Down Desk for Child's Bedroom
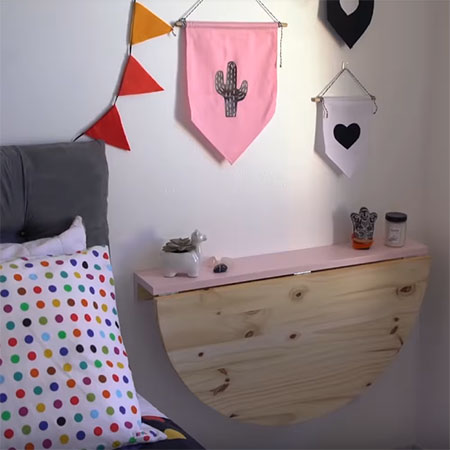
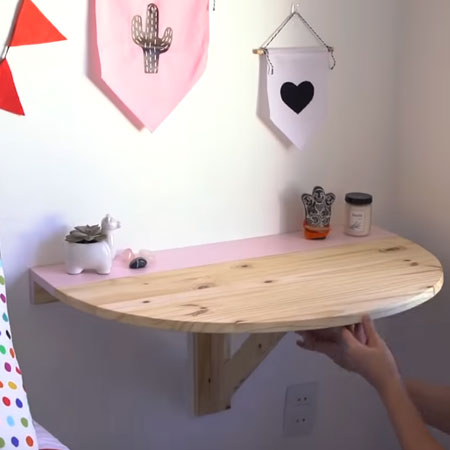
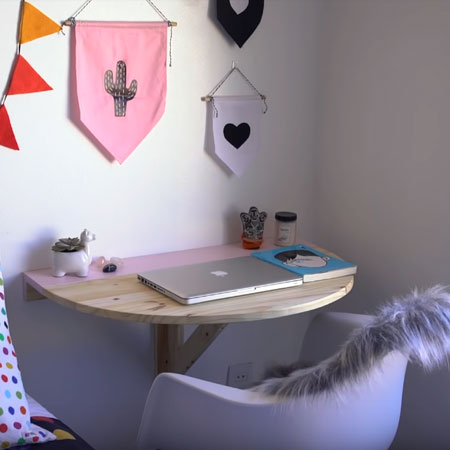
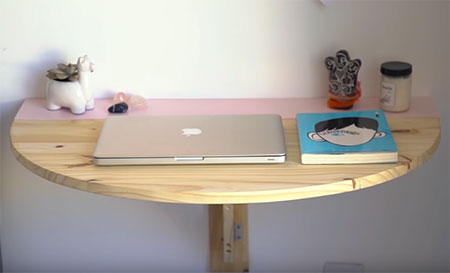
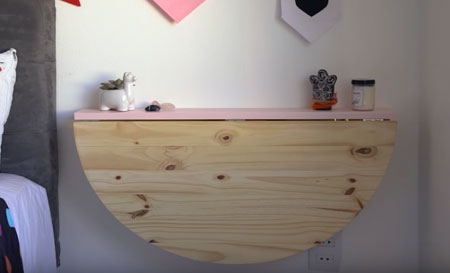
This drop-leaf or fold-down desk is perfect for a child's bedroom and folds neatly out of the way when not in use.
10/04/2019

Made using laminated pine that you can buy at any Builders Warehouse, this drop-leaf or fold-down desk is perfect for a child's bedroom or teen room. Compact in design, the desk easily lifts up and folds into place to use as a desk, or folded down when not in use. You can also buy all the accessories that you need for this project at Builders Warehouse.
Once you have made the desk, apply a clear matt, satin or glossy sealer or varnish to protect the surface and make it easier to keep clean. Or paint the fold-down desk with acrylic paint or chalk paint to match the existing bedroom decor.
The desk is easy to make and shouldn't take you more than a day to complete, from start to finish, so set aside some time this weekend and grab your power tools!
diycore.com.br
YOU WILL NEED:
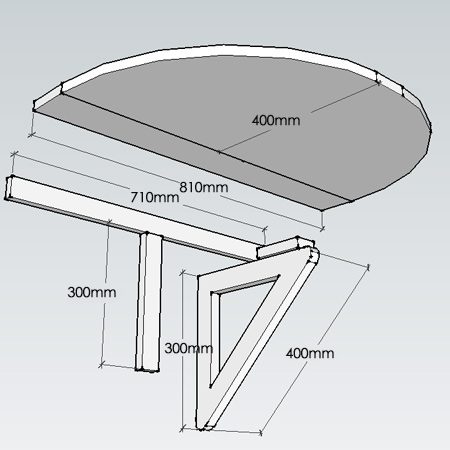
1 of 19* x 94 x 810mm pine - table, back
1 of 400 x 810mm laminated pine - table top
1 of 22 x 44 x 710mm pine - top 'T' support
1 of 22 x 44 x 300mm pine - bottom 'T' support
1 of 300 x 300mm laminated pine - support
1 of 22 x 44 x 100mm pine - block
4 of hinges and 16mm screws
4 x 40mm screws [2]
32mm pocket holes screws [5]
Wood glue
Nylon wall plugs [2] and 75mm screws
Stain, sealer or varnish to finish and paintbrush
TOOLS:
Drill / Driver plus assorted bits
Kreg pocket hole jig
Orbital sander plus 180-grit sanding pads
Tape measure and pencil
HERE'S HOW:
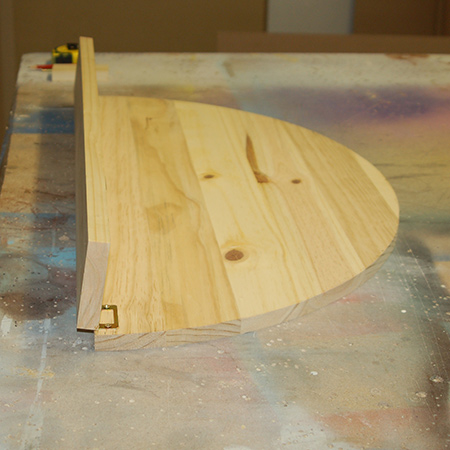
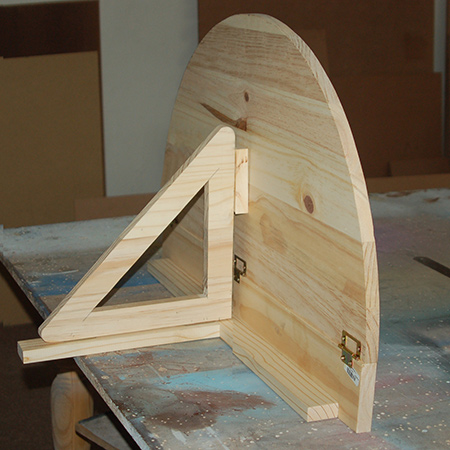
1. Mark the size of the half-circle you want - ours is 800mm long along the edge - and cut out with a jigsaw. Sand smooth.
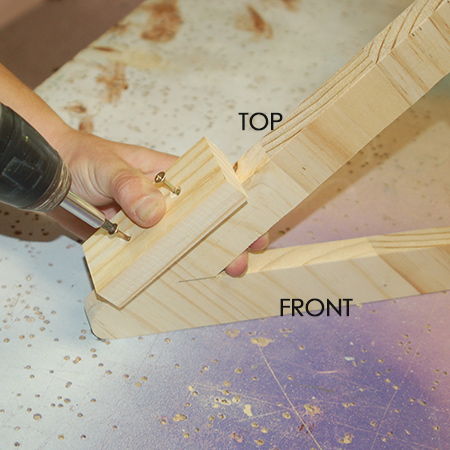
2. Attach the top to the back support, as shown below.
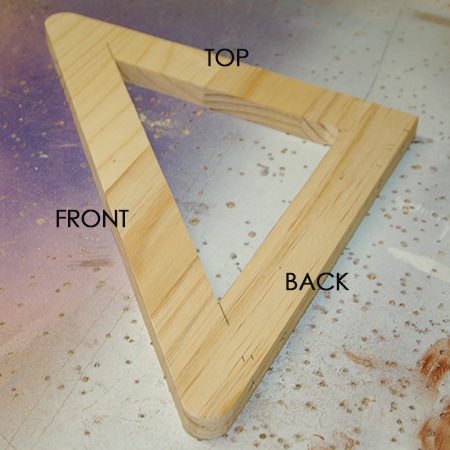
3. Draw the table support on the remaining lam pine. The inside mark is 40mm in from the edge. Use a jigsaw to cut out the table support. Sand smooth.
4. Secure the block onto the top of the table support 20mm from the edge, with 40mm screws. Make sure the screw head is flush with the block.
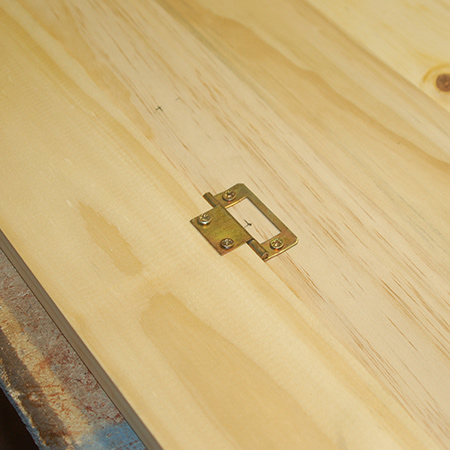
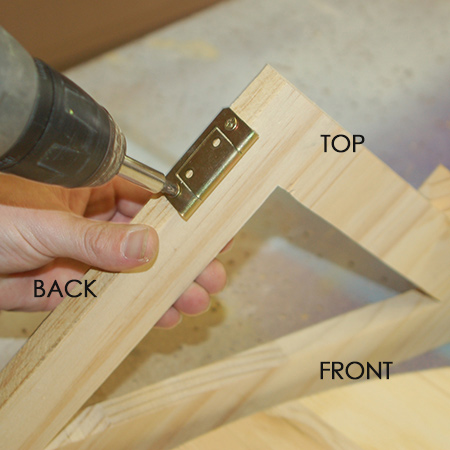
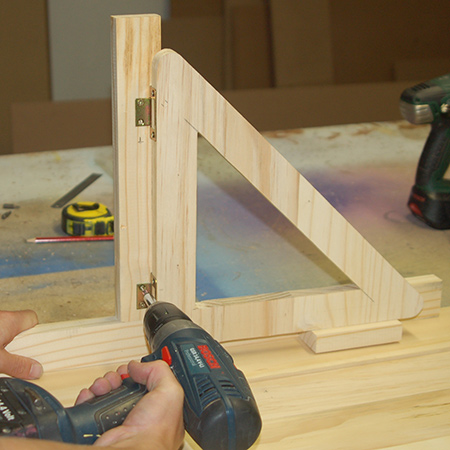
5. Attach [2] butt hinges to the back of the table support - one at the top and one at the bottom - with 16mm screws.
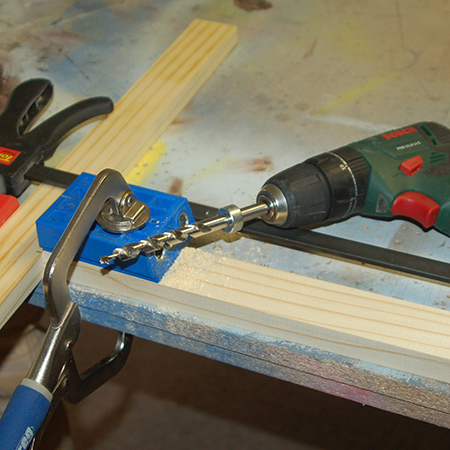
6. Use a pocket hole jig to drill holes at the top of the bottom 'T' piece. Secure with wood glue and 32mm pocket hole screws.
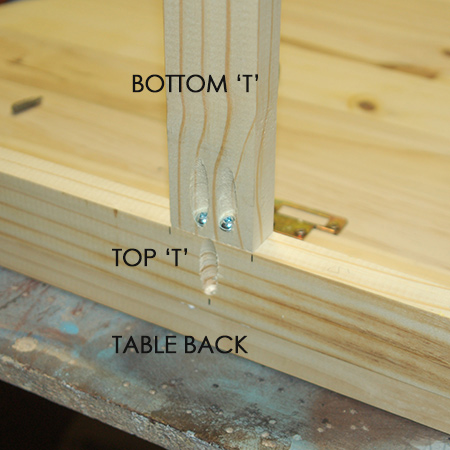
7. Secure the 'T' piece to the underside of the table back using wood glue and pocket hole screws.
8. Attach the support onto the bottom 'T' section. Make sure the support is even at the front and back.
Finishing
Apply your choice of stain, sealer or varnish, or even paint to finish.
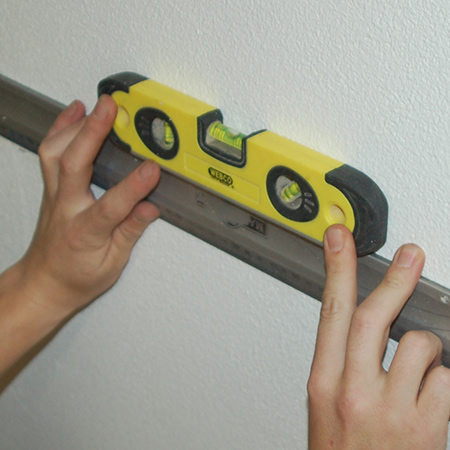
Mark the location for drilling the holes. Use a spirit level to make sure it is straight and then use nylon (fischer) wall plugs to ensure the drop-leaf table is securely mounted.