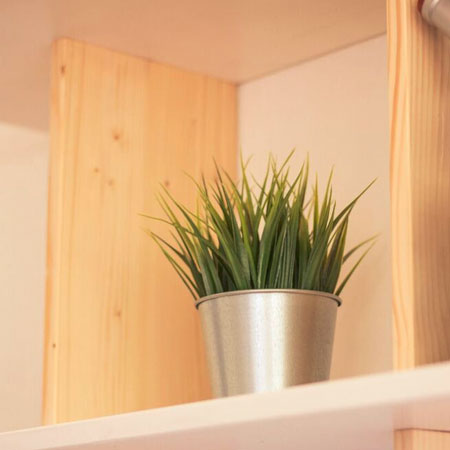
DIY Floating Shelf
Make a simple, elegant floating wall shelf using PAR pine that you will find at your local Builders store.
25/06/2018

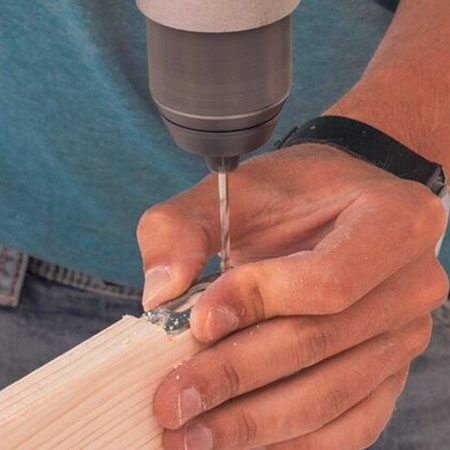
This simple wall shelf looks like it is floating on the wall, but it's secured using keyhole brackets at the back of the shelves. It's pretty easy to make and the only tools you need are a drill / driver (or screwdriver), and a jigsaw.
If you find it difficult to follow these
instructions, there is a video at the bottom of
this page that takes you through the
step-by-step procedure.
YOU WILL NEED:
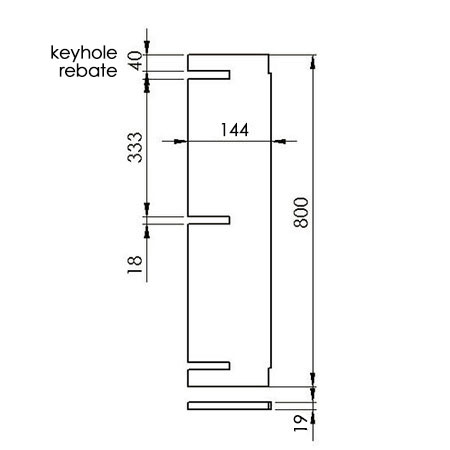
2 of 19 x 144* x 1800mm PAR pine - shelf uprights, cut to:
- 3 of 800mm
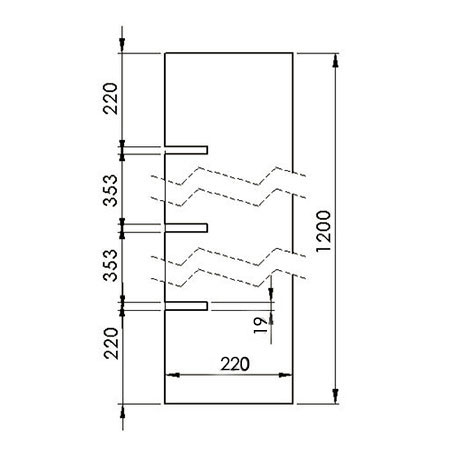
3 of 19 x 220* x 1800mm PAR pine - shelves, cut to:
- 3 of 1200mm
Painting materials and supplies
2 of Keyhole brackets and 16mm screws
TOOLS:
Drill / Driver plus assorted bits
Jigsaw plus clean-cutting blade
Tape measure and pencil
*For a narrower (cheaper) shelf than this one, select 94mm and 144mm wide PAR pine.
HERE'S HOW:
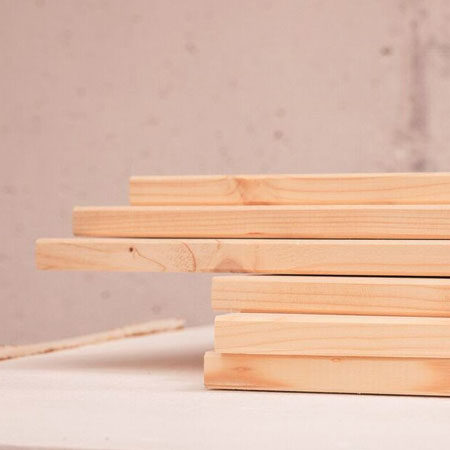
1. Have all the pieces cut to length at your local Builders or hardware store. You will need 3 of 94 x 800mm and 3 of 144 x 1200mm.
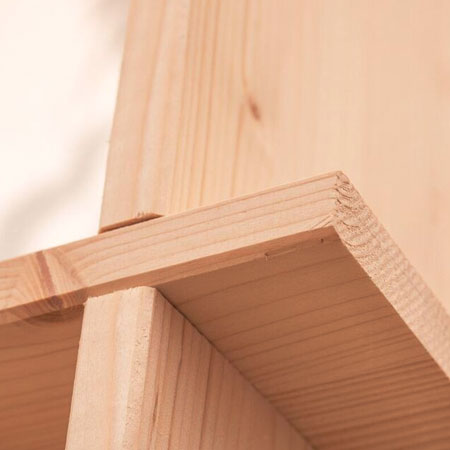
2. Use a jigsaw to cut out the slots as shown in the diagrams above, and also a 40mm long rebate for mounting the keyhole hangers at the back of [2] uprights.
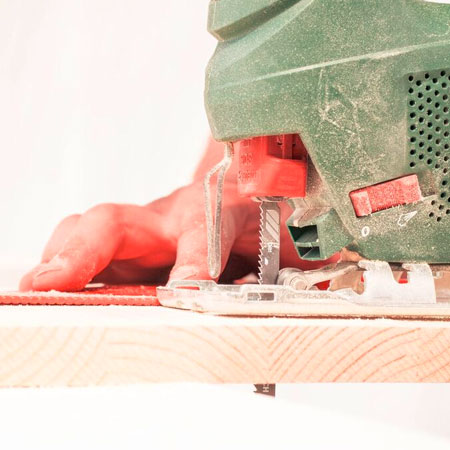
GOOD TO KNOW: For perfect straight lines use a steel ruler to draw out the cut lines.
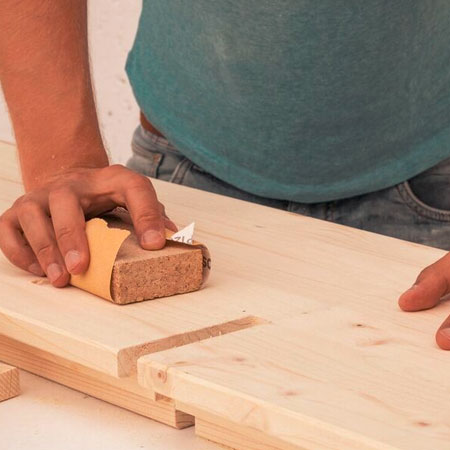
3. Before assembly, take the time to sand all the boards and cut edges nice and smooth.
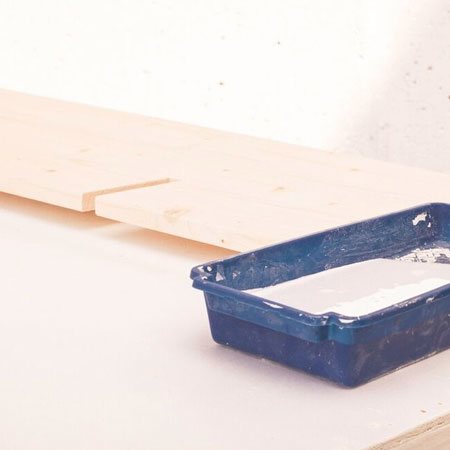
4. If you are painting the horizontal boards as we did for our shelf, do this now.
5. Slot the uprights into the shelves. If necessary, tap gently with a rubber mallet to lock the pieces together.
6. Secure [2] keyhole hangers at the back of the end two uprights. You will find instructions for mounting keyhole brackets on this page (at the bottom), as well as instructions for drilling into the wall to mount your shelf.