
Quick Project: Make this easy DIY Shoe Rack
If you need a place to store all your shoes, this easy DIY shoe rack is ideal as a freestanding unit, to fit into a walk-in closet, or inside a built-in cupboard.
23/04/2019
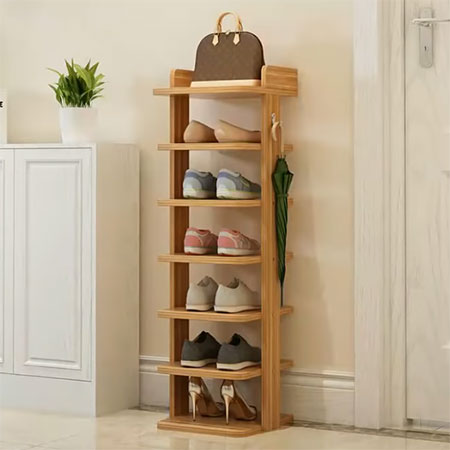
This stylish shoe rack is easy to make and you can knock it up in about an hour. Buy all the pine, tools and materials you will need at your local Builders Warehouse.
YOU WILL NEED:
6 of 300 x 300mm laminated pine shelving - shoe shelves
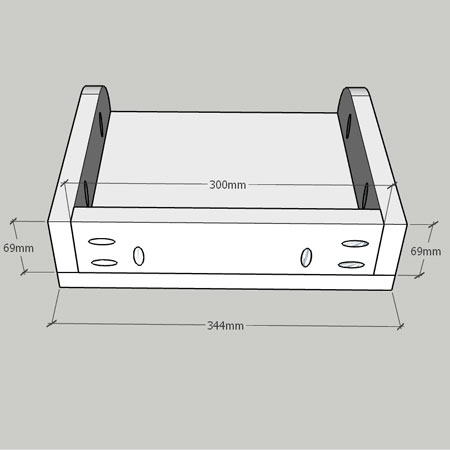
1 of 300 x 344mm laminated pine shelving - top shelf
2 of 69 x 1330mm PAR pine - shelf uprights
2 of 69 x 300mm PAR pine - top shelf, sides
1 of 69 x 300mm PAR pine - top shelf, back
Ponal wood glue
25mm coarse-thread pocket hole screws
OPTIONAL: Pocket hole plugs
TOOLS:
Drill / Driver plus assorted bits
Pocket hole jig
Clamps
Tape measure and pencil
HERE'S HOW:
1. Set the correct depth of your pocket hole jig for the thickness of the wood you are using. In this particular instance, our project is designed using 22mm thick PAR pine and laminated pine shelving.
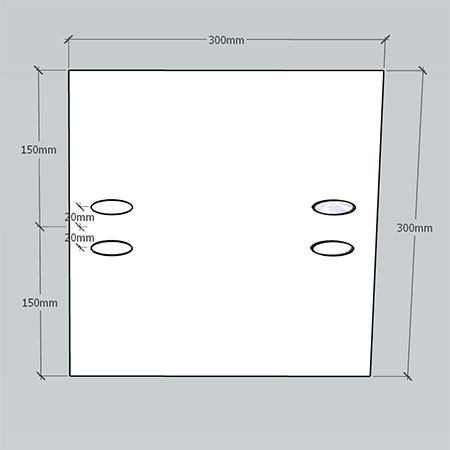
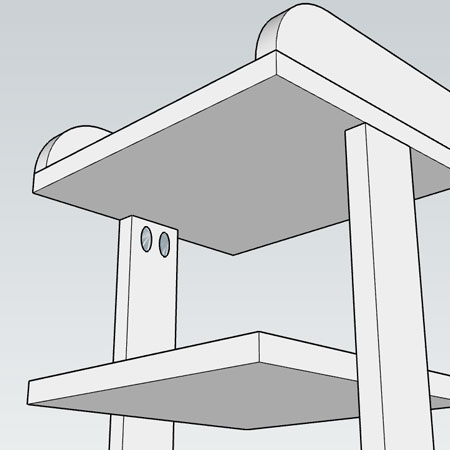
2. Mark the centre of each individual shelf unit and drill [2] pocket holes at 20mm away from this mark - on both sides of all the shelves.
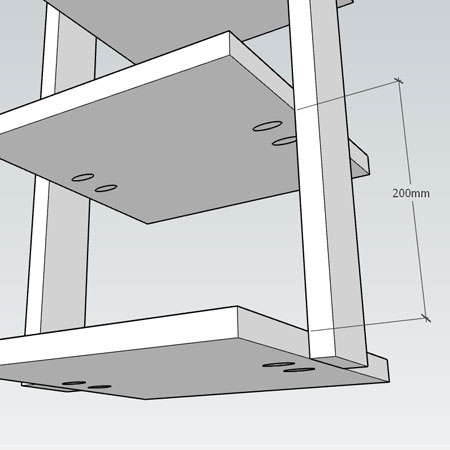
3. Use wood glue and 25mm pocket hole screws to join the shelves to the uprights, working from the base of unit upwards. Allow a 200mm space between each shelf. Complete one side at a time.
4. Assemble the top shelf of the shoe rack by drilling pocket holes in the sides and back and securing these onto the shelf with wood glue and 25mm screws.
5. Finally, secure the top shelf onto the side uprights using wood glue and 25mm screws.
Finishing
You have the option to fill all holes with pocket hole plugs before staining, sealing, varnishing or painting your completed shoe rack tower.