Quick Project: DIY Book Ledges or Display Shelves
If you need to a place to display artwork or accessories, or your child needs a place for books, these ledges are quick and easy to make.
30/09/2020
Brought to you by BuildSomething.com, these picture or book ledges are easy to make and would look good on a blank wall. The ledges are made using PAR pine and you can stain and then seal or varnish in your choice of wood tint or colour, or paint them to match your existing decor.
Got an hour to space? Grab your tools and we will show you how easy it is to make these ledges.
If you live in a rental home, as the landlord for permission to mount a couple of ledges on the wall. It's far better than knocking holes in the walls and you can make long ledges to display all your artwork or decorative accessories. Or use them in a children's bedroom as a bookshelf.
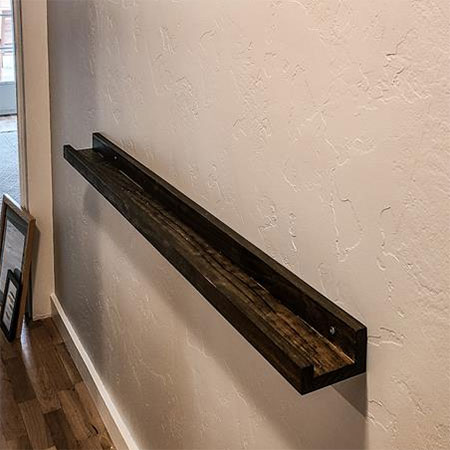
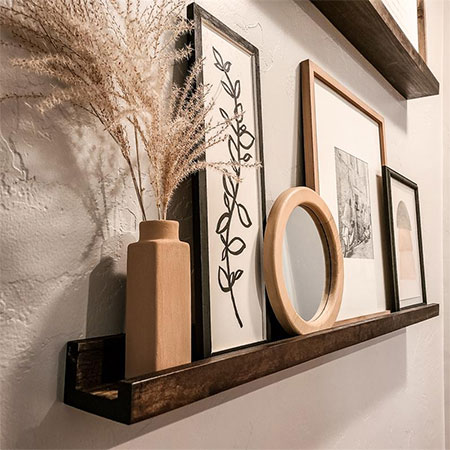
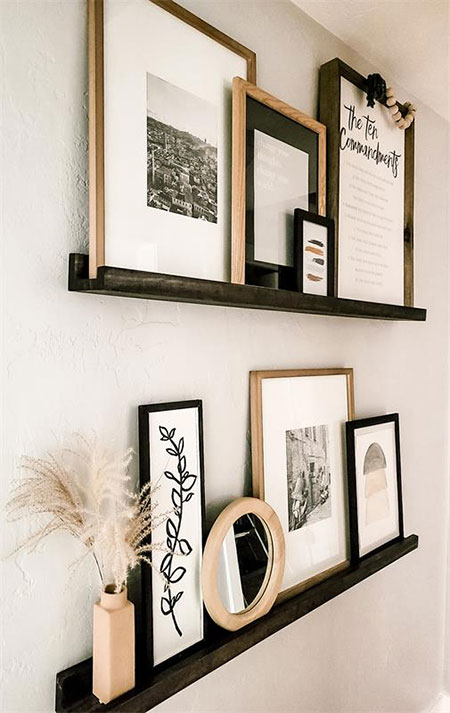
ABOVE AND BELOW: You can see that the design of the ledges is very simple, but after applying a beautiful, rich wood stain and a glossy sealer or varnish, they will look just as good on a wall in your home.
Pop into your nearest Builders store and choose the best pieces of PAR pine for this project. You ideally want pieces that are not bowed or cupped or warped in any way and pieces that have few or no knots in them.
To mount the ledger shelves onto the wall, you can secure directly onto the wall with wall plugs and screws or you can secure keyhole brackets or plates at the back of the shelf.
YOU WILL NEED:
2 of 22 x 44 x 1800mm PAR pine
1 of 22 x 69 x 1800mm PAR pine
32mm pocket-hole screws
Wood glue
Wood stain or tinted sealer or varnish
Paintbrush
GOOD TO KNOW: If you purchase 1800mm lengths you can make this the size for the ledge shelf or trim to the desired length you want for the shelf.
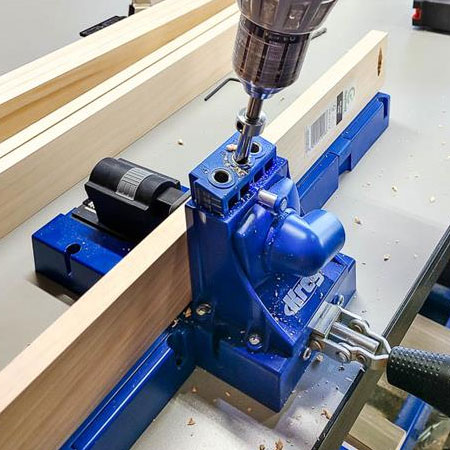
Whether you start with the Kreg 310 or 320 Pocket-Hole Jig or decide to treat yourself to the Kreg K5 Master Jig System, you will make all your DIY, carpentry or woodworking projects easier and faster to assemble - without compromise!
TOOLS:
Drill / Driver plus assorted bits
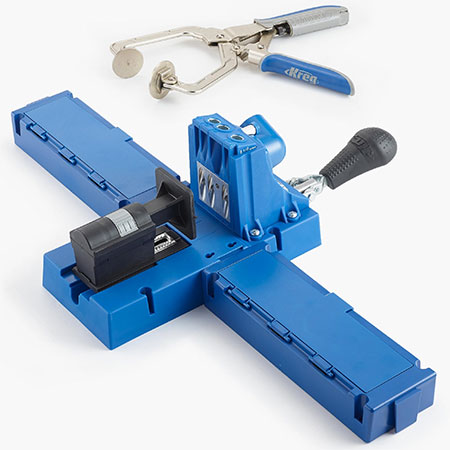
Kreg Pocket-Hole Jig
Plug cutter or Kreg wood plugs
Clamps, we used Bessey clamps
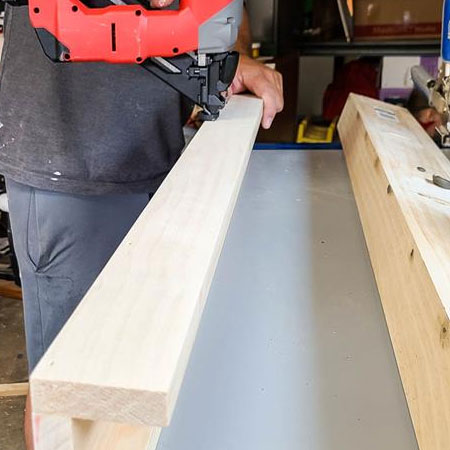
Pneumatic nail gun OR hammer and panel pins
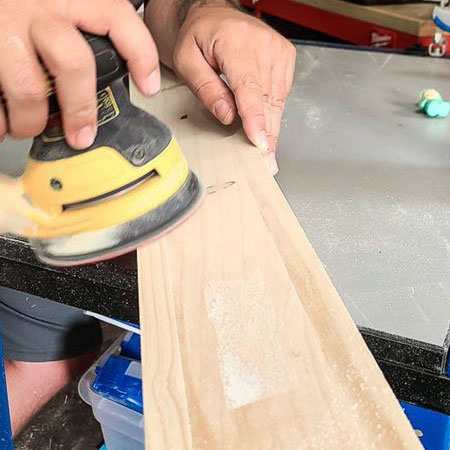
Orbital sander plus 120- and 240-grit sanding pads
Tape measure and pencil
HERE'S HOW:
1. On the base piece (22 x 69mm) drill [5] pocket holes along the length, spaced equally along the total length of the PAR pine. These holes will be used to secure the base to the back of the shelf.
2. Secure the base to the front section (22 x 44mm) of the ledge shelf. Apply a thin bead of wood glue along the edge of the board and then secure in place with 32mm screws. Using clamps will hold everything together when you are working on your own.

3. Now you can use wood glue and a nail gun OR hammer and panel pins, to secure the back (22 x 69mm) to the base.
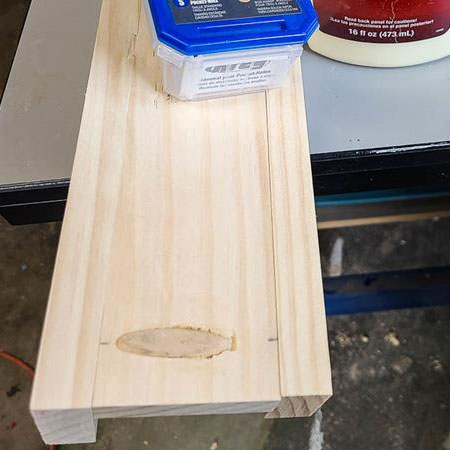
4. Fill visible holes with wood plugs, or cut your own using your plug cutter. Trim or sand to fit and then apply wood glue to drilled pocket-holes and pop in the wood plugs. This gives a nice finishing touch to the ledge shelf, no matter what angle you view it from.
5. Once the wood glue is dry, sand the entire ledge shelf nice and smooth.
6. Wipe clean to remove any traces of dust and then apply your choice of finish. You can stain and then seal or varnish or you can apply paint to the shelf.