Coffee Table that's also a Workout Bench
When you live in a compact home you need to look at dual-purpose furniture solutions. This coffee table can also be converted into a workout bench when you need a tough workout.
27/01/2019
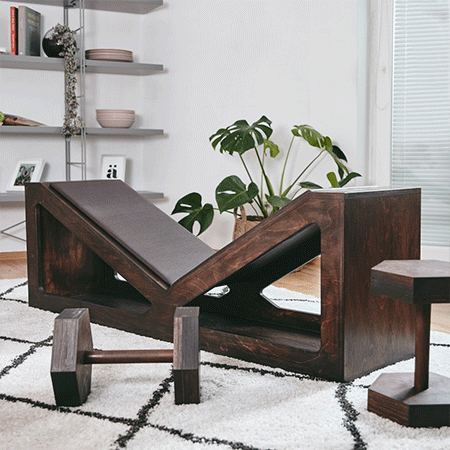
When you live in a home that doesn't have lots of extra space, you need to look at dual-purpose furniture solutions. This coffee table can quickly be converted into a workout bench simply by flipping it over - so it's handy when you need a tough workout.
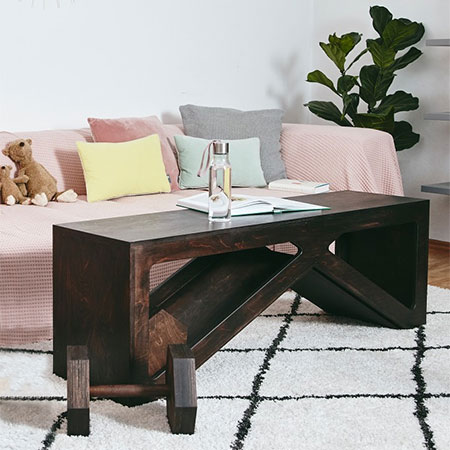
Stylish both ways, the coffee table - workout bench is made using plywood that you can stain to complement your existing room decor. Plus, you can buy plywood and all the supplies you need for this project at your nearest Builders Warehouse.

YOU WILL NEED:
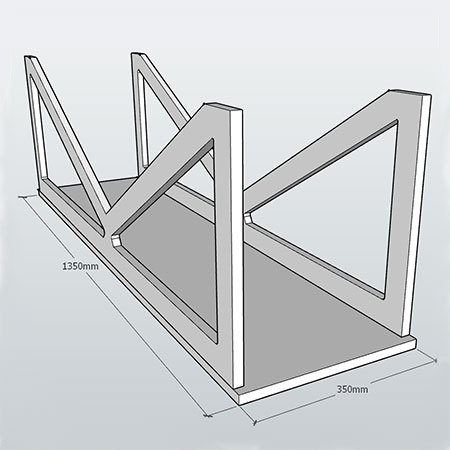
Pine or veneer plywood board 18mm, cut to:
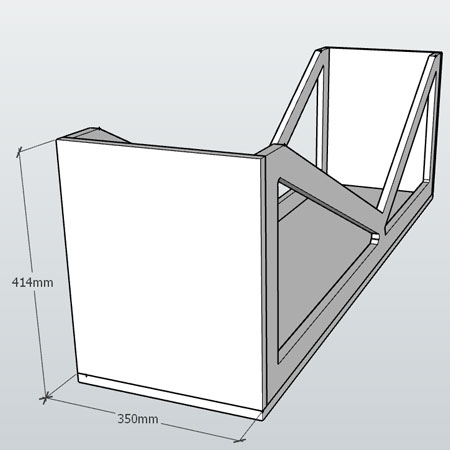
2 of 1314 x 414mm - front/back panels
1 of 1350 x 350mm - top of table
2 of 414 x 350mm - table sides
2 of 100 x 350mm - workbench ends
1 of 711 x 350mm - workbench top
1 of 603 x 350mm - workbench top
20 and 40mm hole saw
Pack of 8mm dowels
Wood glue
Wood stain or choice of finish
Material for bench cushion
TOOLS:
Drill / Driver plus assorted bits
Jigsaw plus clean-cut blade
Orbital sander plus 120- and 180/240-grit sandpaper
Mitre saw, table saw or circular saw
Multifunction tool or saw
Clamps
Hammer
Tape measure and pencil
CONTINUES BELOW
HERE'S HOW:
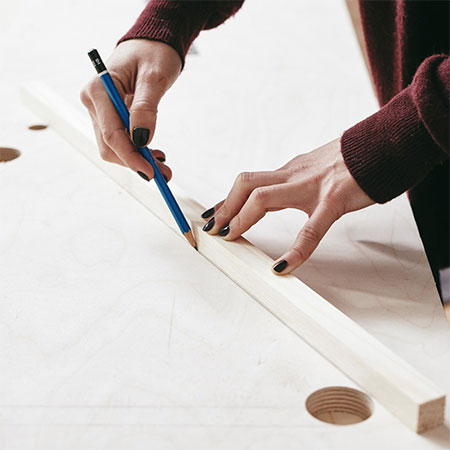
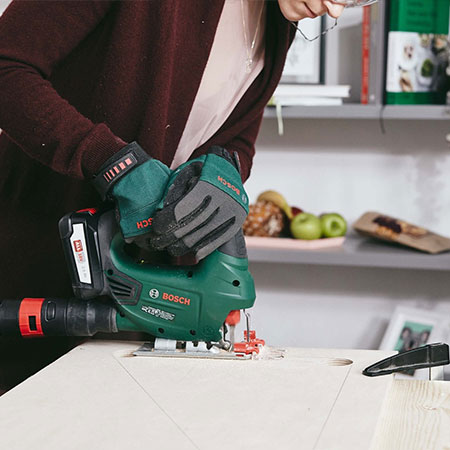
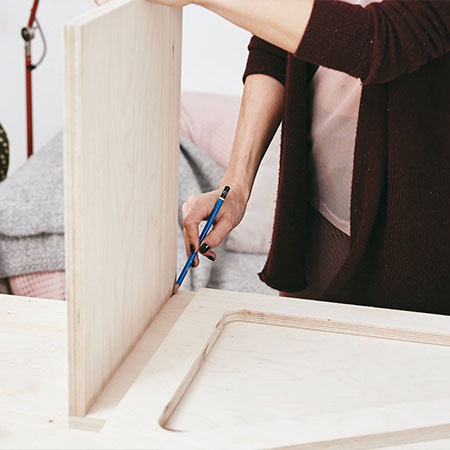
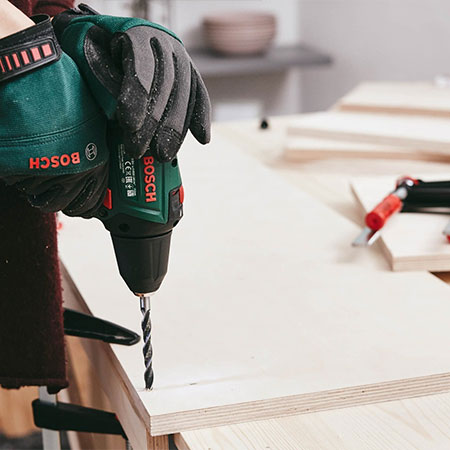
1. Take one of the side panels and print out the diagram to transfer the measurements onto this piece of board.
2. Use a 20 and 40mm hole saw to drill out holes at all the curved corner sections - see diagram above. Place a scrap piece of board underneath where you are drilling to prevent rips on the underside and to protect your worktop.
3. Draw lines to connect the cut outs and use a jigsaw to cut out the panels as shown on the template.
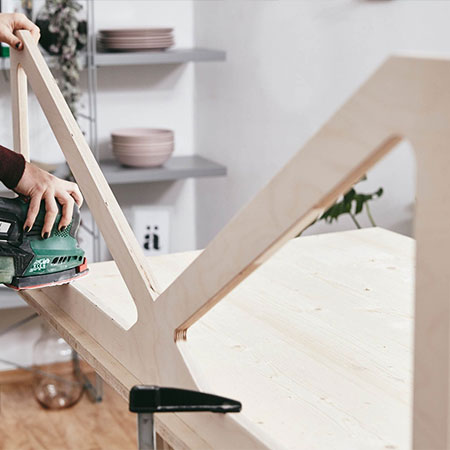
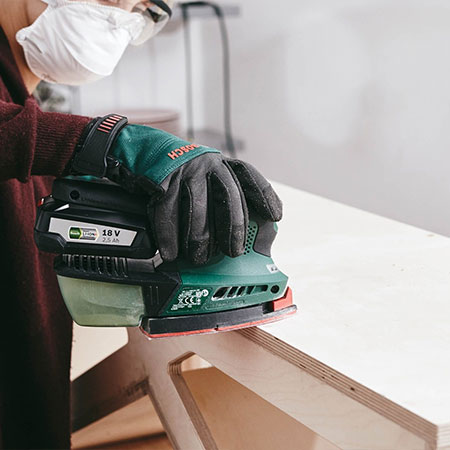
4. Sand all the cut pieces smooth.
5. Now it's the time to assemble and clad the bench. For this part of the project you will need to cut mitred edges as shown in this diagram. The mitred edges need to be cut perfectly in order to fit together perfectly.
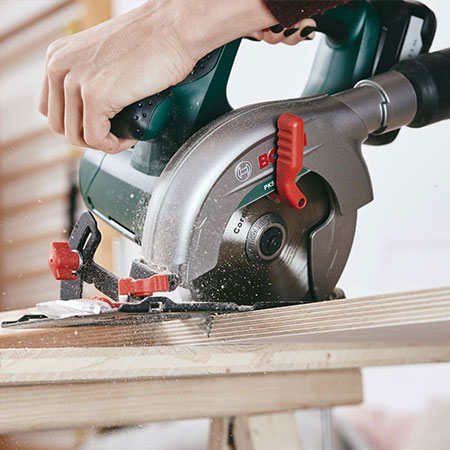
GOOD TO KNOW: Check that all the mitred edges fit together exactly as they should.
Secure Top and Sides for Coffee Table
6. On the underside of the top of coffee table mark where the side panels will be mounted. This will give you a guide for attaching the front and back (cut-out) panels.
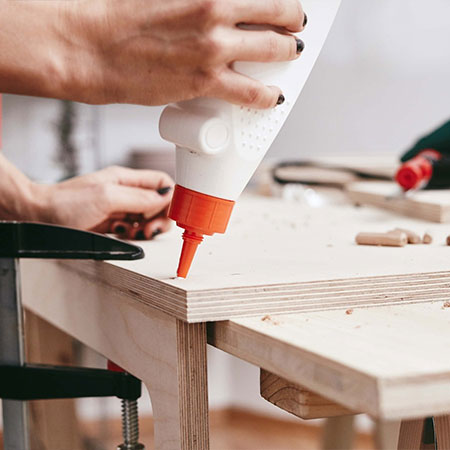
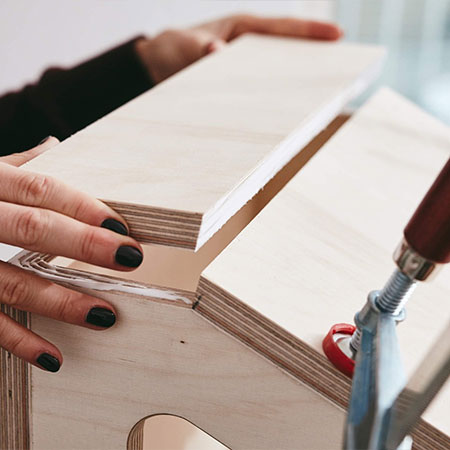
7. Place a bead of glue along the top edge of the front panel.
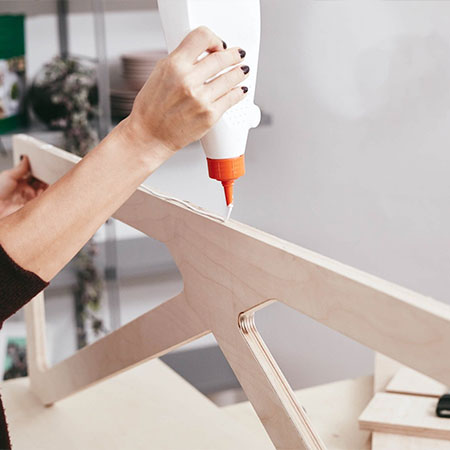
8. Align with the front edge of the coffee table top and the marked lines for the sides and clamp in place.
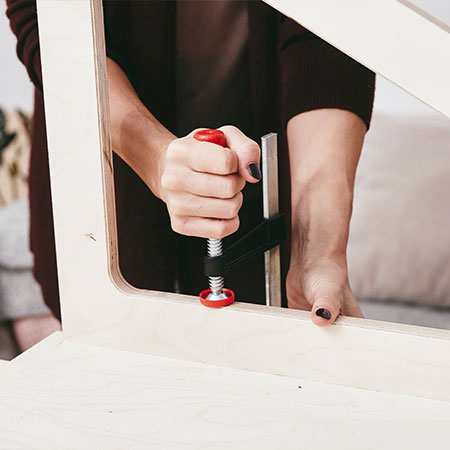
9. To secure the front and back (cut-out) panels to the top for the coffee table you will drill holes every 250mm. Start 50mm in from one end and 5mm in front the outer edge. Drill 8mm holes (for the 8mm dowels) to a depth of 35mm.
10. Place a bead of wood glue in the drilled holes.
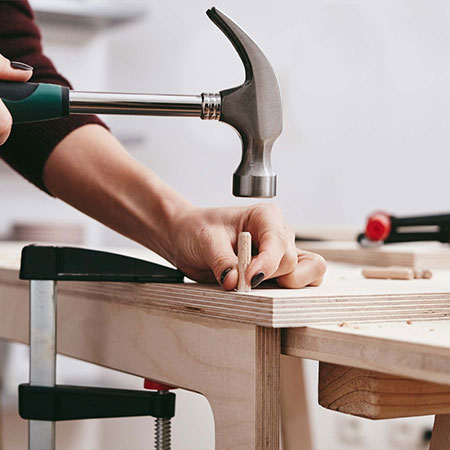
11. Hammer the 8mm dowels into the 8mm drilled holes along the edge of the table top.
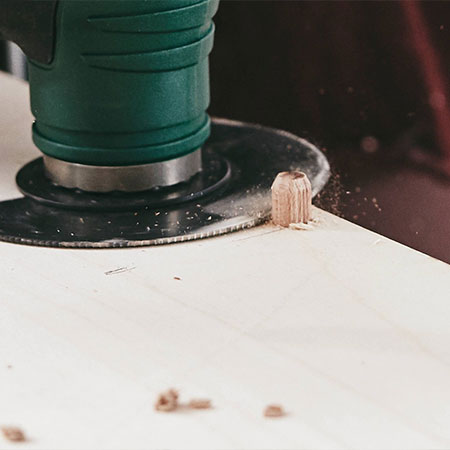
12. Use a multifunction tool and cutting blade or saw to cut away excess dowels. Sand smooth.
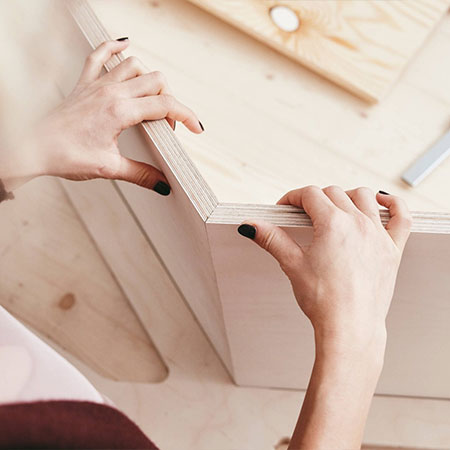
13. Repeat steps 8 to 12 to add the side pieces onto the ends of the front and back (cut-out) panels.
Add sections for Workout Bench
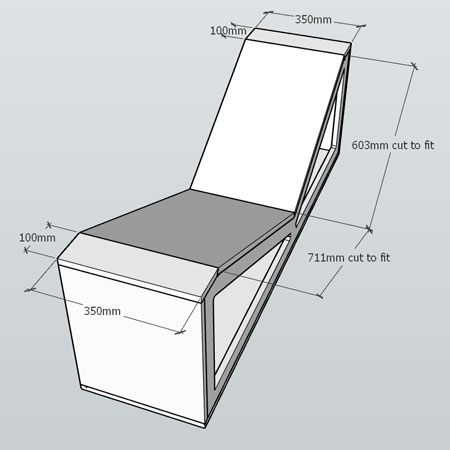
14. On the [2] ends and [2] bench sections, mitre the edges as per this diagram. Glue and clamps the ends of the workout bench.
15. Let the glue dry and then sand all the pieces smooth.
Finishing
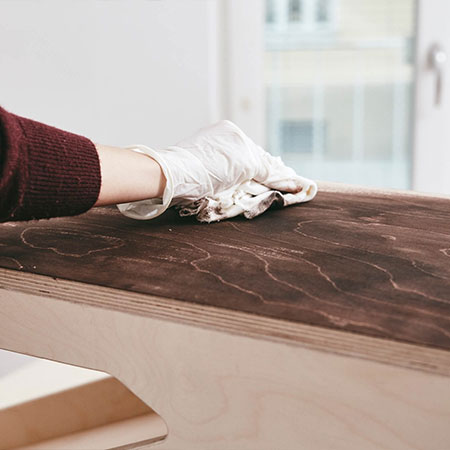
Apply your choice of stain, sealer or varnish to all sections of the bench.
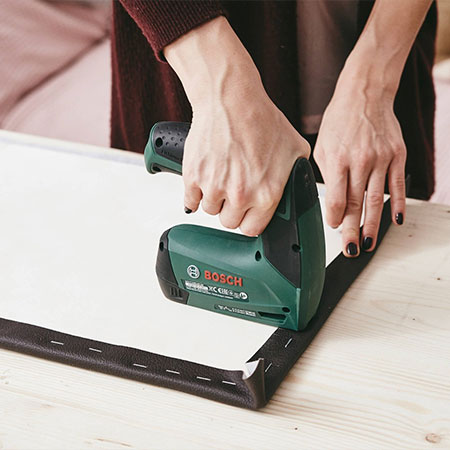
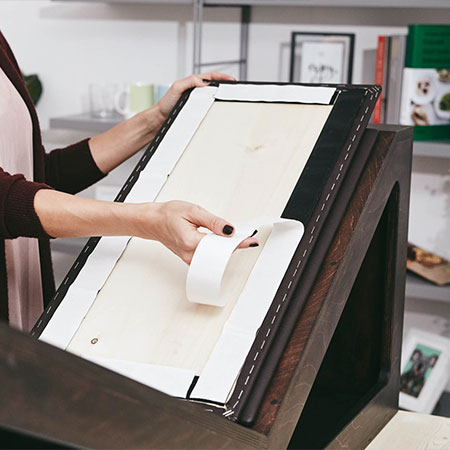
If you are adding an upholstered panel for the workout bench section, cut a piece of 6mm board to fit, cover with pleather or vinyl and use velcro to secure this onto the workout sections as shown below.