Make your own Cheese and Wine Bar
Make this cheese and wine bar using PAR pine and show off your DIY skills at your next party or special occasion.
28/06/2018
Our cheese and wine bar is perfect for when you have dinner guests or for celebrations and parties. The cheese and wine bar is made using PAR pine that you can buy at any Builders store, and while we left ours natural, you can stain or paint in your choice of colour.
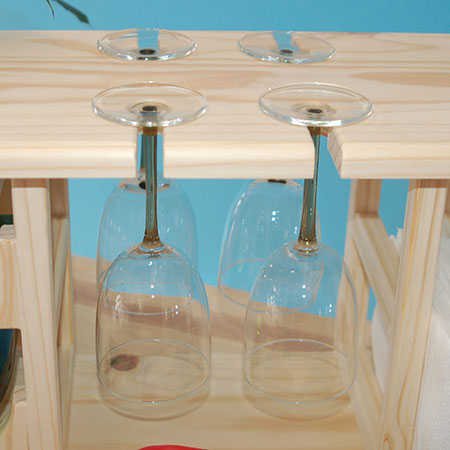
This cheese and wine bar has a place where you can store wine glasses, and you can make it longer if you would prefer to have more glasses set out.
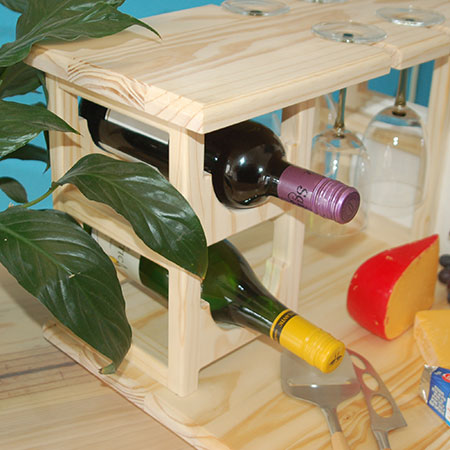
The wine rack accommodates two bottles or red or white wine, and again you can modify the height if you want to allow for extra bottles for a special celebration.
The base of the cheese and wine bar has a large area where you can set out a variety of cheese and snacks.
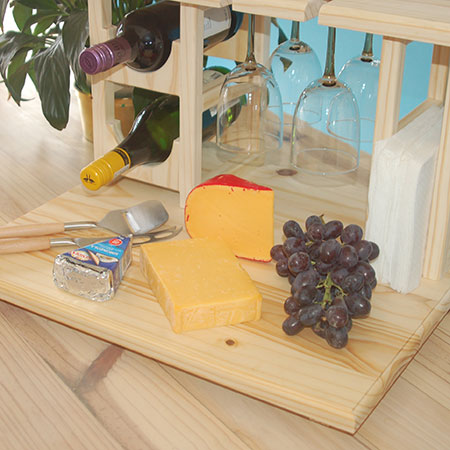
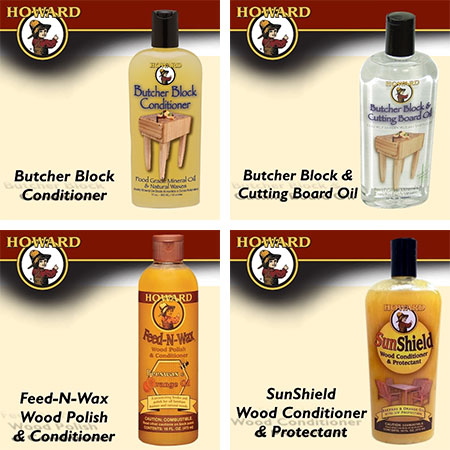
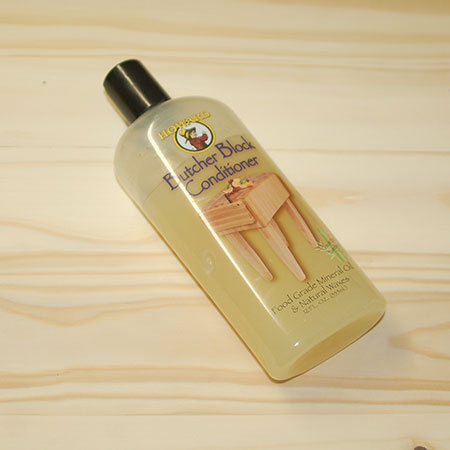
The cheese board has been treated with Howard Butcher Block Conditioner, so it's perfectly safe for use with food.
YOU WILL NEED:
3 of 19 x 220 x 500mm PAR pine - base and shelf
12 of 22 x 22 x 140mm PAR pine - cross pieces
8 of 22 x 22 x 260mm PAR pine - uprights
2 of 22 x 22 x 400mm PAR pine - supports
2 of 19 x 110 x 130mm PAR pine - bottle holders
Wood glue
Howard Butcher Block Conditioner
25mm MAD or spade bit
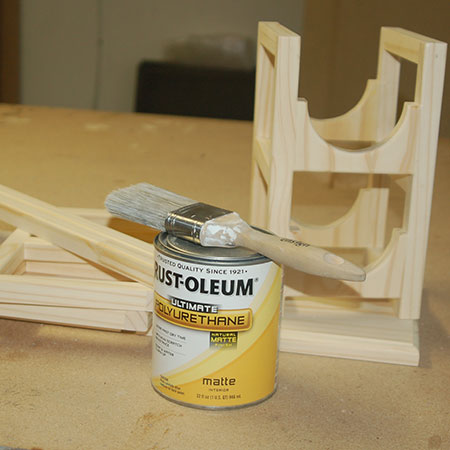
Rust-Oleum Ultimate Polyurethane natural matt sealer
TOOLS:
Drill
89mm hole saw
Jigsaw plus clean-cut blade
Sander plus 120- and 240-grit sanding pads
Quick clamps
Hammer and 30mm panel pins
Work bench
Tape measure and pencil
OPTIONAL: Router and round-over bit
HERE'S HOW:
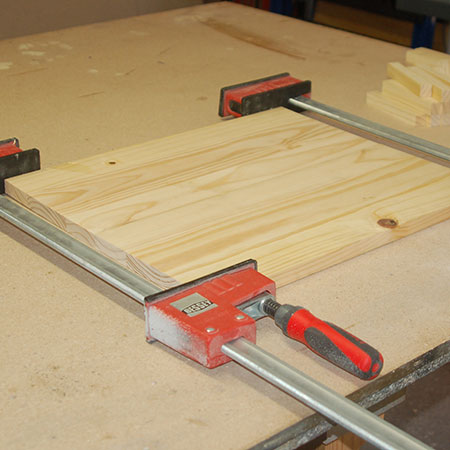
1. Apply wood glue to join the two 500mm long base sections together and clamp overnight.
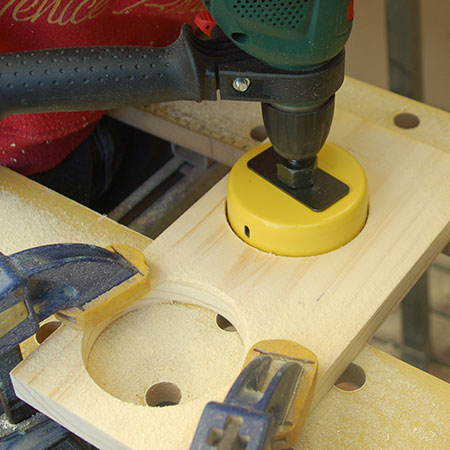
2. Clamp the [2] bottle holders to your work bench and use an 89mm hole saw to drill [2] holes in each piece.
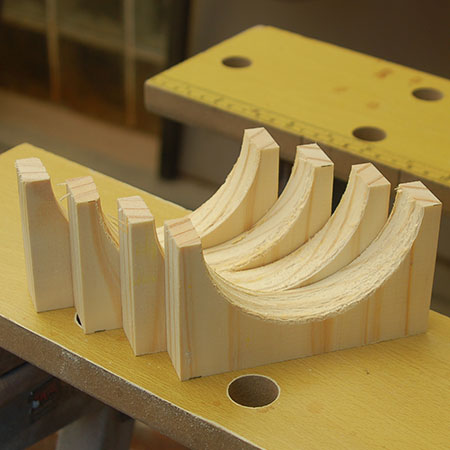
3. Use a jigsaw to cut the bottle holders to size as shown below, so that you have a total of 4 bottle holders.
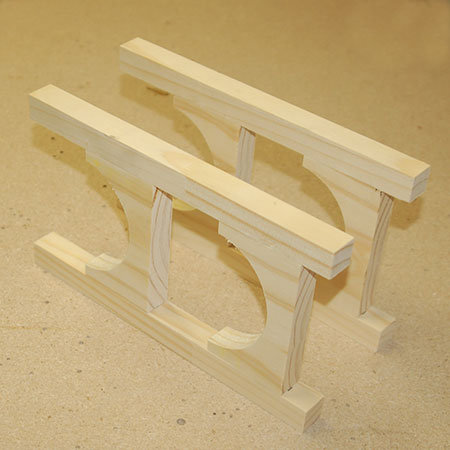
4. The bottle holders are glued to the uprights for the front of the wine rack. Make note of the mounting position and transfer this to assemble the back section in the same way.
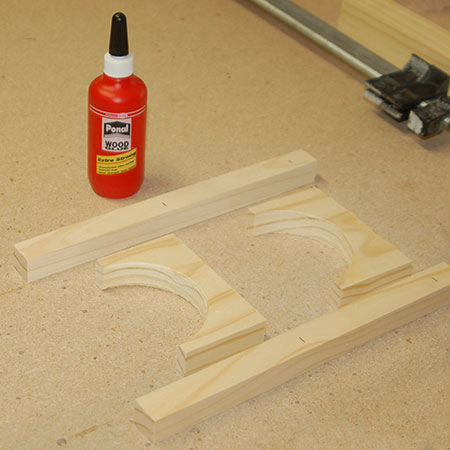
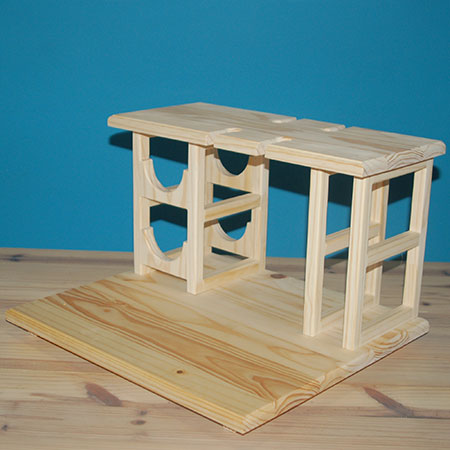
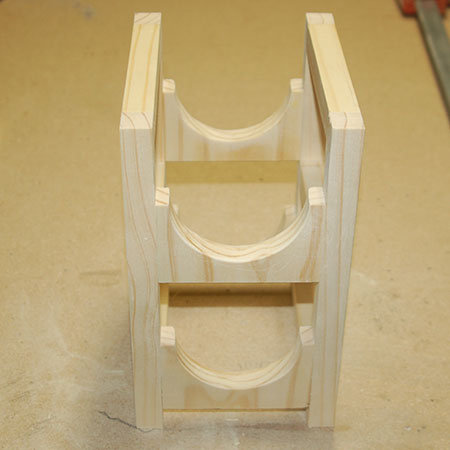
BELOW: Front and back of wine rack assembled.
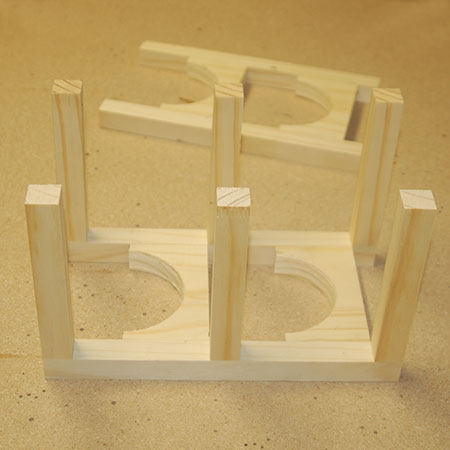
5. Glue the cross pieces onto the (back) of the front section of the wine rack and then carefully position the back section on top of this.
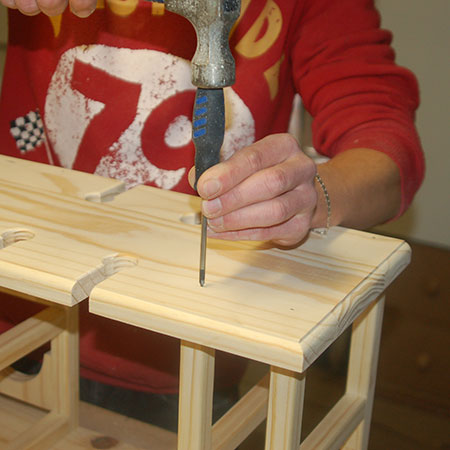
6. It was necessary to hammer in panel pins through the back and into the cross pieces to secure the assembly. Make sure to align all the edges flush as you work.
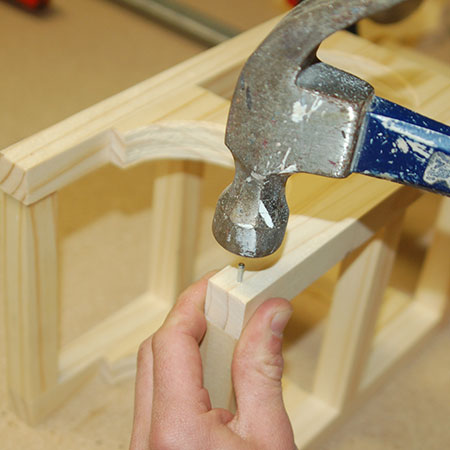
7. Panel pins were used on both the front and back of the wine rack. Use a punch to hammer the pins just below the surface of the wood so that these can be filled in with wood filler to cover them up.
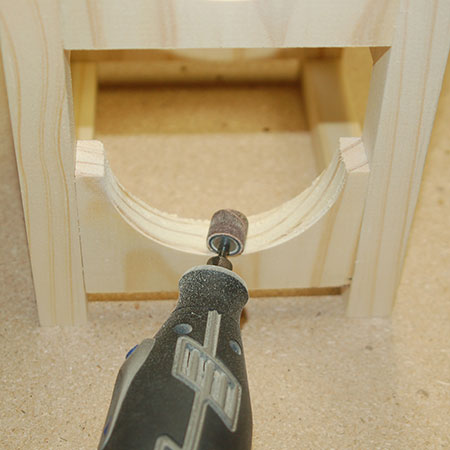
8. I used my Dremel MultiTool to sand the edges of the wine holders, but in hindsight I should have done this before assembly. If you don't have a Dremel MultiTool, sand the edges by hand to round off.
GOOD TO KNOW
I forgot to take pictures of the completed sections that hold the serviettes. For each section glue the cross pieces onto the uprights, as per the wine rack, and repeat for the remaining section. You will also need to add panel pins.
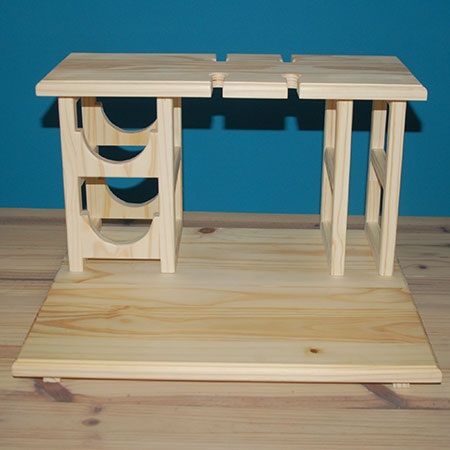
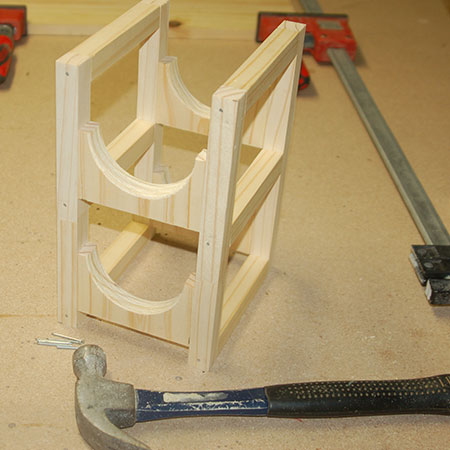
BELOW: Assembled wine rack.
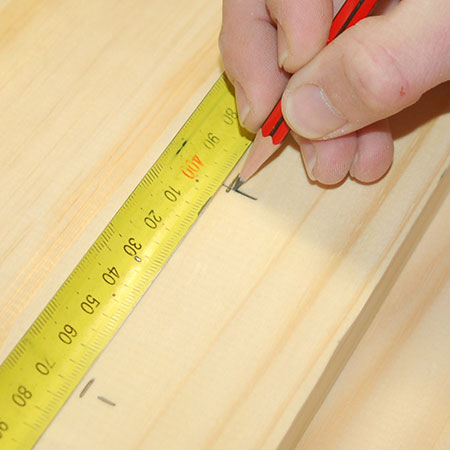
9. Now you need to measure and mark to drill pilot holes to attach the base and shelf to the individual components. Mark onto the shelf and then transfer this onto the base. On the shelf measure in from one edge: 30mm, 160mm, 232mm**, 328mm**, 400mm and 470mm. **See Step 11 below. Also measure up from the front edge on the above marks at: 10mm and 170mm to drill pilot holes.
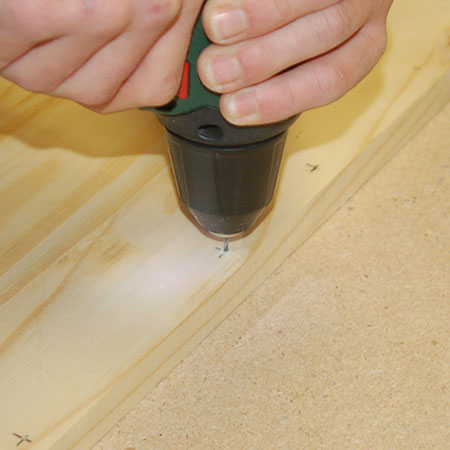
10. Use a 2mm drill bit to drill pilot holes at these marks.
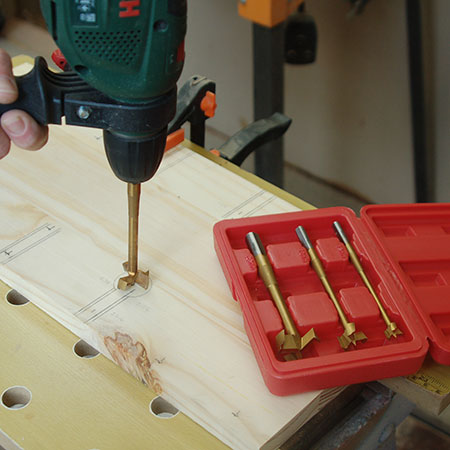
11. The marks 232mm and 328mm are for cutting out the glass slots. Measure up 54mm from the edge. The slots are 15mm wide and the holes are drilled using a 25mm MAD or spade bit. Check the stems of your wine glasses before cutting out the slots, as some have wider stems than others.
GOOD TO KNOW
The 54mm mark denotes the centre of the circle for cutting out.

12. We used a MAD bit to cut the holes. A MAD bit provides a much cleaner edge than a spade bit, and is also easier to use for us ladies! You can buy a Tork Craft set of MAD bits at your nearest Builders store, or visit www.VermontSales.co.za to locate your nearest retail stockist.
GOOD TO KNOW
Don't go all the way through your board with the MAD bit - drill until you see the tip of the bit on the other side and then flip the board over to continue drilling through.
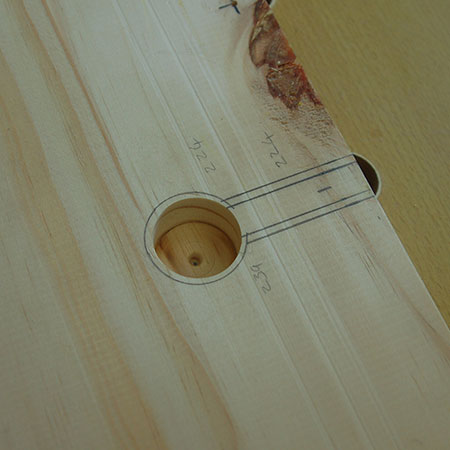
BELOW: Close up of slot for wine glasses. Now you can see how clean a MAD bit cuts out the hole.
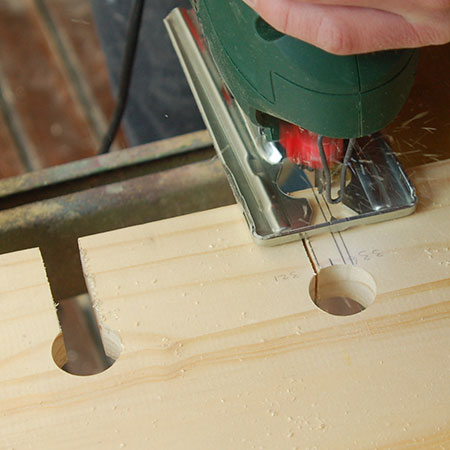
13. Use a jigsaw to cut out the slots.
14. Sand all your pieces nice and smooth and wipe clean.

OPTIONAL:
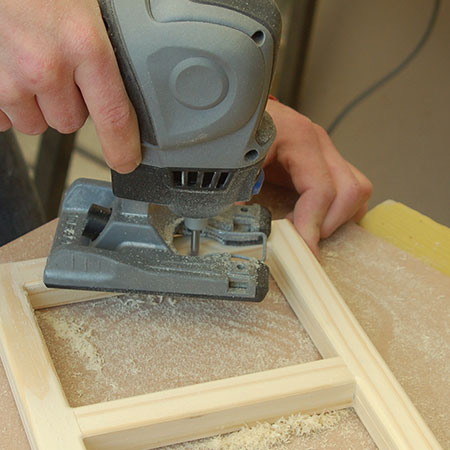
If you have a router, you can add a decorative edge to the shelf and base for your cheese and wine bar.

15. Chamfer (round off) all the edges on the sections before assembly. I still use my Dremel Trio to make sanding easier and I still can't believe that this tool was discontinued. I use mine all the time.
16. Apply Howard Butcher Block Conditioner to the front section of the base. This is a food-safe conditioner that protects the wood and can be used where food is prepared.
17. All other sections were given 2 coats of Rust-Oleum Ultimate Polyurethane natural matt sealer. Follow the instructions on the tin and apply two coats.
18. Now you can assemble the cheese and wine bar using wood glue and then hammer and panel pins. The holes are already drilled, so just make sure to line everything up. Hammer in the panels pins just below the surface, fill with wood filler and sand smooth once dry. Touch up with a bit of sealer once you're done.
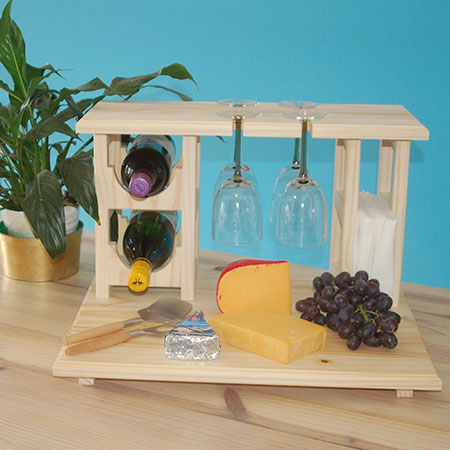
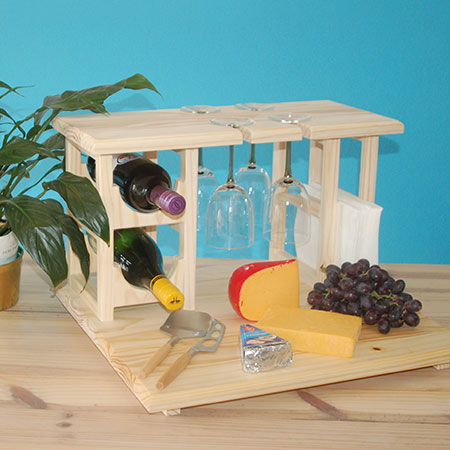
BELOW: Completed cheese and wine bar