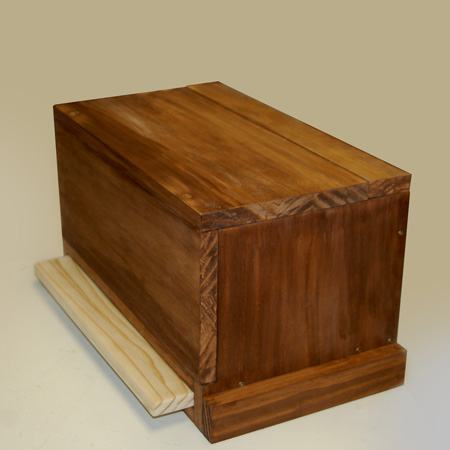
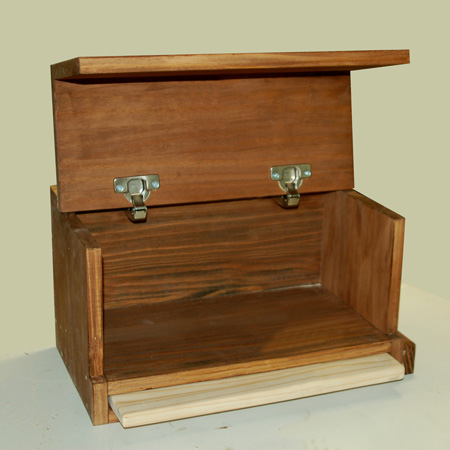
Make a Pine Bread Bin
Looking for something different for your kitchen? This pine bread bin is easy to make with laminated pine shelving, and you can stain or paint the finished bread bin.
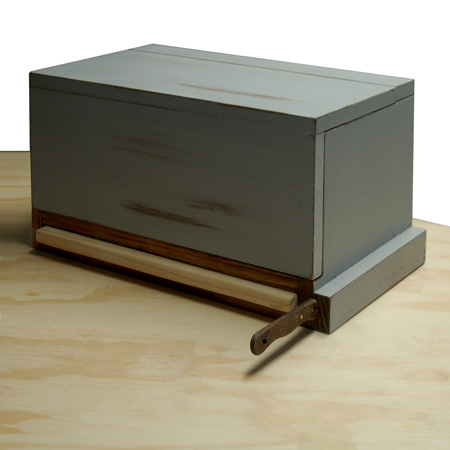
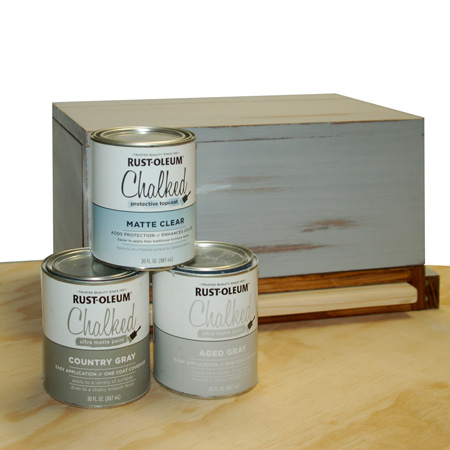
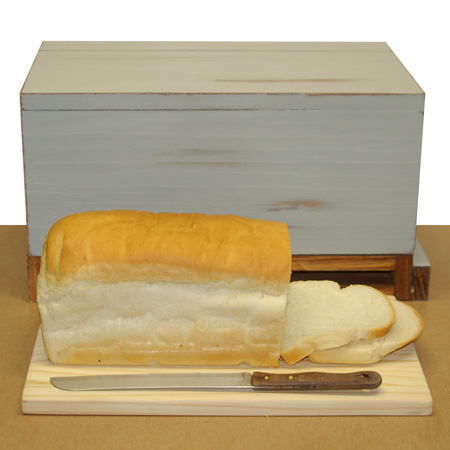
The step-by-step instructions below provide information on how you can make a pine bread bin with a stain / seal finish, as well as the finished bread bin shown here, with a chalk paint finish using Rust-Oleum Chalked Ultra Matte paint.
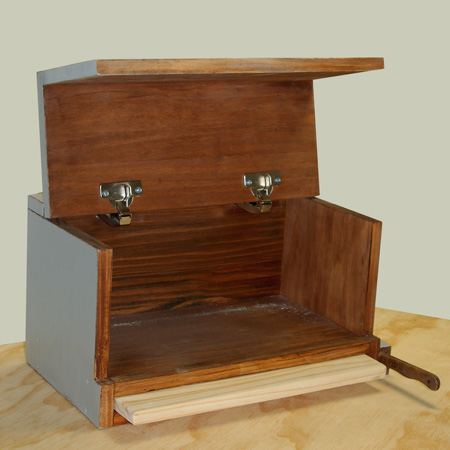
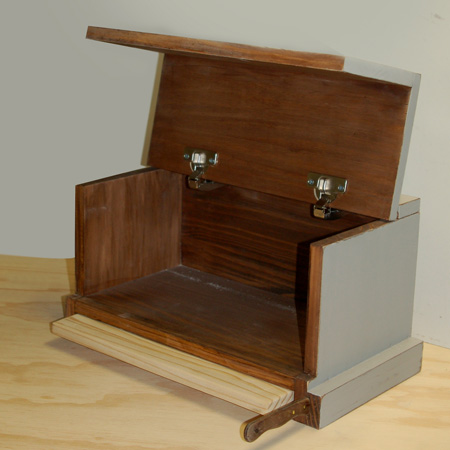
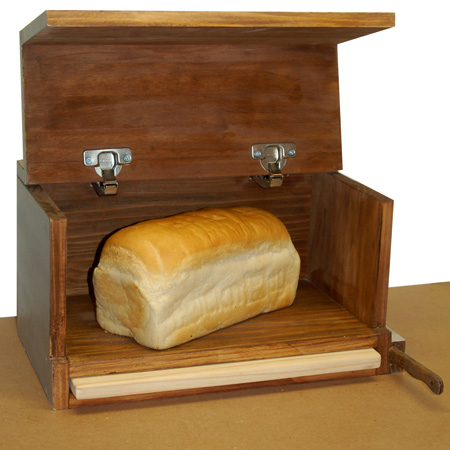
I was asked to do this project by Eureka, to incorporate their new range of Concealed Hinges that are available at select hardware stores. The lid on the bread bin incorporates 2 of their 90-degree Blind Hinges..
YOU WILL NEED:
Laminated pine shelving cut to:
- 2 of 218 x 240mm - sides
- 2 of 221 x 384mm - shelf / base
- 1 of 218 x 384mm - back
- 1 of 70 x 422mm - lid support
- 1 of 169 x 422mm - lid back
- 1 of 158 x 422mm - lid front
OPTIONAL: 1 of 20 x 44 x 240mm - knife holder with slot (see below)
- 1 of 232 x 380mm - cutting board
2 of Eureka 90-degree blind concealed hinges
Wood glue
Wood filler
Eureka 4 x 40mm cut screws
Choice of stain, sealer or paint to finish
TOOLS:
Drill / Driver plus assorted bits
Corded Drill
Countersink bit
35mm Forster bit
Orbital Sander plus 120- and 240-grit sanding pads
Jigsaw and clean-cut blade
Tape measure and pencil

HERE'S HOW:
Preparation:
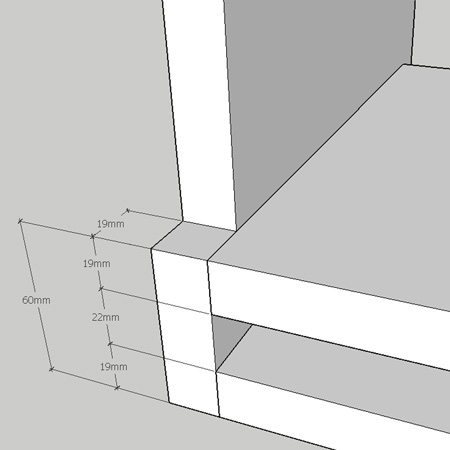
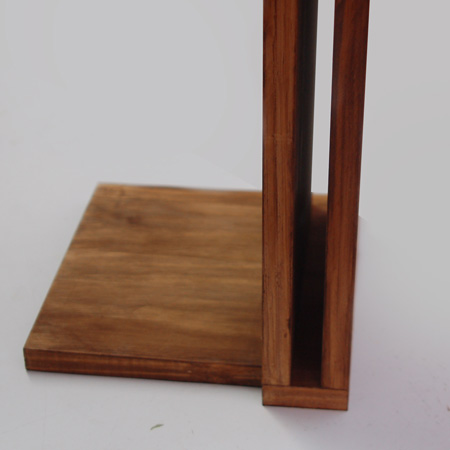
1. On boths sides, measure up 60mm and cut a 19mm rebate for the lid front.
2. Before you start, sand all the cut pieces and stain. It's easier to stain all the sections. By staining before assembly you don't have to worry about wood glue spoiling the finish.

1. Begin by gluing the shelf and base onto one side. Use the measurements above for spacing. Leave for a couple of hours.
GOOD TO KNOW
If you don't want to wait for glue to dry, use the measurements above to mark and attach the shelf / base with wood glue and screws. However, gluing beforehand makes it easier to drill pilot holes through the sides and shelf / base.
2. Repeat for the other side.
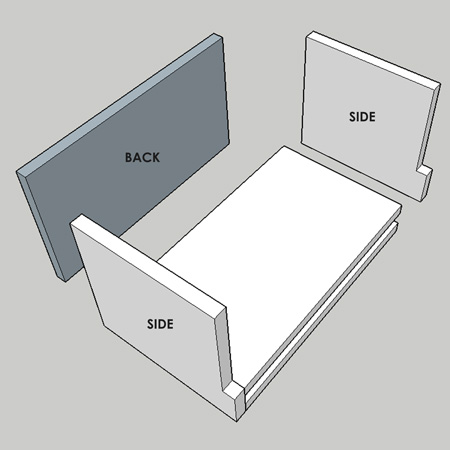
3. Attach the back in the same way as above.
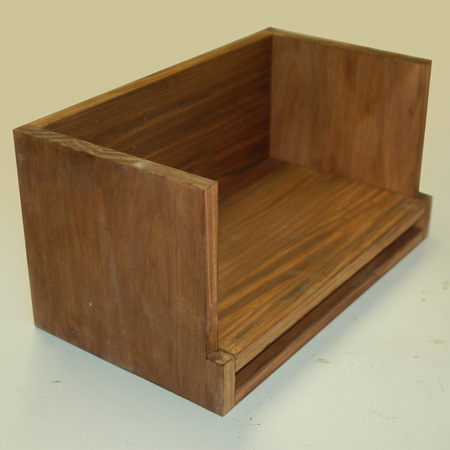
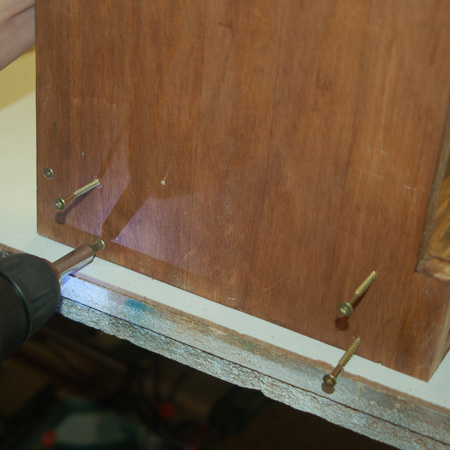
4. Once the glue has set, you can drill countersunk pilot holes and drive 40mm screws into the shelf, base and back.
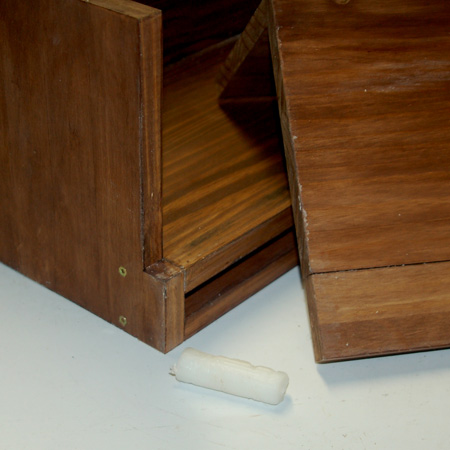
5. Drill holes for mounting the concealed hinges. Find instructions here for measuring, marking and drilling.

6. Secure the hinges onto the lid support and lid back with 16mm screws.
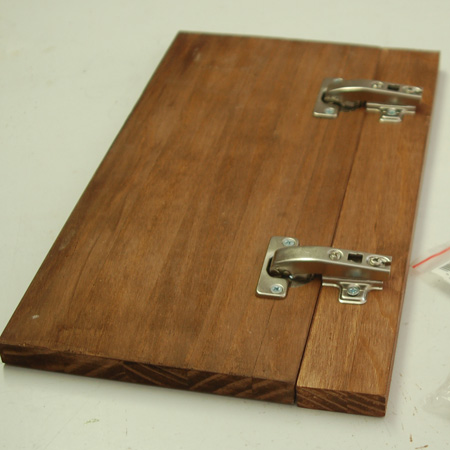
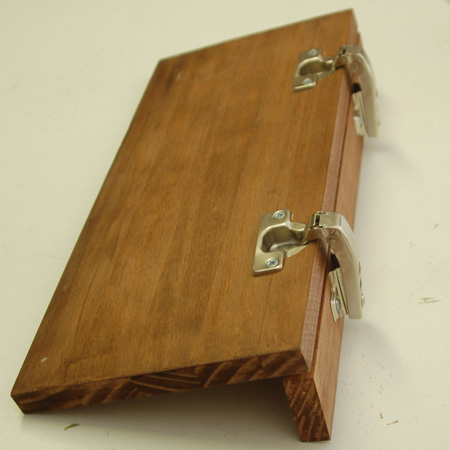
7. Glue the lid front to the underside of the lid back and leave for about an hour.
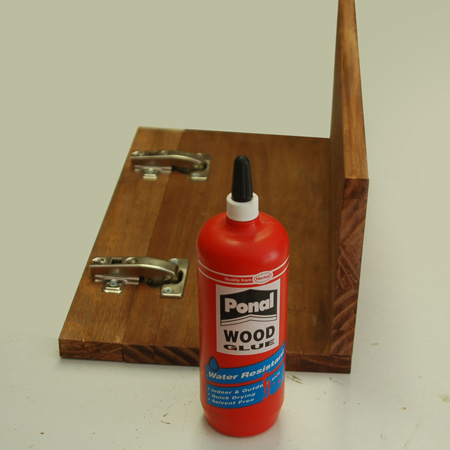
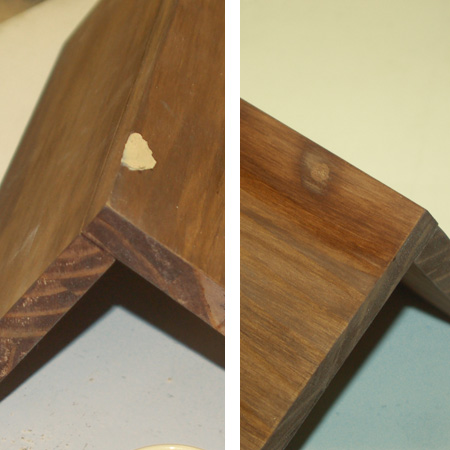
8. Drill countersunk [2] pilot holes through the lid back into the lid front. Fill these with wood filler, leave to dry and then sand smooth.
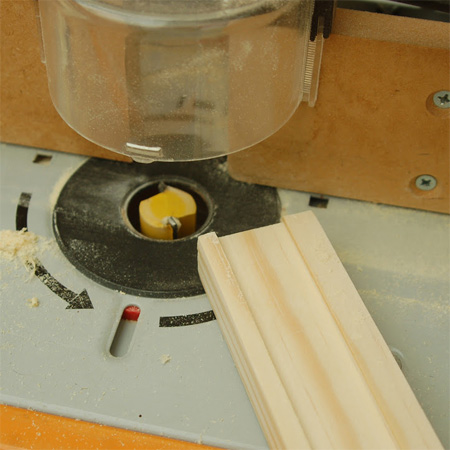
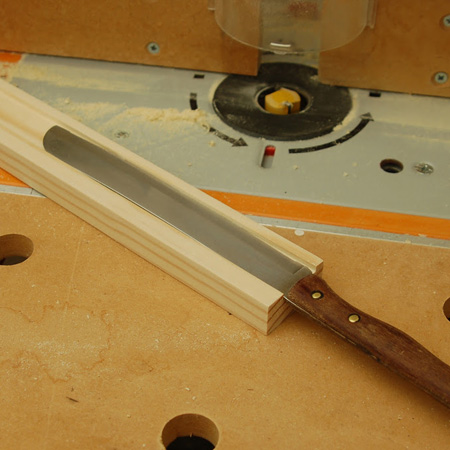
9. For the optional knife holder, use a router to cut a 4mm deep slot in the pine section. The width will be determined by the size of knife you have. The knife holder is glued onto the side of the bread bin.
Finishing
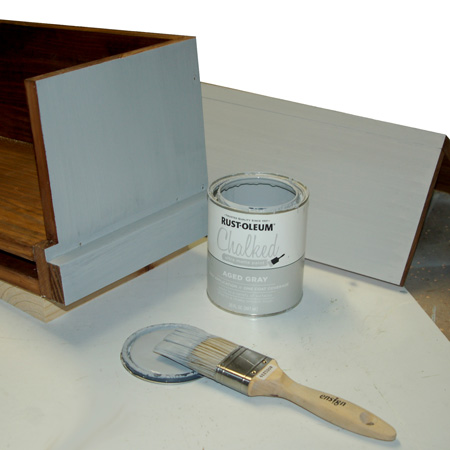
For this bread bin, we stained with Woodoc Gel Stain in Antique Oak and then rubbed the edges with a wax candle before applying Rust-Oleum Chalked paint.
Two coats of chalk paint and a coat of matte sealer was applied to the outside of the bread bin.