
Hanging table for a balcony
This handy table is perfect for a small balcony. The triangular shape allows it to fit into any corner and you can secure to existing railings or fasten to a balcony wall.
17/01/2018
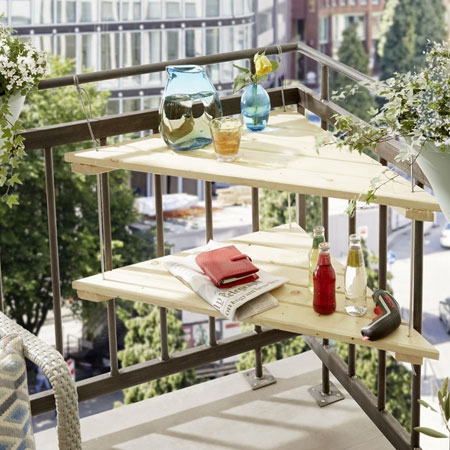
Make this easy DIY table for your balcony. The triangular design means it won't take up much space and it will be able to hold plenty. Our table measures 66 x 66 x 90mm and is made using 69mm wide pine that you will find at your local Builders.
YOU WILL NEED:
4 of 19 x 69 x 1800mm pine - table
1 of 22 x 44 x 1800mm pine - support slat
3.5 x 40mm screws
1 of chrome pipe, 900mm - cut into [3] 300mm lengths
Nylon rope
Woodoc 30 or 35 exterior sealer and paintbrush
TOOLS:
Drill / Driver plus assorted bits
Jigsaw plus clean-cut jigsaw blade
Sander plus 120- and 180-grit sanding pads
Try square
Tape measure and pencil
HERE'S HOW:
1. Cut the boards into smaller lengths: 900, 800, 600, 400, 200 and 100mm long. You will need two of each for the two shelves.
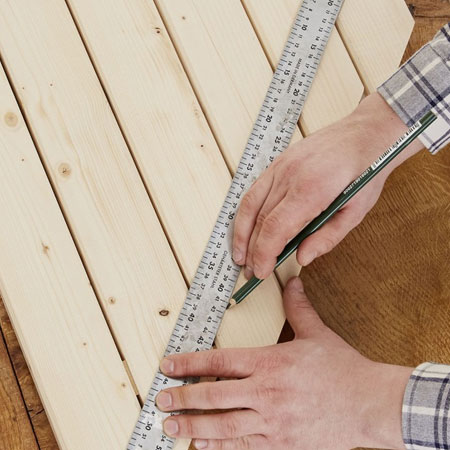
2. Arrange the boards side-by-side to form a triangle. Draw a right-angle triangle shape onto the boards. Note that a right-angle triangle has two sides of the same length, which will be the sides that fit into the corner of your balcony.
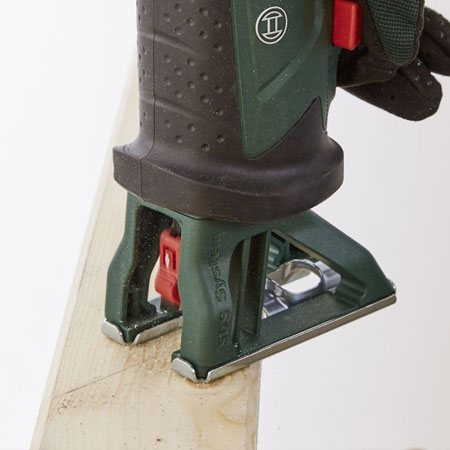
3. Cut along the drawn line with a jigsaw and clean-cut blade.
GOOD TO KNOW: Clamp the individual boards to your workbench so that they don't move while you cut.
4. You also need to cut 2 support slats to hold the boards together. These support slats run parallel to the outer edge of the table. Arrange the cut boards into a triangle shape with the support slats underneath. The slats will be slightly in from the edge. Mark the angle at the front and back on the support slats. Remove the slats and cut with your jigsaw.
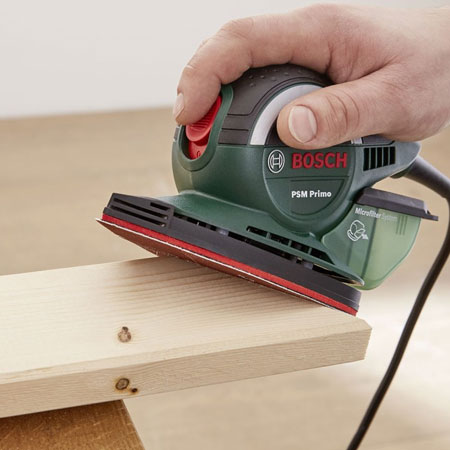
5. Chamfer the edges of all the cut pieces with a sander. You want an angled edge to give a neat finish to your shelf.
6. Arrange the boards face down with the support slats on top of the boards. Join together using screws - one in each board through the support slats.
7. Before mounting, apply Woodoc 30 or 35 exterior sealer to the assembled shelves. Follow the instructions on the can for proper application.
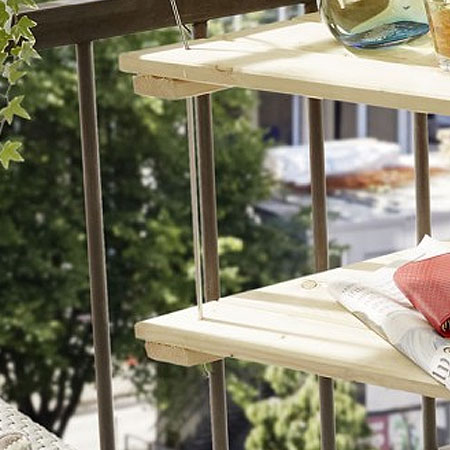
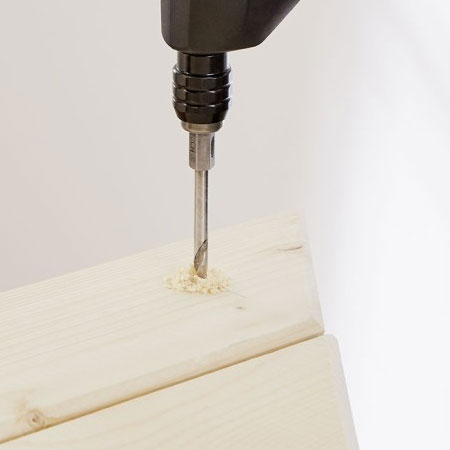
8. To hang the table, drill a hole at each corner of both shelves - a total of 3 holes per shelf - and the holes should be the same diameter as your nylon rope.
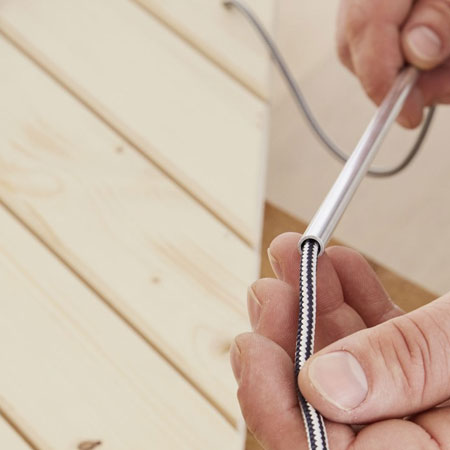
9. Make sure the nylon rope is long enough to thread through the shelves and pipe, with plenty to spare for hanging at the top. Thread the nylon rope through the chrome pipe and shelves and tie off with a knot at the bottom. Tie the three upper ends of rope to your balcony rail - or hang onto the wall - adjusting until the shelves are level.
allaboutdiy.com