
Baby's first home!
Make an interesting hideaway for baby using materials and supplies readily available at your local Builders.
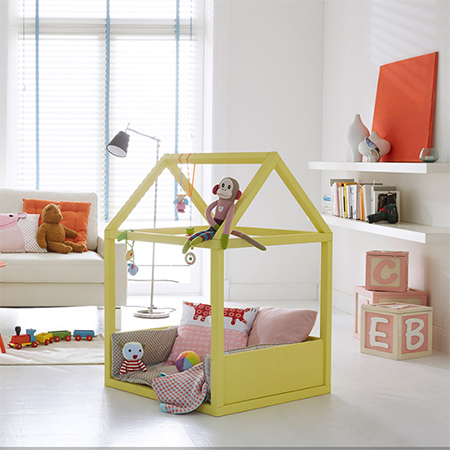
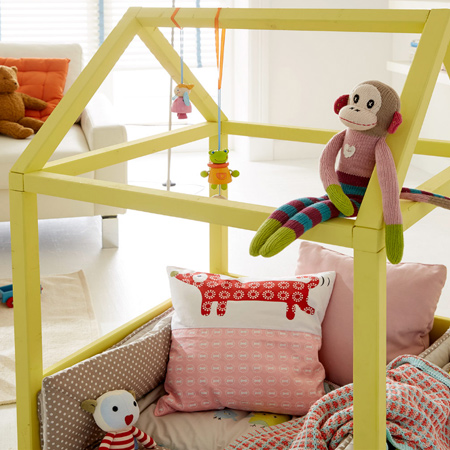
Using pine planks and laminated pine shelving you can easily make this interesting hideaway for baby. It not only adds to the decor of a nursery or playroom, you can hang fun toys to catch baby's attention and keep him or her occupied.
YOU WILL NEED:
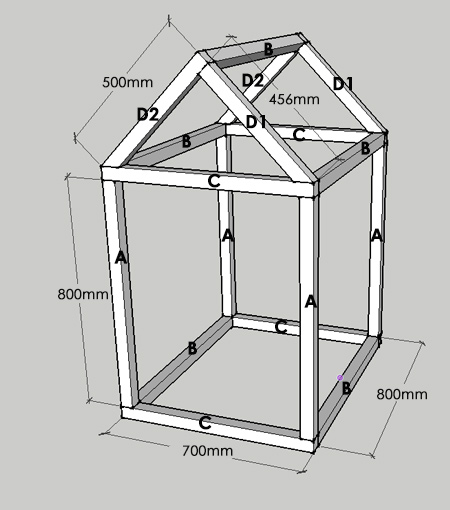
A - 4 of 44 x 44 x 800mm pine - uprights
B - 5 of 44 x 44 x 800mm pine - cross beams
C - 4 of 44 x 44 x 700mm pine - side beams
D1 - 2 of 44 x 44 x 456mm pine - roof front
D2 - 2 of 44 x 44 x 500mm - roof back
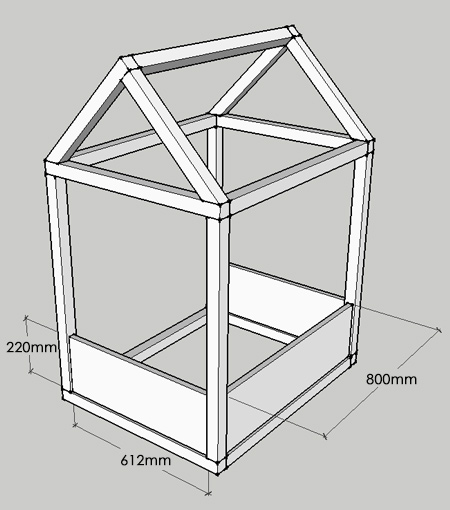
2 of 22 x 220 x 612mm pine - side panel
1 of 22 x 220 x 800mm pine - back panel
Wood filler and palette knife
Pack of 4 x 55mm smooth shank screws
Prominent Paints Select sheen to finish
TOOLS:
Drill / Driver plus assorted bits
Countersink bit, or combi bit
Jigsaw or mitre saw
Orbital Sander plus 120- and 240-grit sanding pads
Bosch PFS spray system, or paintbrush and foam roller
Buy everything you need for this project at your local Builders Warehouse.
HERE'S HOW:
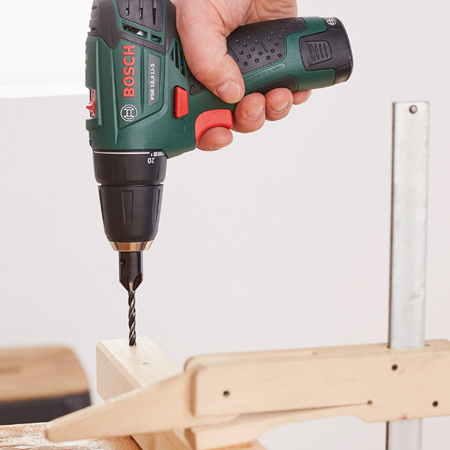
1. Have all your pine cut to size at your local Builders Warehouse, or cut yourself with a jigsaw, mitre or table saw.
2. All sections are joined by pre-drilling 3mm countersunk pilot holes. To do this you can use a drill bit and countersink bit, or an all-in-one bit with integral countersink design.
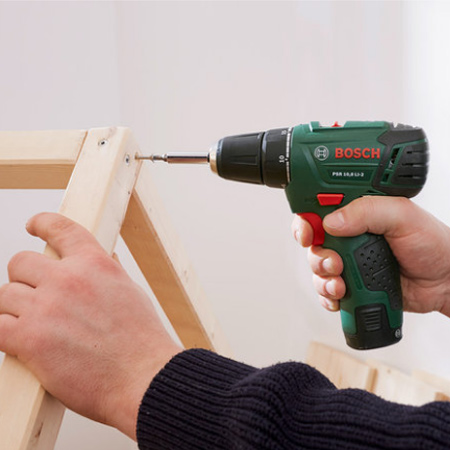
3. Assemble all the sections from the bottom up, leaving the roof frame until last. Secure the uprights through the underside of the [C] side beams, as shown on the original diagram.
4. On both D1 and D2 you need to cut a 45-degree angle on the bottom end - to fit flush on top of the assembled frame below. To attach, drive screws in at an angle through the D1 and D2 sections into the [C] side beams.
5. To complete the assembly, insert the side panels and secure through the front and back of each upright. These panels will ensure baby is safe.
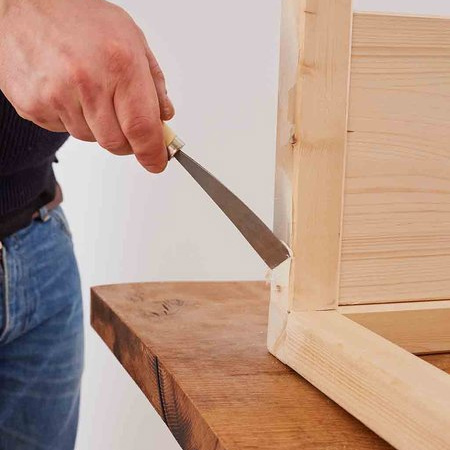
6. Fill all holes with wood filler and sand smooth once dry. Also sand the entire assembly with 120-grit to remove splinters and then with 240-grit for a silky smooth finish. Wipe clean.
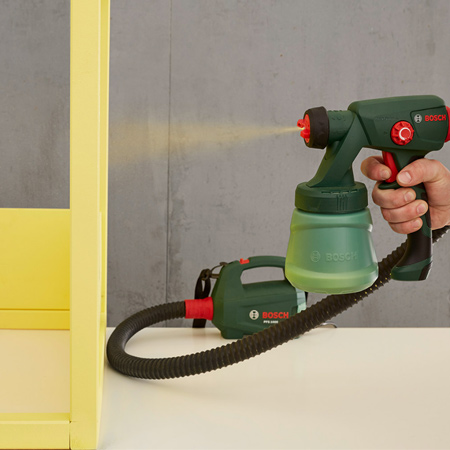
7. Take outdoors or into a room where you can paint. For a professional finish we recommend a Bosch PFS spray system (we use a Bosch PFS 2000 for our projects), or apply with a paintbrush and foam roller. You can use any quality acrylic PVA for this project, and have colours mixed to your personal requirements at any Builders or paint store. For an affordable paint solution that offers a quality finish, take a look at the Prominent Paints Select range.
micasarevista.com
Not responsible for errors and omissions