
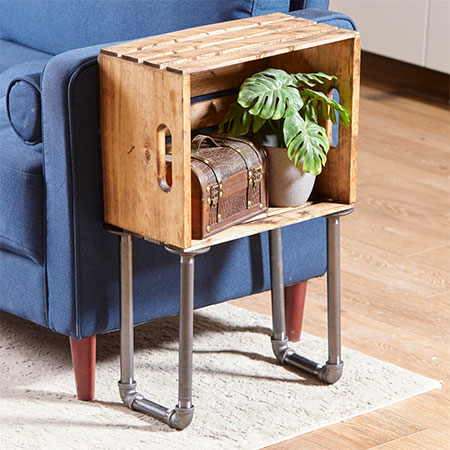
Turn An Apple Crate Into A Side Table Or Bedside Table
Pine crates are great for turning into a handy side table or a bedside table, and you don't need anything other than a drill/driver and some galvanised pipe and fittings - or substitute with copper pipe.
22/08/2020
Pine crates can be used to make practical accessories for a home and this one is finished with galvanised pipe and fittings. You don't have to use galvanised pipe and fittings - you can use copper pipes as a substitute, or even use PVC pipe and fittings for a more affordable option.
What's great about this DIY project is that you only need a drill/driver and a spirit level, as well as some wood stain or tinted sealer or varnish to make a rustic table that will look good as a side table or as a bedside table.
If you are branching out on your own and moving into your first apartment or flat, this crate table lets you add essential pieces to your new home without spending too much money.
YOU WILL NEED:
Wooden crate - or you can make your own crate
Galvanised pipe and fittings - or substitute with copper or PVC pipe
120-grit sandpaper
Wood stain or tinted sealer or varnish
Contact adhesive or 10-minute epoxy glue
Galvanised pipe and fittings give your crate table an industrial feel, but you can substitute with copper pipe for a more stylish approach.
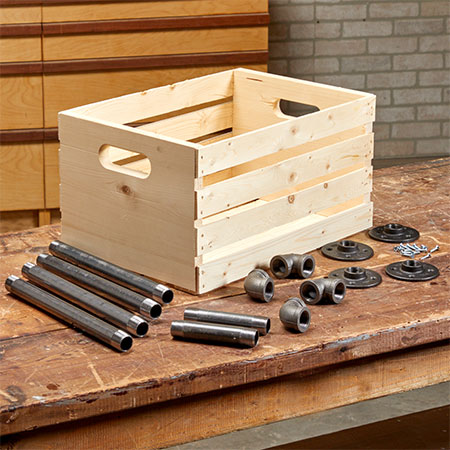
If you don't manage to source any crates for this project, we show you how to make your own inexpensive crate that is perfect for this crate table.
TOOLS:
Drill/Driver plus assorted bits
Spirit level
HERE'S HOW:
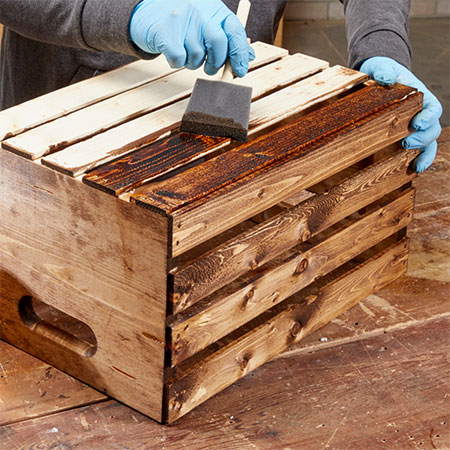
1. Before you attach the legs for your table, give it a light sanding with 120-grit sandpaper to remove any loose wood and splinters. Wipe clean and then apply your choice of wood stain, tinted sealer or varnish. This will protect your table from any spills or stains. Leave the finish to dry properly overnight.
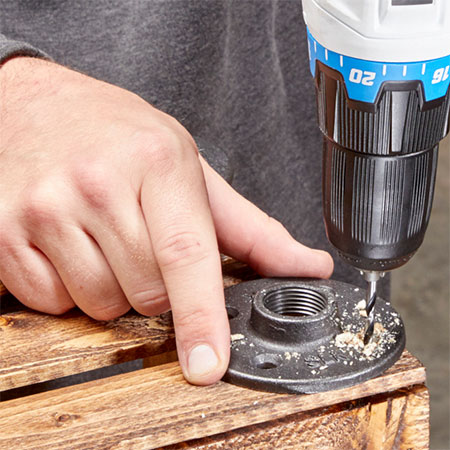
2. To assemble the legs for your table you first need to secure a plate to the underside of the table with screws. If you are using galvanised pipe and fittings, the legs should be screwed into the plate, if there is no thread or if you are using copper fittings, use contact adhesive or epoxy glue to secure the uprights into the plate. Add a plate to each corner.
GOOD TO KNOW: Drive the screws through the sides or thicker edges of the box for a secure fitting. If the crate you are working with is too flimsy, rather use epoxy glue to secure the plate to the base of the table.
3. Now you can screw or use adhesive to insert the legs and then add the corner fittings in the same way.
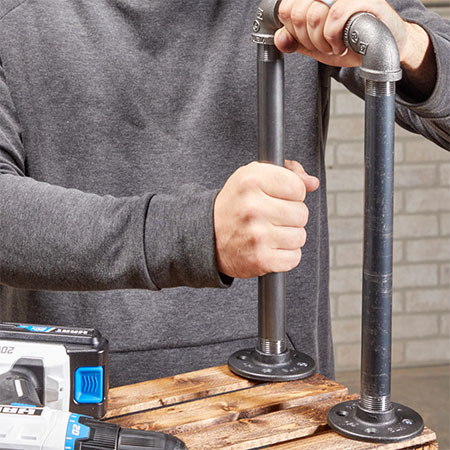
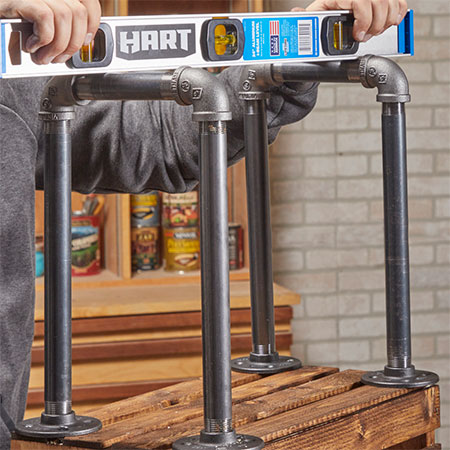
4. To finish off the leg assembly, add the pipes to the base section, again either screwing in place or using adhesive or epoxy glue. Check that everything is straight to ensure your table doesn't wobble.
family handyman