How To Make A Pocket-Hole Jig Station
Pocket-hole jigs are a must-have for DIY enthusiasts and woodworkers and we show you how to make your own pocket-hole jig station - quick and easy - and affordable for everyone.
29/11/2020
Ask anyone who invested in a pocket-hole jig if they find it a useful tool in the workshop and most will agree that using a pocket-hole jig is an easy way to make stronger joints, quickly and efficiently. While the pocket-hole jigs themselves are reasonably priced, buying the full pocket-hole jig system (pocket-hole jig plus station) can be on the pricey side. Now imagine that you can make a station for very, very little cost. Makes sense to me.
One enterprising DIY enthusiast has posted a 'Make Your Own Pocket-Hole Jig Station' on Instructables.com and I couldn't help but share this with you. So this one is for those of you who like the idea of making a pocket-hole jig station.
YOU WILL NEED:
Old clamp or an inexpensive clamp similar to the one shown here
Offcuts of pine, meranti or saligna
Wood glue
32mm pocket-hole screws
150-grit sandpaper
6mm Bolts and nuts [2]
TOOLS:
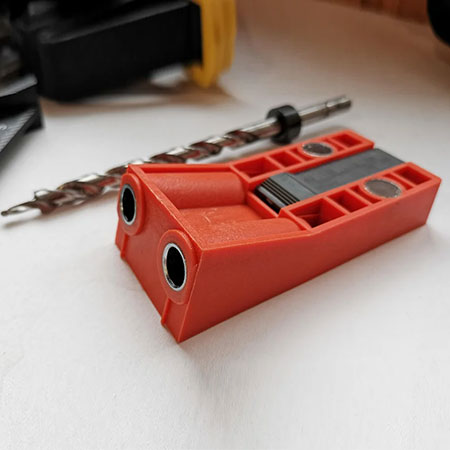
Pocket-hole jig - any make
Drill / Driver plus assorted bits
Carpenter's square
Hacksaw for cutting steel
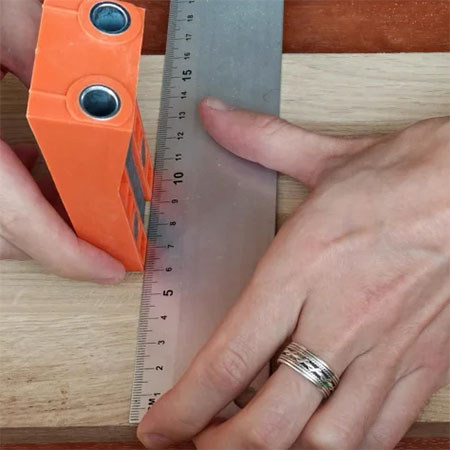
Steel ruler
Tape measure and pencil
HERE'S HOW:
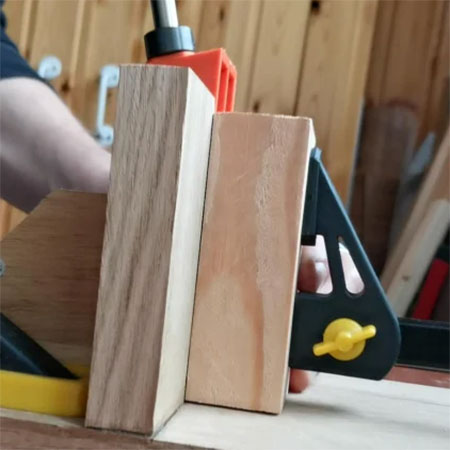
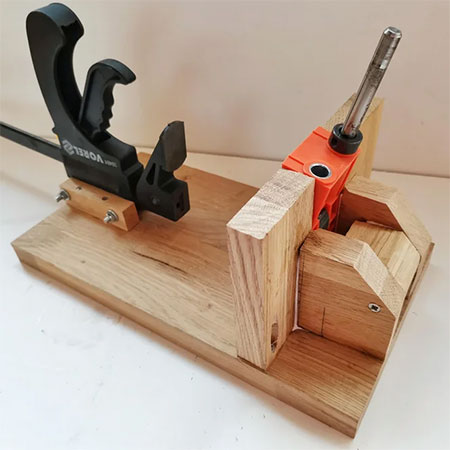
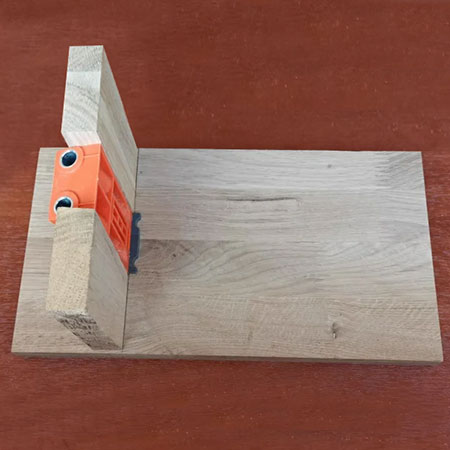
1. Measure and mark the centre of the piece of wood that will serve at the base for the station. Also, mark for placing the [2] side supports that fit alongside the jig.
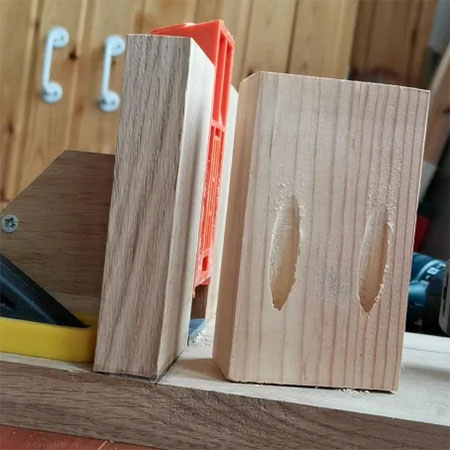
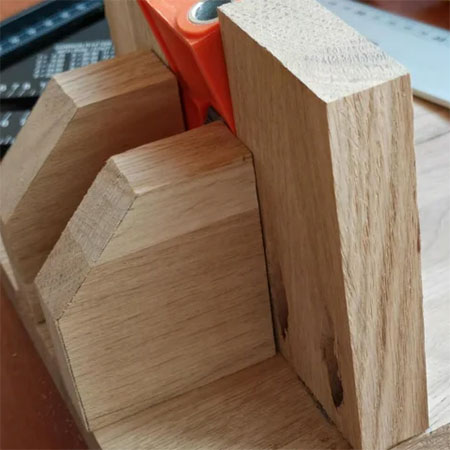
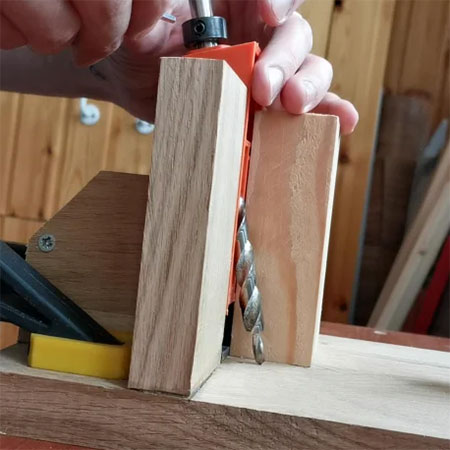
2. Cut out [2] side supports, as shown below. These pieces need to be perfectly flat and at a perfect right angle when mounted onto the base with wood glue and 32mm pocket-hole screws. Sand the pieces before securing in place so that they are smooth and free of loose wood fibres.
GOOD TO KNOW: Double check that the pieces are flat and provide a perfect 90-degree right angle. This is extremely important and cannot be stressed enough.
3. In this step, which is optional, you will assemble and secure a mounting for your shop vac. It is a simple design that has [2] sides and a top that is mounted between the sides to ensure good suction into the vacuum. Glue and screw all the pieces together and onto the base.
4. Secure the side pieces into the side of the jig support and the base with wood glue and screws.
5. Cut a top to fit between the sides of the vacuum port and glue in place.

GOOD TO KNOW: Cut all the pieces for the vacuum port to size to allow for your existing or future vacuum system.
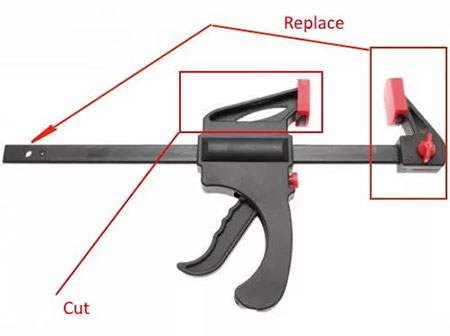
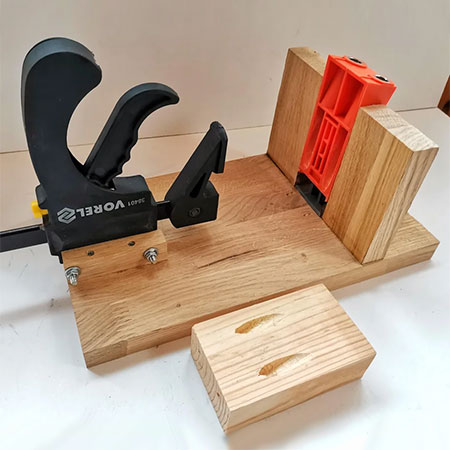
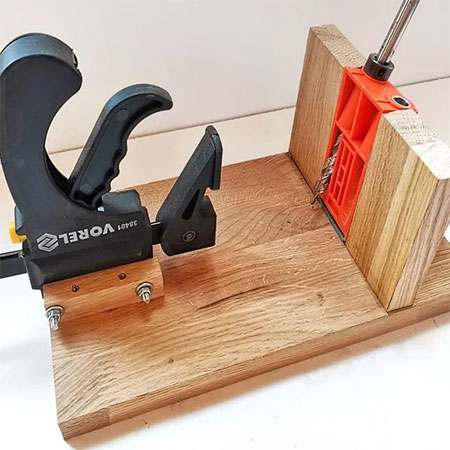
6. To make the clamping system for the pocket-hole jig station you need to modify a quick clamp. The vice grip at the top of the clamp is fitted to the base of the clamp and the lower jaw of the clamp is removed with a hacksaw.
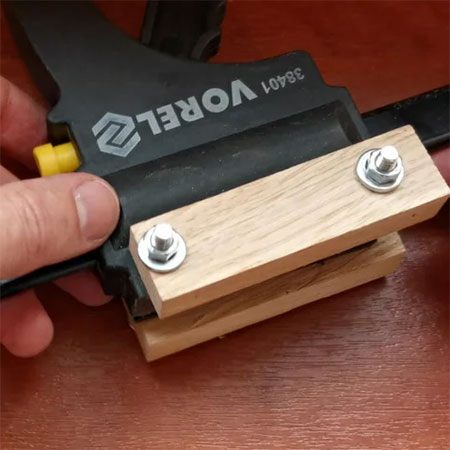
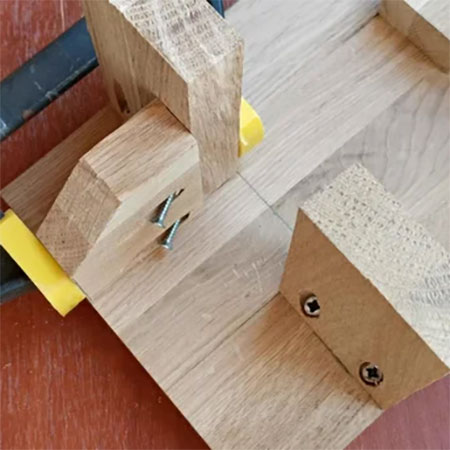
7. To attach the modified clamp to the station, cut [2] pieces to fit on either side of the clamp and secure these with a couple of nuts and bolts, as shown above.
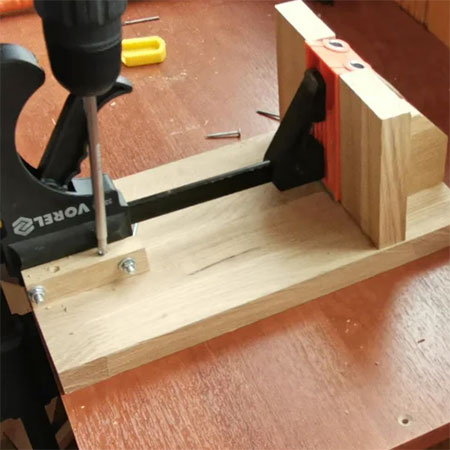
8. The clamp assembly is then secured to the base with wood glue and screws.
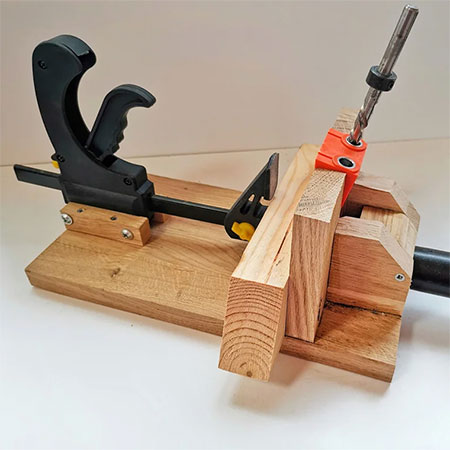
Your Pocket-Hole Jig Station is now finished and ready for a test run.
When using for the first time, remember to set the cutting depth on the special drill bit.