
How to paint pine panelling
I frequently receive enquiries on the correct procedure for painting over wall panelling and tongue-and-groove ceilings and walls. Although the initial preparation may seem like a lot of work, the end result is that you will no longer have to stare at yellow walls and ceilings. Plus, the room will feel a lot brighter and more spacious.
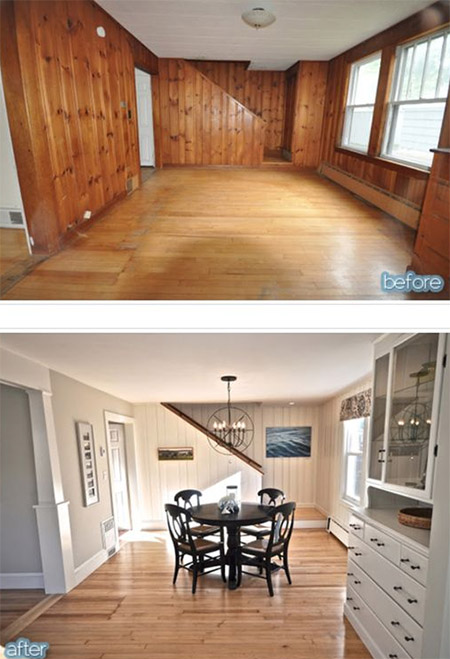
pinterest.com/pin/143974519317527757/
HERE'S HOW:
- Begin by sanding the panelling and T&G with 80-grit sandpaper to remove any existing varnish. It helps to have a Bosch Random Orbit Sander for this task, but you can also do this with elbow grease and a sanding block. Try to remove all the varnish so that this won't crack and peel later on.
- Lightly hand sand the wood trim, such as skirting, door and window facings, to allow the paint to adhere to it. Once everything has been sanded, go over the walls and trim with a clean, slightly damp cloth to remove any sanding dust.
- Apply Alcolin Lite Fill to any cracks and gaps where the board meets the skirtings or around doors and windows. Allow to dry thoroughly before sanding and painting. For larger gaps against doors and window frames, use a paintable silicone sealer.
- Use a roller with a medium nap to paint the panelling. It should have a long enough nap to fill the vertical grooves in the panelling, but short enough to leave a smooth surface.
- Prime the panelling with wood primer. Once the primer has dried, topcoat it with two coats of acrylic or Prominent Ultragloss, allowing each coat time to dry.
DIY Tip:
For additional protection, or in high traffic areas such as passages, apply two coats of a water-based acrylic sealer.