
Transform kitchen countertops with faux marble paint technique
I come across plenty of inspiring ideas in my quest for information, and this project is one of those. See how simple and easy it is to transform kitchen countertops with a little paint and some creativity.
gorgeousshinythings.blogspot.com
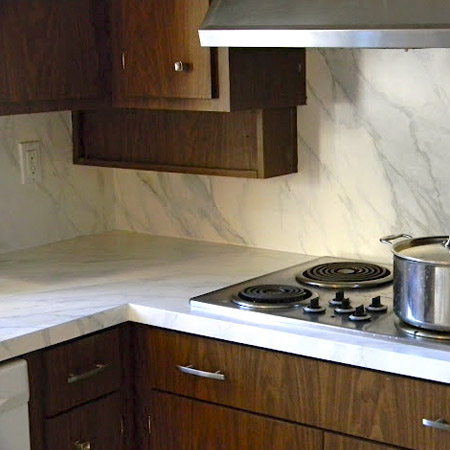
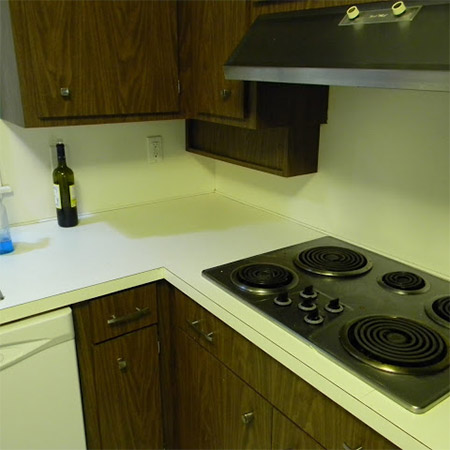
Here's how to transform plain kitchen countertops - or any plain laminate furniture - into a marble topped masterpiece.
The video outlines how to paint "faux" cararra marble and it comes from the talented girls at Gorgeous Shiny Things. If you get the chance, pop in and see more of their fabulous projects.
HERE'S HOW:
As a substitute, use a melamine primer and scumble glaze as paint extended. You can finish off the top with clear polyurethane varnish.
1. First make sure the surface is lightly sanded with 240-grit sandpaper.
2. Apply melamine primer according to the instructions.
3. Mix your medium grey glaze that you will use for the veins. I used 2 parts white primer or flat white paint, 1 part scumble glaze and a few drops of black. I also added just a drop of cobalt blue tint to keep it a cool grey.
4. In a larger container mix your white glaze...2 parts white with one part scumble.
5. Get your brushes, a damp sea sponge, and glazes ready. You can focus on a small area or the entire surface, just be prepared to move quickly.
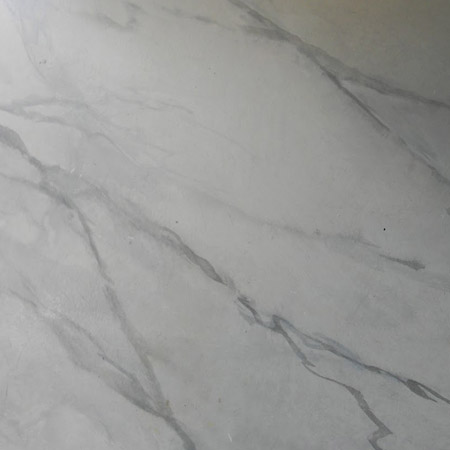
6. Have pictures or actual samples of marble around for reference. You will notice that the veining runs the gamut from heavy to almost non-existent. Figure out what you like and aim to replicate that.
7. Start by first sponging the area with white glaze, and then start filling in the ground with a large gray drift. This is going to be softened and will fade out, so don't worry about it seeming too dark. Lightly sponge areas to soften and then use your feathering brush to lightly fade the edges.
Brush back and forth using an 'X' or figure '8' motion. Continue to soften and add more gray veins along the edges of this 'cloud'. The goal is to build layers and depth.
Sponge a layer of white glaze over the entire surface and then feather it with your brush. Step back and look at the area. If you want it darker do the previous steps again. Next you will start to add more specific sharper veins.
GOOD TO KNOW: You can use either a feather or a piece of thin cardboard torn in the shape of one like I did.
8. You will now lay in your main veins. Dip it into your grey glaze and with a gentle hand drag and roll it down. You don't want to make straight lines. You want to make them run on 45 degree angles and avoid making 'X's Practice this technique on cardboard a few times until you are comfortable. Gently feather the veins to soften them.
9. Next use a smaller brush to create the finer veins. Hold the brush like a conductor and gently roll and pull. You can come back down again and connect areas to give it a fractured look. Again, feather these veins. if any seem too dark soften them by sponging over with white and feathering.
10. Take another break and come back and decide where you are at. Do you want more veining? Too soft/ heavy? Add or adjust to your liking. You can spend hours playing around, but I recommend stepping away and getting fresh eyes. When you are happy and it is dry, clear coat it with a polyurethane. (Avoid oil-based, it will yellow it.). 2 to 3 coats is recommended.