What paint is best for a bathroom?
When it's time to paint or give a bathroom a makeover, you want to make sure that you use the right paint products.
05/07/2019

https://pinterest.com - 696369161113118185/
So many times, readers ask for advice on the best paint to use for painting a bathroom. While there are plenty of paints out there that you can use in a bathroom, the most important question should be... what needs to be done before painting a bathroom?
Here in South Africa, and many other countries around the world, our bathrooms are either tiled to halfway up the wall, or from floor to ceiling, leaving only a bit of painting that needs to be done if the former. However, many homeowners are looking at the option to paint bathroom walls and only apply tiles around the tub, basin and in the shower.
With this in mind, we look at how walls or ceiling in a bathroom should be prepared before applying the paint finish.
Remove peeling paint from ceiling and walls
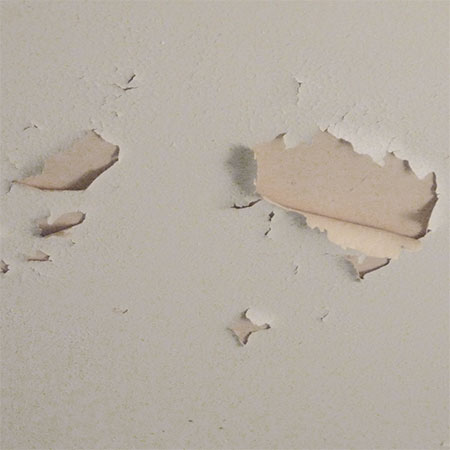
The first step you want to take when wanting to paint your bathroom is to prepare the walls and ceilings for painting. Any signs of bubbling or peeling paint are an indication that the paint layer has failed, or that no primer was applied to the walls or ceiling before painting was done.
Poor preparation and damp are the main causes of a failed paint job in the bathroom, since any signs of cracked or peeling paint allow moisture to make this problem even worse.
1. Scrape off bubbling or peeling paint
It makes no sense to paint over areas where paint has bubbled or is peeling. The best solution should this be the case is to remove all the existing paint layers and get right down to the substrate; for ceilings the substrate with generally be the plasterboard or gypsum board that forms the ceiling, or insulation board, and for walls it will either be plastered brick or drywall.
If you don't bother to remove the failed paint finish, you are only wasting your time and money by applying a new coat of paint over the top of this, as soon or later it will fail again.
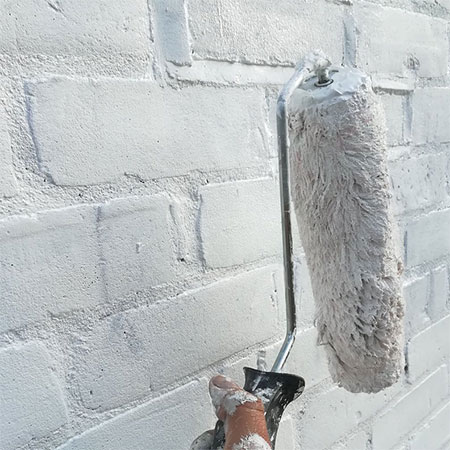
2. Apply a suitable primer
Once all the old paint layers have been removed, apply a primer according to the substrate. In most instances this will be an old-based primer that can be applied onto raw brick, plaster or drywall.
Follow the instructions on the can for proper application, and be sure to allow for the specified drying time.

3. Treat any signs of damp
Where there are signs of damp on the walls or ceiling, it is important to find the source of the problem and treat this before painting the bathroom. Look for signs where pipes or fittings can be leaking, areas where silicone sealer has failed, damaged grout, or leaks in the roof.
Inspect walls and ceilings because damp may not be instantly visible, but bubbling or peeling paint is definitely an indication of damp.
Once the source of damp has been sorted out, it is better to err on the side of caution and apply a damp proofing coat before painting.
4. Start painting
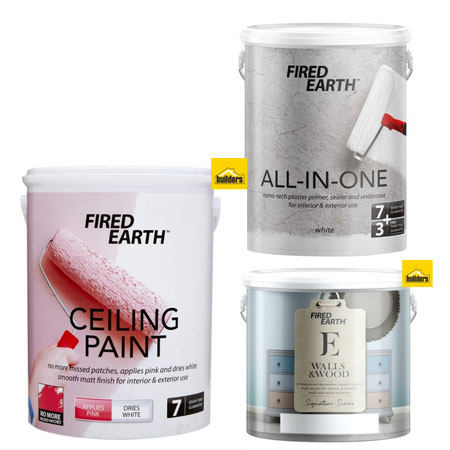
When choosing paint for a bathroom today's modern paints generally cover all, but shop for a paint that is specifically formulated for use in a bathroom, such as paints that are designed to retard damp and mould growth.
Speak to the paint consultant and at your Builders or paint store and tell them that your bathroom is humid or suffers from condensation, and they will be able to advise on the best paint product or a solution for your problem.
Keep in mind that gloss paints are not great for hiding imperfections on walls or ceilings, so don't use these in a bathroom with speckled or walls with imperfections, or popcorn finish. In this instance you are better selecting a flat, matt or velvet finish, as these help to disguise fault on walls and ceilings.