How to hang wallpaper
This project shows how to hang wallpaper - the paintable kind that you can buy at Builders Warehouse - to cover up defects on a wall.
31/07/2017
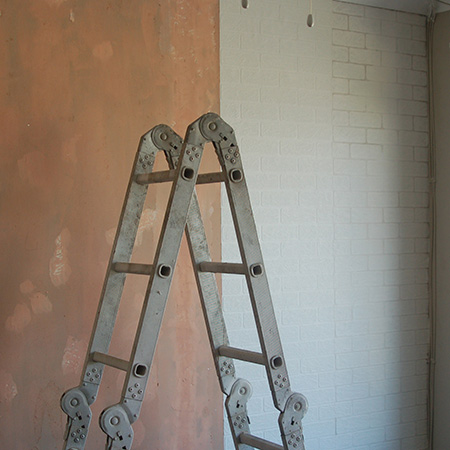
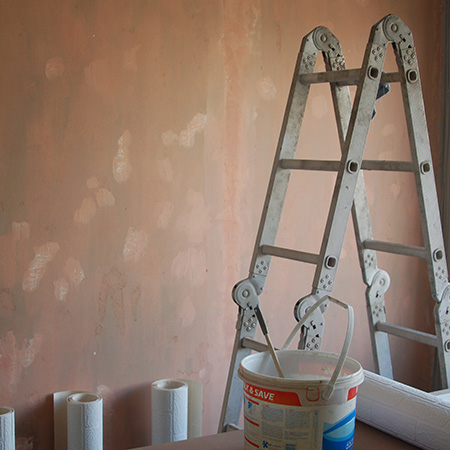
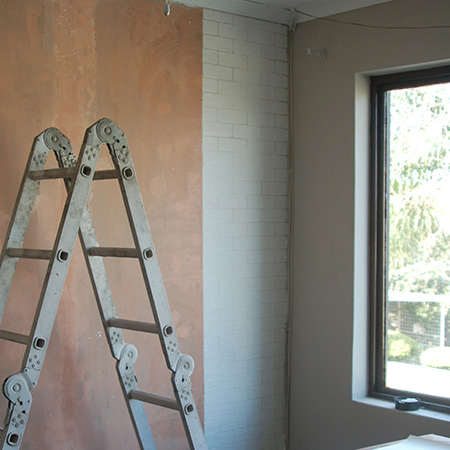
I have a small upstairs lounge / TV room where one wall was cladded with cork tiles. The idea was to add soundproofing to the wall to turn it into a TV room. After 8 years the cork tiles were starting to lift off and it looked awful, so they were ripped off. When the cork tiles were removed, they also ripped off some of the plaster on the wall, leaving behind an awful mess, and one that would be hard to fix without having the entire wall re-plastered.
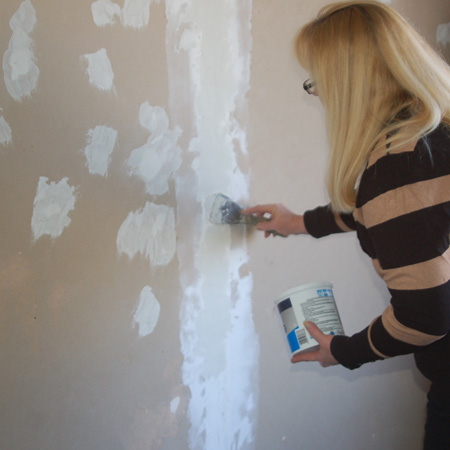
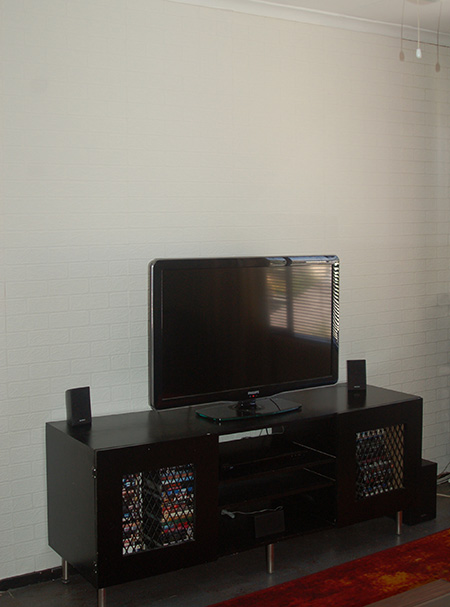
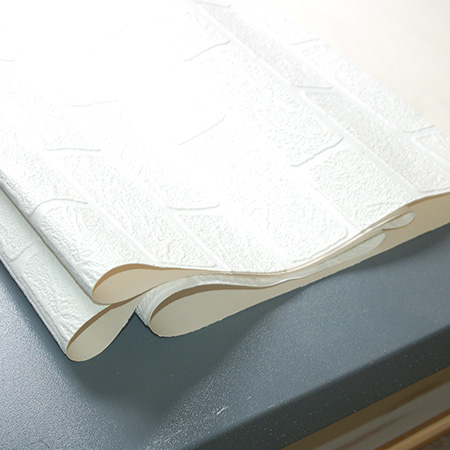
Rather than have to fork out to get the wall re-plastered, some of the larger defects were filled with interior crack filler and sanded once dry, and the rest would be left and covered up with paintable wallpaper. Did it work? Most definitely. The paintable wallpaper was thick enough to cover up the imperfections.
YOU WILL NEED:
Paintable wallpaper - find a selection of designs at Builders Warehouse
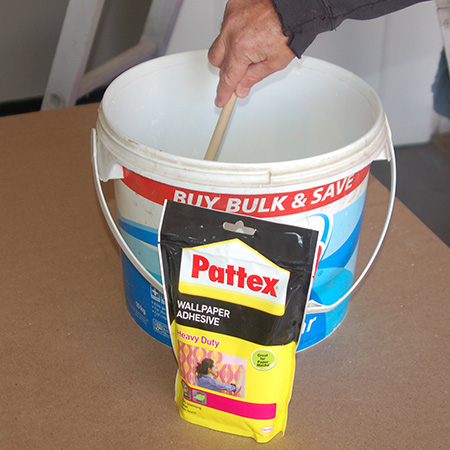
Heavy-duty wallpaper adhesive
Large paintbrush
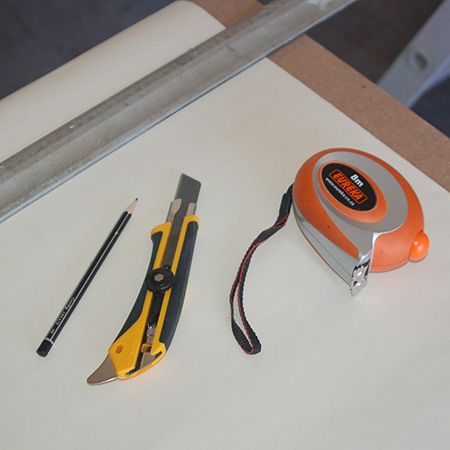
Tape measure and pencil
Craft or utility knife
Steel ruler
Spirit level and/or plumb bob
Stepladder
Bucket and clean water
Spoon or paddle for mixing
Long table top
Drop cloths
Sponges, have a couple on hand
HERE'S HOW:
Preparation
Clear out the room as much as possible. You need space to move the stepladder up and down the wall, and space around the table where you will cut and apply the wallpaper adhesive.
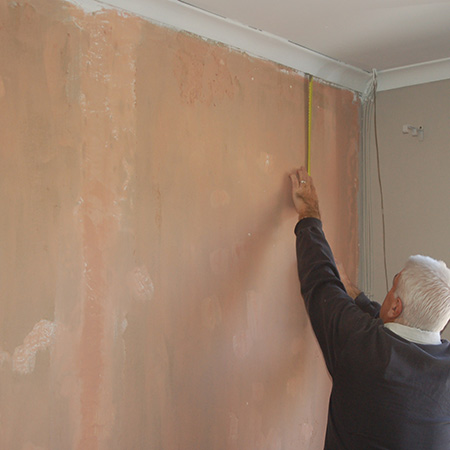
1. Before you can hang the wallpaper you need to measure up. My walls are a lesson in perspective; the ceilings slope down in one direction and the floor in another, and I'm sure that many homeowners will encounter the same problem. It was necessary to measure the walls - floor to ceiling - along the entire length of the wall. Also measure the width of the wall so that you can determine how many rolls of wallpaper you need for complete the project.
GOOD TO KNOW: Err on the side of caution when buying wallpaper - it's better to have too much than too little.
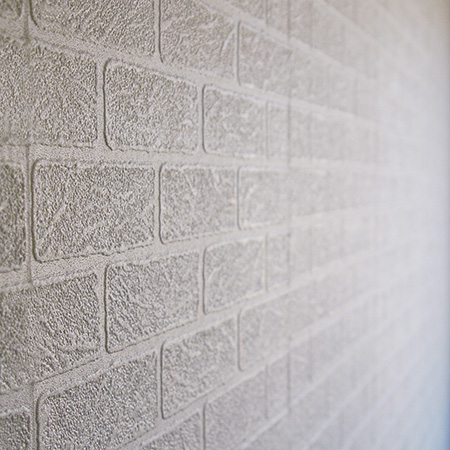
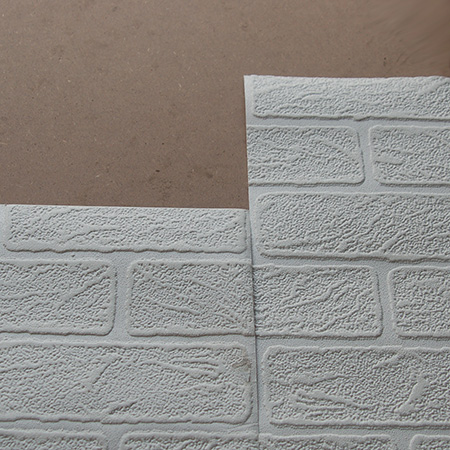
2. Another important factor that you have to consider is lining up any pattern on the wallpaper. The paintable wallpaper used in this installation is a brick pattern, and when you cut the second and following lengths, don't forget to allow extra at the top for lining up a pattern.
3. With the floor-to-ceiling and wall-to-wall measurements in hand, you can calculate how much wallpaper you need. Every wallpaper is different, so check the packaging or ask for assistance if you're not sure of the coverage.
4. After taking measurements, enough strips of wallpaper were cut to cover the wall. Each strip was measured out, allowing for pattern, and marked to indicate the top. If you only have one table top to work on, once you start applying wallpaper adhesive the table top isn't much use for measuring and cutting, so cut everything before you start making a mess.

5. Mix the wallpaper adhesive according to the instructions. A single pack was sufficient for 7 lengths of wallpaper.
6. Set up to have everything ready to go while you wait for the wallpaper adhesive to settle. The best place to start hanging wallpaper is in a corner, behind a door or behind a large piece of furniture, especially if walls are not straight and you need to do some patching up. However, if you are creating a long, feature wall, it's sometimes best to start in the centre and work out towards the side walls.
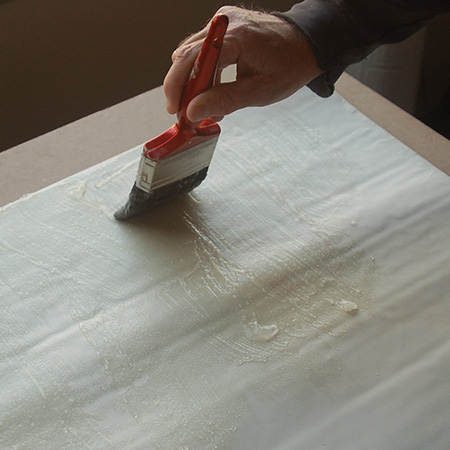
7. Place the strips of wallpaper face down on the table. When applying the wallpaper adhesive, you want enough adhesive to ensure the wallpaper sticks well, but not so much that it all oozes out the sides. DO make sure to add adhesive along the edges - top, bottom and sides.
GOOD TO KNOW: Wipe down the table with a cloth after applying adhesive, to prevent spoiling the face of the next piece.
8. As you apply wallpaper adhesive you use the process of 'booking' the paper. This means that you apply adhesive to part of the paper and then gently lift and fold the paper up, so that you can continue to apply more adhesive to the remainder of the strip.
9. Booking (folding) makes it easy to hang the wallpaper. Climb up the stepladder, position the wallpaper at the top of the wall - gently pressing down from the centre with a sponge, as well as out towards the side - WITHOUT releasing the booked paper below.
GOOD TO KNOW: The first strip must be installed absolutely straight and level. If not, the rest of the strips will be uneven and the entire wall will look skew. If you need to check, use a spirit level to draw a line horizontally across the wall or a plumb-bob to mark the vertical, and use this as a visual guide.
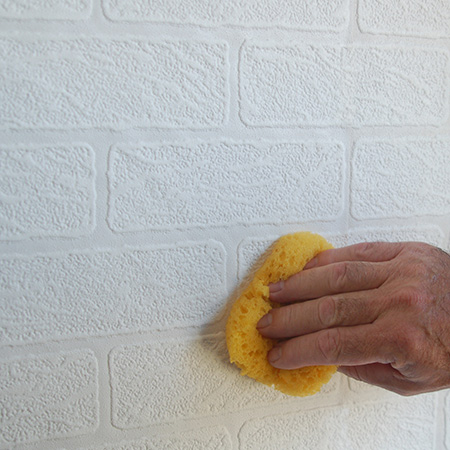
10. Once the top section of the wallpaper is lined up, release the booked section and let it fall down to the floor. Smooth the wallpaper from the top down - working from the centre to the sides to force out any air bubbles and excess adhesive. Use a damp cloth or sponge to wipe away excess adhesive, rinsing out as you work until the strip is installed. Stand back and double check for any remaining air bubbles.
GOOD TO KNOW: If you find a gap lower down the wall, check the alignment at the top and gently lift the top section off the wall. You can make adjustments while the adhesive is still very wet. If a substantial adjustment needs to be done, rather remove and re-apply adhesive before re-installing the strip.
11. Use a sharp craft or utility knife to remove excess wallpaper at the top and bottom. Be careful as the wallpaper will be a bit soggy and will tear easily.
12. Hang the remaining strips in the same way.