
Things To Know Before You Paint Furniture
I have painted quite a few pieces of furniture over the years and, while the result is well worth it, you should be aware of a few things before you get started.
06/11/2020
https://pinterest.com - 914862400234088/
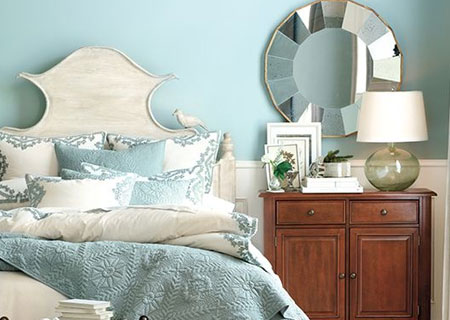
Painting furniture is an excellent way of transforming old, dated or slightly damaged furniture into something better. If you have dark wood furniture in a small home, you will have already noticed how dark furniture makes a room feel smaller; dark furniture seems to suck the light out of a room, and especially a small room. That's when painting dark furniture works to your advantage - you retain the beauty of the piece but give it a lighter brighter finish that will make it look better in your home and you also recycle or upcycle a piece of furniture that might otherwise have been sold or broken down and tossed out.
Painting furniture also gives you the opportunity to take cheaper pieces of furniture, such as pine or laminated pieces, and finish them so that they fit perfectly into a room and again, giving them a new life rather than tossing them out.
However, you need to consider what is involved when painting furniture; it's not just about slapping on a coat or two of paint. There are steps and there are consequences if you don't bother to follow the steps. So let's take a look at some things you should know before you paint any of your furniture.
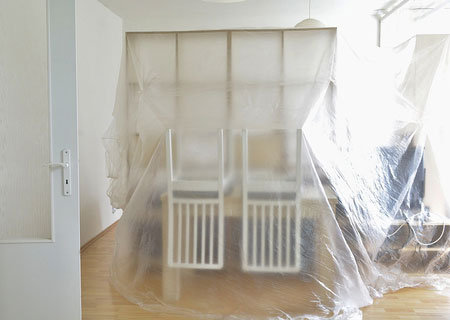
1. Drop cloths or dust sheets are a must-have
I have heard of plenty of horror stories from people who haven't bothered to put down any type of projection on floors, to cover furniture or fittings, only to end up having to remove paint from carpets, repair scratches in laminate floors and even so far as cleaning up a messy spill from a dropped paint can.
A drop cloth will only cost around R50 for a very large, plastic cover and it will prevent any spots or spills from damaging your home, so don't even think about painting before you buy one or two drop cloths.
2. Think carefully before you do your painting outdoors
If you think that by painting outdoors you will do a better job - think again. It might be less messy to do all the prep work for painting outdoors, such as taking the piece apart and sanding, etc., but when you paint outdoors you run the risk of debris collecting on the wet painted surface and spoiling the finish. I don't know how many times I have cursed when painting outdoors only to find my painted finish full of bugs, leaves or other debris.
Painting is best done indoors, perhaps in a garage or shed, or somewhere where the paint finish won't be disturbed until it has time to dry properly.
3. Allocate areas for the preparation and painting
In most instances, except where you will be using chalk paint, there will be sanding involved in the preparation for painting. Anyone who has done a bit of sanding knows that this process creates a mess. The dust produced from sanding is so fine that it gets everywhere. You are better off setting up an area - outside or in the garage - for the sanding so that you won't have to clean your house from top to bottom after sanding.
Taking into consideration the point above about painting indoors, if you can allocate two separate areas - one for sanding and one for painting - it will involve far less mess and frustration.
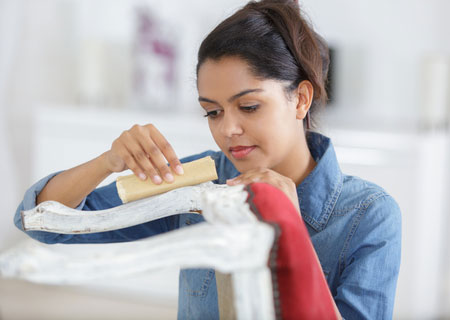
4. Be prepared for hard work
If you are not prepared to put in some hard work for sanding a particular piece of furniture, then you might as well resort to using chalk paint. At least with chalk paint you only need to do a light sanding before applying the chalk paint. But chalk paint is not for everyone and also not for every piece of furniture.
Even with the best model sander and using the correct grit of sandpaper, sanding down a piece of furniture is a messy and time-consuming process - and one that essential if you want to do a painting project properly. It helps if you have a good brand of sander - or even better if you have more than one sander that you can use.
An orbital or random orbit sander can tackle most large, flat surfaces, but if you need to get into corners or sand detailed areas you're going to need to use something else. I could recommend a multi-sander for corners and small areas but most of the ones I have used, with the exception of the Dremel MultiMax and which is sadly no longer available, don't make the job easier and you will probably end up sanding these areas by hand, as you would with detailed areas. So be prepared.
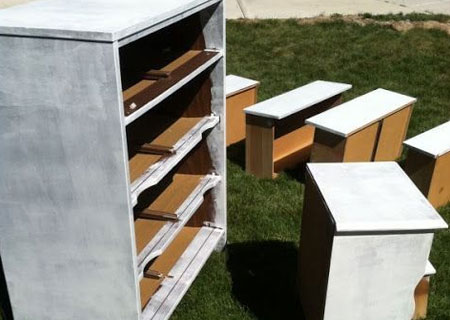
5. Paint before, during or after
When you are painting a piece of furniture that consists of drawers, doors and more, it might be in your best interest to take apart before painting, especially if there is going to be a fair amount of sanding involved to remove scratches, dents or dings, repair chipped or missing pieces, or to make any modifications.
You also have to consider that if you are removing or replacing hardware such as handles, knobs or hinges, these areas will most definitely need to be repaired and sanded and you will find it far easier to do this if the piece is taken apart as much as you can. Painting around handles, knobs, hinges or other hardware isn't recommended since it can look quite messy and will spoil the finished project.

6. To prime or not to prime
Many of today's paints claim that they are primer and paint in one, but don't always believe what you read. Primers are specifically formulated for surfaces and act as a bonding agent between the surface and the paint coat, or they serve to block out any bleeding through the new paint that would otherwise be a fail for your painting project.
It is far better to apply a suitable primer, one that is designed specifically for the material being painted, and your painted finish will be far more durable and ultimately last longer.
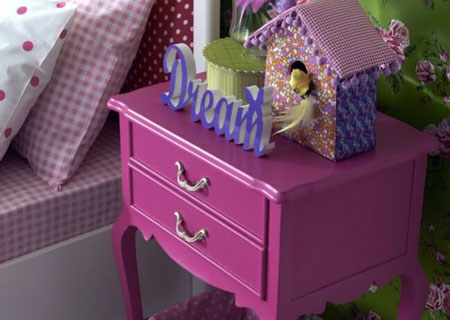
https://pinterest.com - 541065342708329302/
7. Choose the paint and colour
After the preparation, the paint your choose and the colour you opt for are the next most important decisions you will need to do. Paint might be the most affordable way to do a makeover, but if you buy the wrong paint - or the wrong paint colour - it could end up being an expensive paint makeover. Your best bet is to research the best paint for the object you are painting, especially as concerns the finish. There are paints that can be used on wood, paints specifically for laminate or melamine finishes, paints that are flat or matte, have a slight sheen or are glossy.
Do get paint swatches to check the colour of the paint at home. Do use a sheen or gloss paint or apply a polyurethane sealer if you want to be able to clean the piece regularly afterwards.
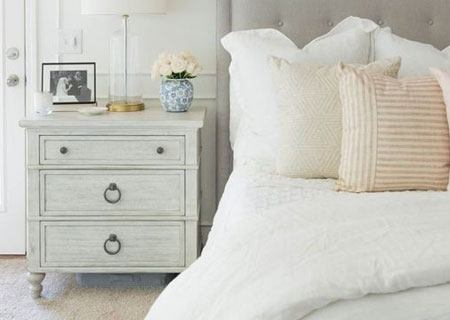
https://pinterest.com - 93238654773710989/
After all is said and done, I have found that there is nothing more rewarding than to see a previously useless or ugly piece of furniture be transformed into something beautiful that could take pride of place in any home.