
Quick Tip: Paint Your Home Like A Pro
If your home is in need of a good paint job, these expert tips will ensure a professional finish - no matter what the painting task.
08/04/2021
When the time comes to paint your home, whether inside or exterior painting, you want to make sure you get it right the first time. To aid you with the job, we have some expert painting tips that will ensure your paint job is finished like a professional. Whether you decide to do the job yourself or hire a labourer to do it for you, there are right and wrong ways to get things done and it helps to know a few tricks of the trade to help you along the way.
PAINTING INTERIOR AND EXTERIOR DOORS
When painting interior or exterior doors, you want to have a finish that is smooth and free from brush strokes. If you do it the right way, using the correct paint and tools, you can easily have perfectly painted doors throughout your home. The secret is in the preparation and finishing.
Step 1
Before any painting takes place, you should remove the door from its hinges and check the condition of the door and any repairs that need to be done. Removing the door from its hinges not only makes it easier to work on the door, but it also gives you the opportunity to sand and paint the door frame, as well as around the side edges of the door itself.
Step 2
Use sandpaper and sanding block, sanding sponge or sander and sanding pads to go over the door and remove any chipped or flaking paint. If the paint is in bad condition or you can see that there are too many layers of paint on the door, it is always a good idea to strip away old paint and get down to the bare wood. Begin with 60- or 80-grit sandpaper and stop just as you start to see wood showing through. Switch to 120-grit sandpaper to remove any paint that remains on the surface.
Step 3
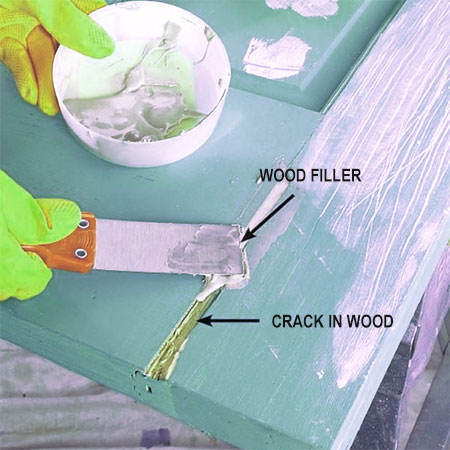
Before you paint take any steps to repair damage to doors. If you have pets, doors are often scratched in a plea to be let indoors or outdoors and these can be easily repaired using wood filler. If larger cracks or chunks are missing from a door, you can repair these with epoxy putting {Alcolin QuikWood is great for this}. Let the filler or putty dry overnight and then sand smooth with 120-grit sandpaper.
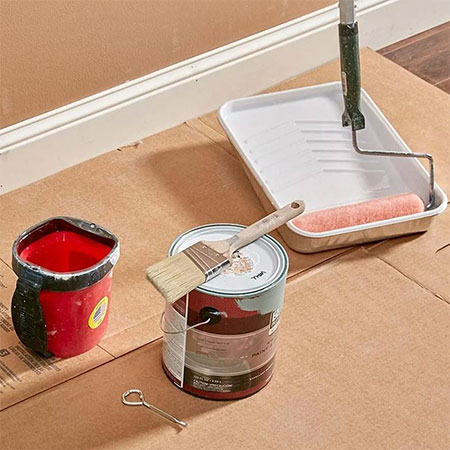
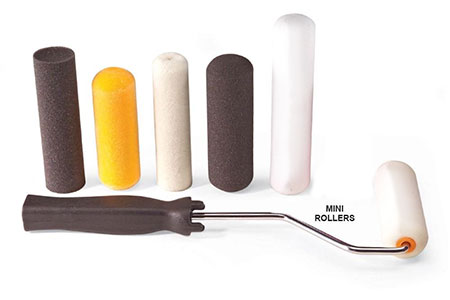
Use a paintbrush and foam roller combination when painting interior doors. This will eliminate brush strokes and provide a smooth finish.
Step 4
Nowadays, you don't need to use oil-based {enamel} paints to protect doors and trim, today's water-based enamel paints are just as good and far easier to apply. Water-based paints also dry much faster and clean up is with soapy water. Now that you are using water-based enamel or acrylic paints, you can also use a foam roller to make sure you have a smooth finish. Use your paintbrush to apply paint to detailed areas and around the side edges and then go over this with a foam roller while the paint is still wet.
With the introduction of water-based enamel paints, there is no longer a rule as concerns the proper method for applying paint. I do, however, recommend dealing with detailed areas first with a paintbrush, going over these with a foam roller and then letting these areas dry before moving on to paint the remainder of the door.
GOOD TO KNOW: If you see air bubbles appearing on the surface, wipe over repeatedly with a foam roller until these vanish.
Step 5
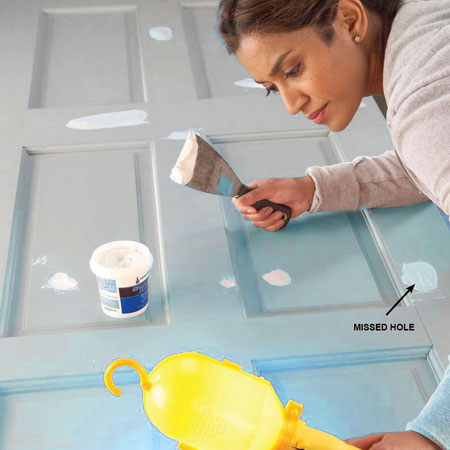
After applying the first coat of paint, check for any remaining problem areas before applying the next coat. Focus a bright light on the painted areas to see if you can pick out areas that still need fixing and apply a thin layer of wood filler. Let this dry and then sand smooth.
Step 6
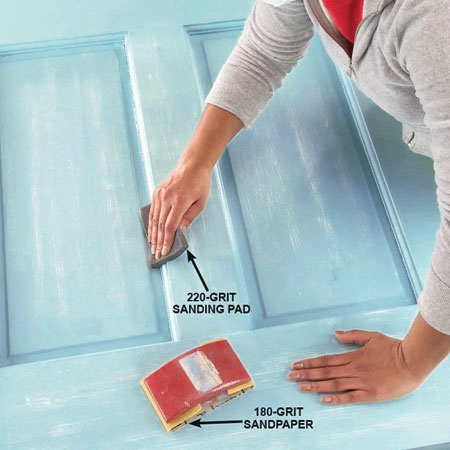
At this stage in the painting process, I like to lightly sand the painted finish before applying the next coat. The reason for this is that it helps the paint layers to bond together properly and results in a long-lasting and professional finish. Use 180- or 220-grit sandpaper to smooth and then wipe clean before applying the next coat of paint to finish off.
images - family handyman