Painting tips for your home
Many homeowners use the holiday season to catch up on home improvement projects. In this article we look at painting projects on a variety of surfaces; from brick to tiles.
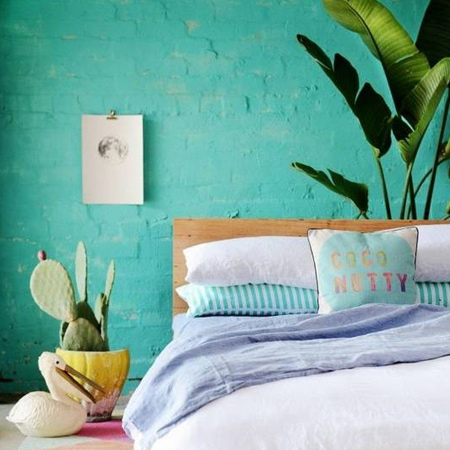
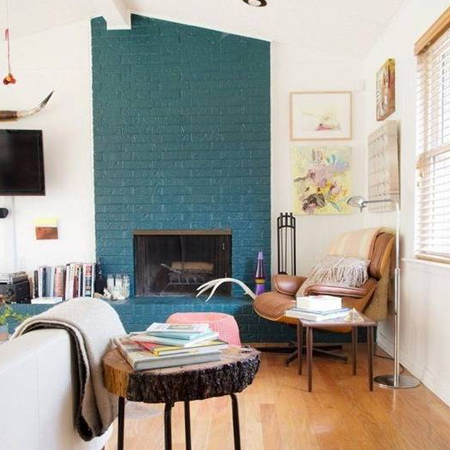
Painting brick walls
Not everyone loves the look of an unpainted brick wall. In many homes a facebrick wall was designed to be a feature, but when dark brick was used, it can end up making a room look old fashioned and depressing. Give a brick wall an update and refresh a room with paint.
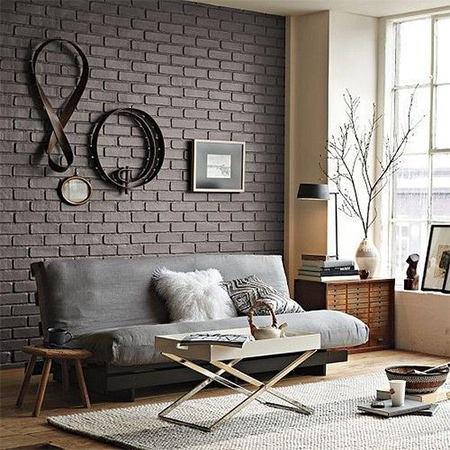

How to paint a brick wall
The first step is to clean the wall. If outdoors, wash down with a high-pressure spray. For indoor walls, wash down the brick with a whitewashing brush and warm, soapy water. Let the wall dry and then inspect for any cracks or damaged areas that need to be fixed before painting.
It's always a good idea to apply a brick or universal primer before paint, as this seals the surface of the brick and provides a good bond between brick and paint. Prominent Paints offer a range of quality primers for almost any application, and you can choose from various product ranges for an affordable primer.
Now that the preparation work is done, apply two coats of paint using a paintbrush to get into cracks and crevices, and low-nap roller to get a smooth finish. Let the paint dry in between coat and to assess the finished result before determining whether any additional coats are necessary.
domino.com
White is a popular choice for painting brick. However, when choosing a light colour be sure to use a paint that is easy to clean. Matt or satin paints are not scrubbable and not recommended for painting brick walls. Rather use a sheen or gloss paint for these areas.
domino.com
Paint over ceramic tile
When money is tight and you don't have the funds to rip out and replace tiles, paint offers a short-term alternative for tiles. It is important to prepare the surface properly before painting tiles, for a longer lasting finish. It is important to note painting tiles is not recommended in a shower or wet room, or bathroom that is not well-ventilated and has high humidity.
How to paint over ceramic tiles
Before painting tiles it is essential that they be thoroughly cleaned and left to dry. Use sugar soap to scrub the tiles and grout, and repeat for grubby areas, before rinsing and letting the area dry for a couple of days. To ensure that the grout is really clean, scrub this area with an old toothbrush.
Lightly sand the tiles with a fine sanding sponge or 180-grit sandpaper. This might seem a bit silly, but a light sanding will ensure that tiles are super-clean and give a better bond for the primer coat.
A primer coat is important when painting over ceramic tiles. The primer bonds to the tiles and also allows the painted finish to bond to its surface, ensuring that paint does not peel. Prominent Paints Ultra Prime is a high-performance, water based primer that can be used to prepare ceramic wall tiles for painting. Apply with a paintbrush and low-nap paint roller and follow the guidelines for proper application on the can.
You can apply a quality eggshell, semigloss or gloss enamel paint over the primer, which can be tinted to almost any colour hue. Bear in mind that if you want to not have a solid colour over the tiled wall you will need to apply masking strips over the grout lines. Follow the recommended application guidelines on the can, and be sure to allow sufficient drying time between coats.
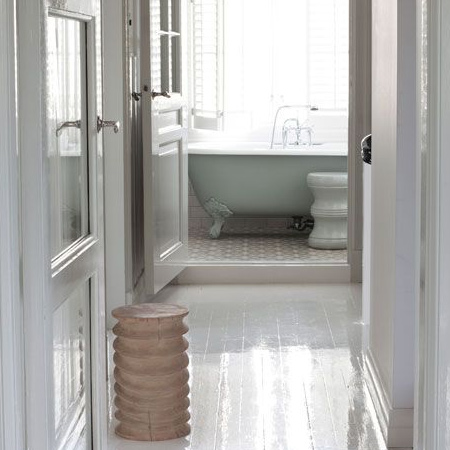
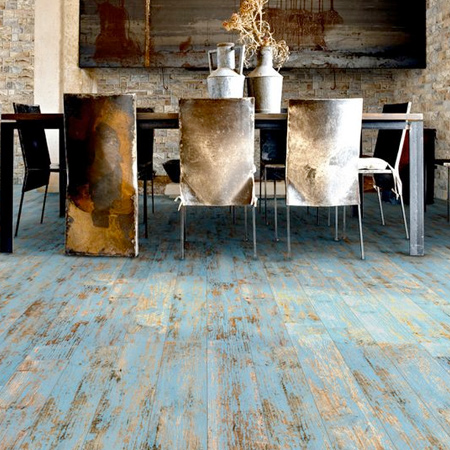
Paint hardwood floors
Hardwood floors painted in light hues can immediately brighten up living spaces. A long time popular trend in Scandinavian countries, painted hardwood floors are now trending worldwide.
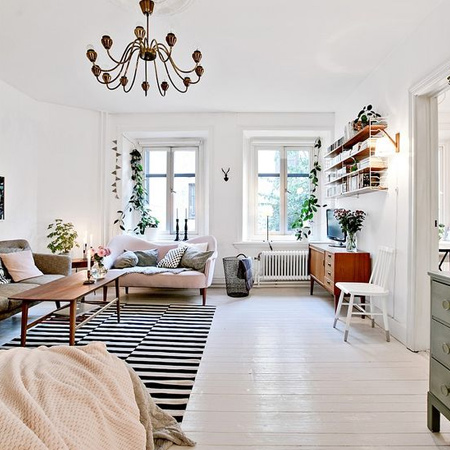
How to paint a hardwood floor
When painting a hardwood floor you need to use a paint that will be able to withstand daily foot traffic. For this reason we recommend one of the Prominent Paints products for use on wood. Read through the technical specifications to determine whether the products can be applied on their own, or whether a top coat polyurethene sealer is recommended.
Prepare the floor by sanding the existing finish, whether it be to deglaze a varnish or sealer finish, or to smooth the finish. Thoroughly clean away the dust after sanding using a vacuum cleaner or slightly damp mop. Allow a wet floor to dry completely.
For a quality, longer lasting finish apply a wood primer before painting, especially if you are painting on raw wood. Use a paintbrush to ensure complete, even coverage over the floor. Start at the farthest corner and work your way out of the room. Allow the specified drying time.
Application is best done using a paintbrush to ensure complete coverage. While a paintbrush will give full coverage, a paint roller is faster - so combine the two for a quick and easy finish that is also smooth. Apply light even coats, rather than loading the brush with too much paint, as this will spoil the finish and take longer to dry.
Allow sufficient drying time between coats and during this time you can stand back and decide whether or not to apply additional coats. Also read the instructions for the proper drying time before you can walk on painted floors.
GOOD TO KNOW: Depending on the product used, for high-traffic areas you may want apply a clear polyurethane sealer for added protection.