How to Cover Up a Brick Feature Wall
Popular in the seventies and early eighties, facebrick walls are often a defining feature of many older homes, but giving them a modern look is easier than you think.
02/10/2020
better homes and gardens magazine
I have previously discussed ways to transform a brick fireplace surround using various methods, but this particular one is well suited to many homes built in the 70' or early 80's where red facebrick was used to create a defining feature in a living room. The previous articles that touched on this topic looked at basic painting or whitewashing of the red facebricks, but this article focuses on painting the bricks and also giving them a more updated look.
The house was built in the early seventies and there are several features throughout that are reminiscent of this time period - the fireplace feature wall being one!
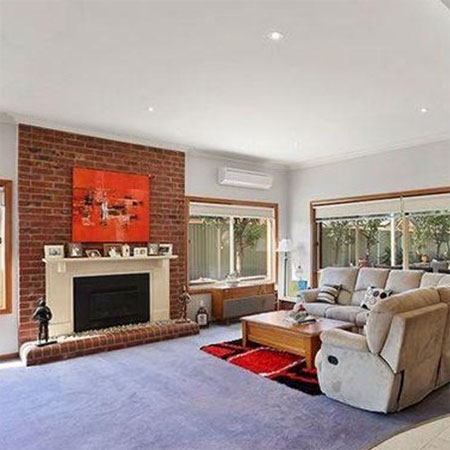
What inspired the brick fireplace makeover
The homeowner, who has been living in the house for just under 2 years, bought the property based on its unique character. The property was built in the seventies but was in extremely good condition for its age. Since moving in, small projects have been done throughout the house to bring it more up to date without spoiling the character.
The fireplace feature wall was always on the list of things to do but there never seemed to be time to do it. The brick wall was an integral part of the original design and quite a bit of thought was given to what to do with it before deciding on a paint makeover.
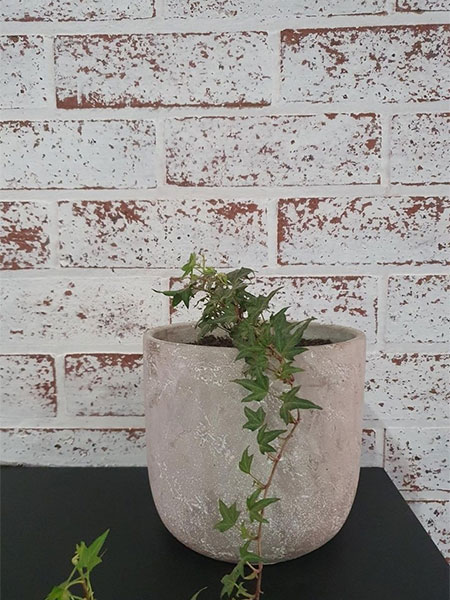
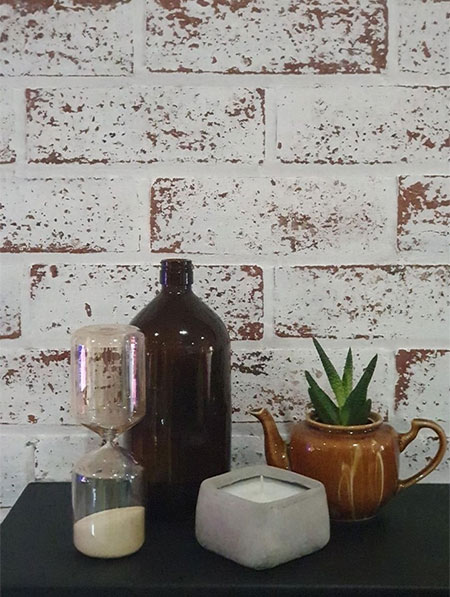
Use Milk Paint or Chalk Paint to paint over the bricks and then sand back to reveal as much of the brick as you want.
How was the unique finish achieved?
The first step in tackling the makeover for the red facebrick wall was to clean the bricks before doing any painting. Giving them a good scrub with soap water will remove most of the residue and what's left can be brushed off once the bricks are dry. After finishing the prep work the following was undertaken:
The bricks was coated with a brick primer. You want a good primer that effectively seals the surface of the bricks and makes them less porous. Apply the primer with an old paintbrush that lets you get into all the spaces between the bricks to ensure everything is covered.
After applying the primer, you can apply 2 coats of either Rust-Oleum Milk Paint or Chalk Paint, whichever you prefer. Both work well and leave a beautiful matt finish that is easy to work with for the next step.
Use a small and large paintbrush to apply the paint over the brick and grout, getting into all the nooks and crannies. You will need to apply 2 to 3 coats of paint to entirely cover the red brick.
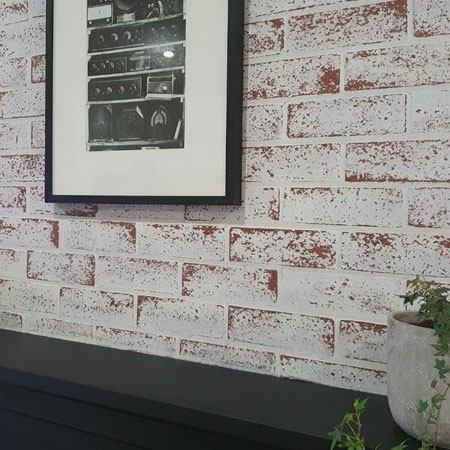
Let the paint dry overnight and then you can come back and sand with 120-grit sandpaper on those areas where you want to reveal the brick underneath. You have control over this step and can sand lightly for a feint reveal or harder if you want more of the brick to show through. After that, lightly sand with 240-grit sandpaper to smooth off the finish
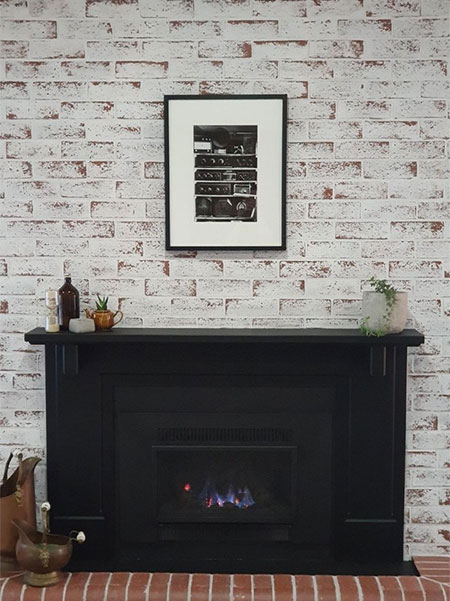
If you are happy with the look, apply 2 to 3 coats of a matt topcoat to seal and protect the painted wall. A topcoat with allow you to easily wipe clean the wall when needed.